Loading
Please wait, content is loading
Logo Black Logo White
  • Home
  • Blog
  • Faculty
  • Gallery
  • Contact
  • About Us
  • Admissions
  • Students Portal
  • Success Stories
  • Application Form
Menu

Recent Posts

  • Mastering the Basics: A Beginner’s Guide to Using Color Wheels in Video Editing
  • Avoid These Common Video Editing Mistakes: A Guide for Creators and Professionals
  • Camera to Cloud: Transforming Video Production Through Real-Time Workflow Innovation
  • How to Choose the Perfect Secondary Monitor for Your Video Editing Suite
  • Editing Techniques Inspired by ‘Oppenheimer’

Recent Comments

  1. bangla Khobor Kolkata on How to Become a Successful Freelance Video Editor in Nepal
  2. saranya on How to Become a Successful Freelance Video Editor in Nepal
  • June 26, 2025

Mastering the Basics: A Beginner’s Guide to Using Color Wheels in Video Editing

  • Blog
Post Image

Color plays a crucial role in storytelling. Whether it’s enhancing mood, guiding emotion, or establishing visual continuity, understanding how to use color effectively can elevate your video editing from ordinary to professional. One of the most powerful tools for color correction and color grading is the color wheel.

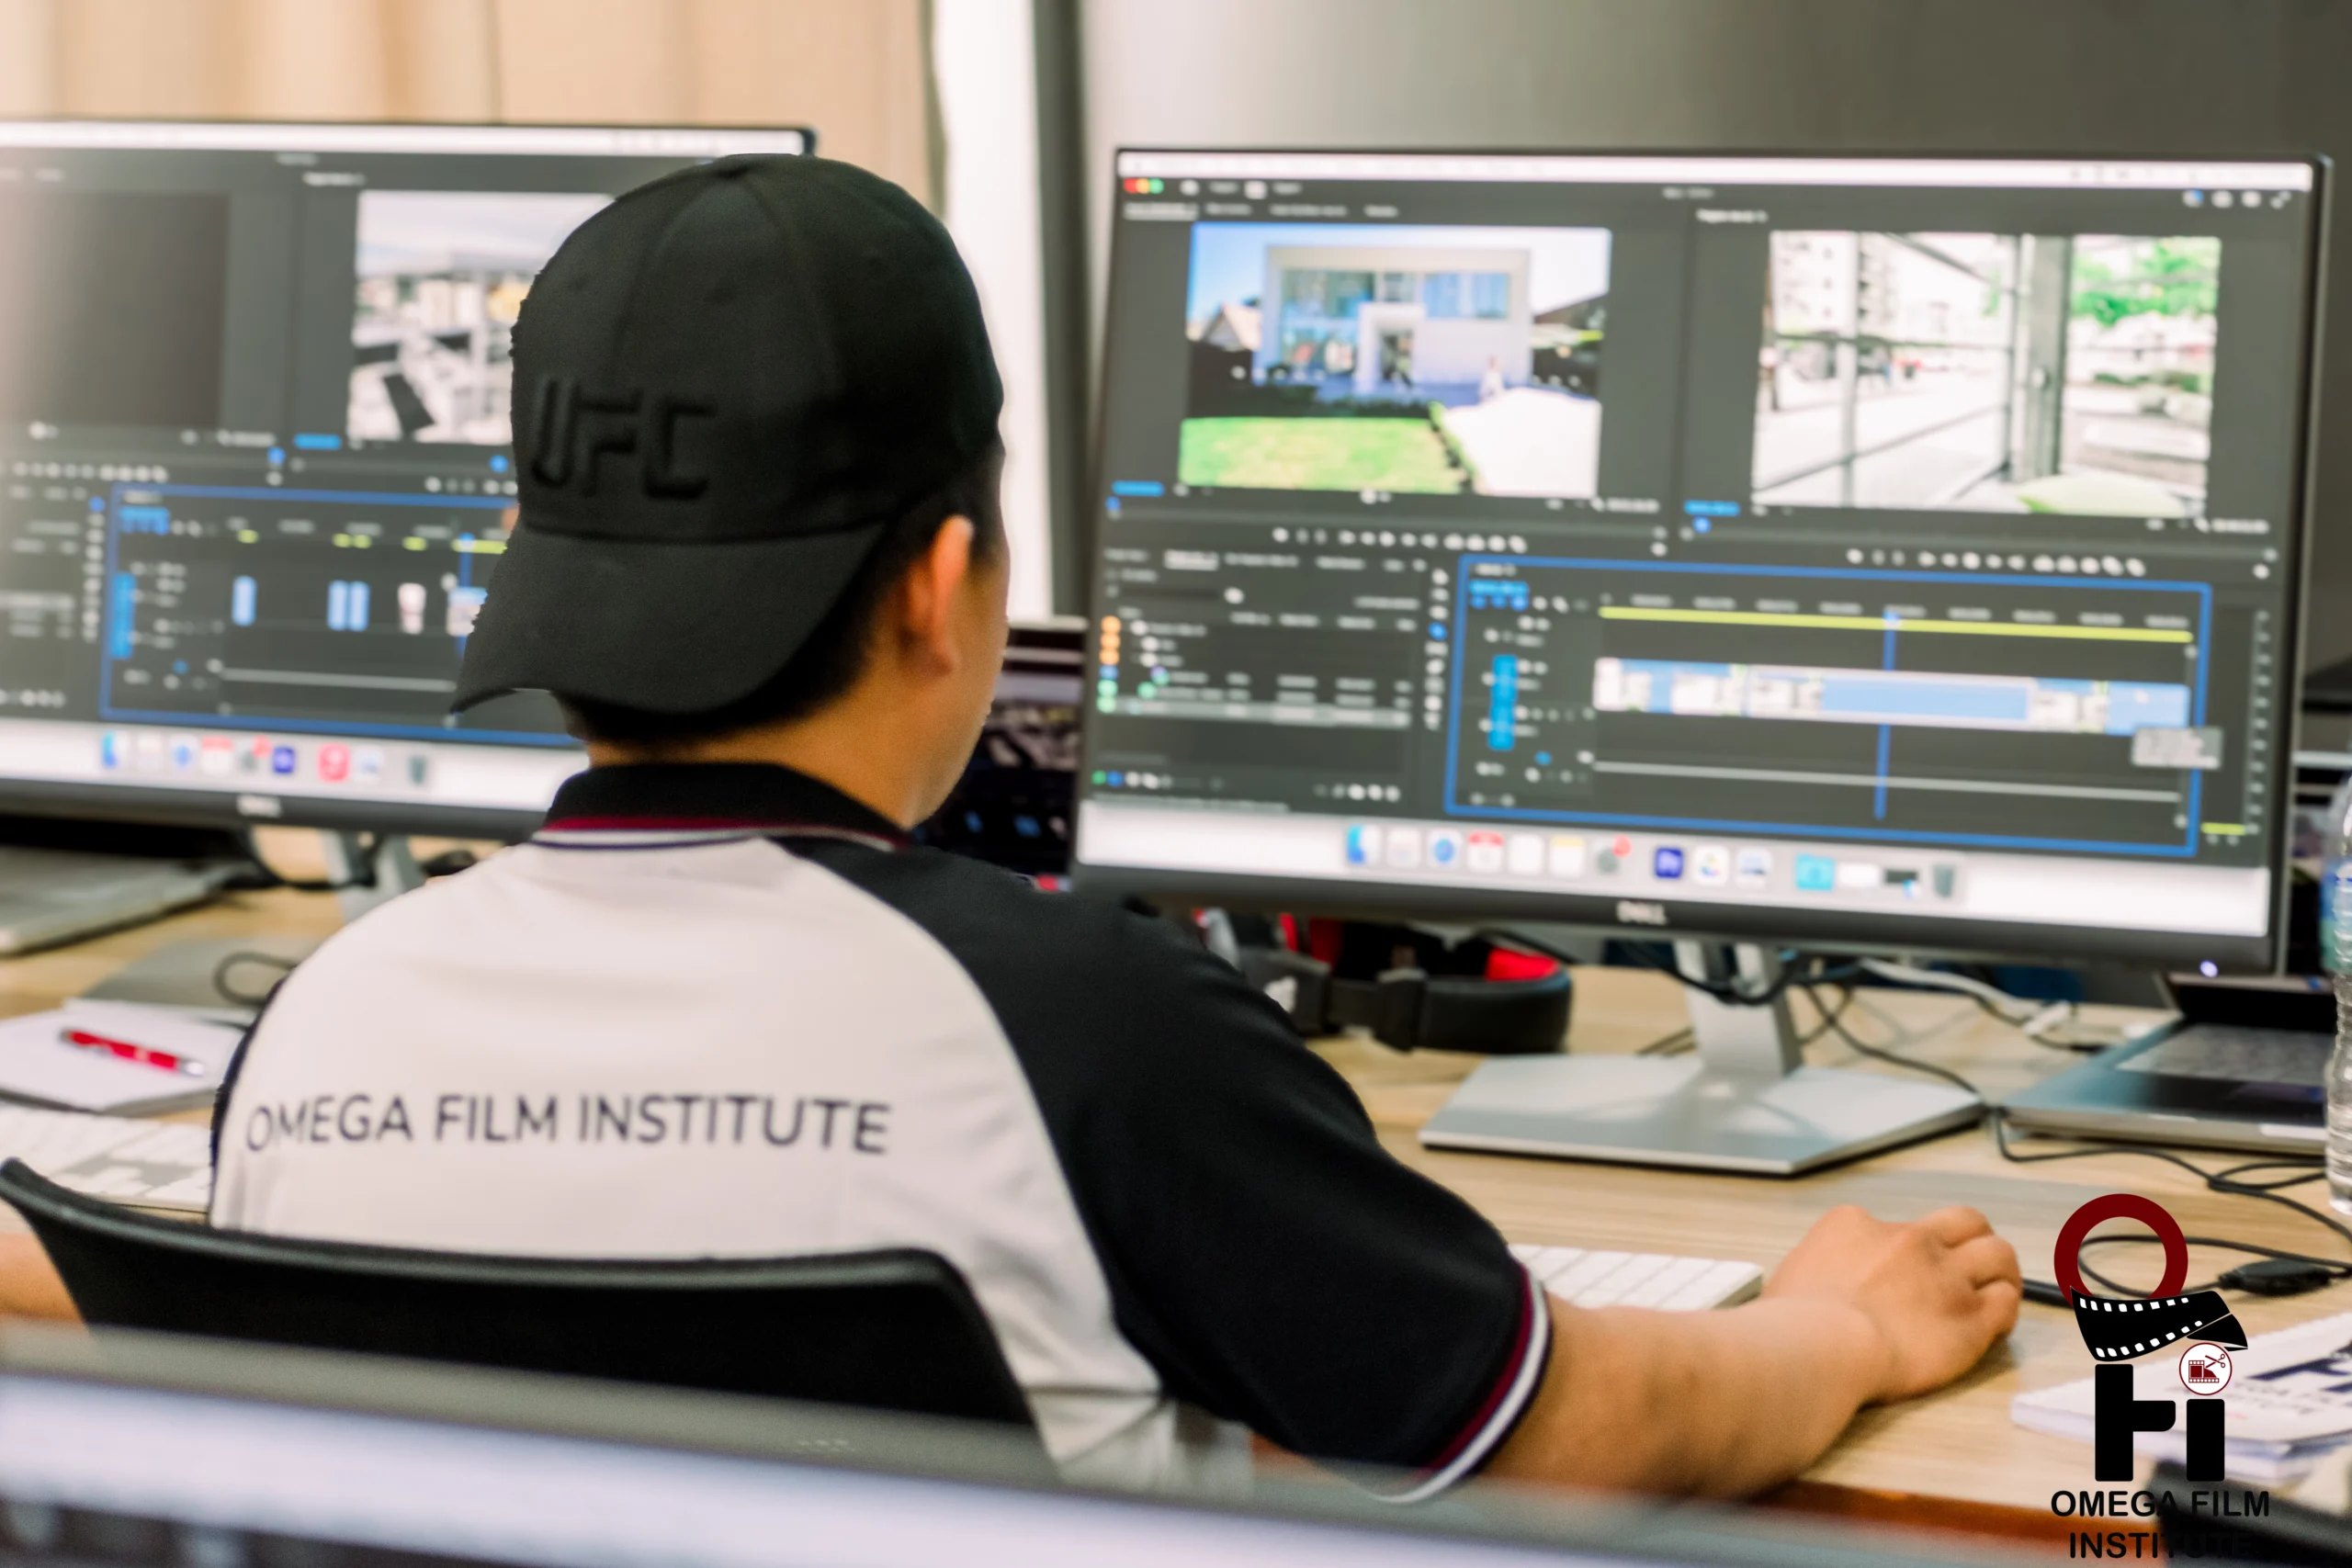
At Omega Film Institute, Nepal’s top video editing school, we teach aspiring editors how to master color wheels through professional color grading techniques using industry-standard software like Adobe Premiere Pro and DaVinci Resolve. This guide will walk you through the fundamentals of using color wheels so you can start creating visually stunning and emotionally resonant content.

What Is a Color Wheel in Video Editing?

A color wheel is a visual tool used to adjust the color balance of a video. It lets you manipulate the shadows, midtones, and highlights to achieve the desired look or correct color imbalances.

Most professional editing software includes three primary color wheels:

  1. Shadow Wheel: Affects the darkest parts of the image.
  2. Midtone Wheel: Adjusts the middle range of brightness.
  3. Highlight Wheel: Controls the brightest areas of your frame.

By shifting the wheel in different directions, you can push these tonal ranges toward warmer or cooler tones, adjust saturation, and create visual consistency across shots.

Why Use Color Wheels?

  • Correct Color Imbalance: Fix shots that are too warm, too cool, or incorrectly exposed.
  • Create a Mood: Use color to reinforce emotion—blue tones for sadness, warm orange for happiness or nostalgia.
  • Match Footage: Make multiple camera sources look uniform.
  • Improve Skin Tones: Subtle adjustments to midtones can dramatically improve how skin looks on camera.

Step-by-Step: How to Use Color Wheels for Beginners

1. Import and Prepare Your Footage

Open your project in Adobe Premiere Pro or DaVinci Resolve and import the clips you want to correct. Place them in the timeline and locate the color grading tab.

2. Identify Problem Areas

Look at your footage and identify:

  • Areas that appear too dark or too light.
  • Scenes with unwanted color casts (like green or yellow).
  • Inconsistent lighting or color between different clips.

Use video scopes (such as waveform and vectorscope) if available to get a technical view of your color balance.

3. Adjust Shadows

Start with the shadows. If your dark areas are tinted (for example, slightly green), use the shadow wheel to pull them back towards a neutral color. Move the wheel slightly in the opposite direction of the cast.

4. Correct Midtones

The midtone wheel affects faces and natural surfaces the most. Adjust it to:

  • Neutralize skin tones.
  • Remove any unwanted tints from middle brightness areas.

Be gentle—small movements have a big effect.

5. Tweak Highlights

Use the highlight wheel to brighten or shift the color of the lightest parts of your image. You can:

  • Warm up white areas.
  • Cool down harsh daylight.
  • Add a subtle cinematic tone.

6. Match Color Between Shots

When working with multiple clips, match them by comparing one clip’s shadows, midtones, and highlights to another. You can:

  • Use the “comparison view” tool (in software like Premiere).
  • Copy color grading settings from one clip and paste to others, then fine-tune using the wheels.

7. Add Finishing Touches

Once your footage is balanced:

  • Boost saturation slightly for a vivid look.
  • Use contrast to add depth.
  • Apply a vignette or creative LUT if your project requires a stylized feel.

Best Practices for Beginners

  • Work in a properly lit environment. Color perception changes under different lighting.
  • Use calibrated monitors. An uncalibrated screen can lead to incorrect corrections.
  • Make small adjustments. The color wheel is sensitive—subtle changes often yield better results.
  • Always use scopes. They provide accurate information, which is especially helpful for skin tones and broadcast standards.

Common Mistakes to Avoid

  • Over-saturating: This makes your footage look unrealistic.
  • Skipping midtone adjustments: Midtones are where the eye is most sensitive.
  • Relying only on your eyes: Use scopes to guide your decisions.
  • Not matching shots: Even small color mismatches between clips are noticeable.

Learn With Omega Film Institute

At Omega Film Institute, we offer hands-on training in Adobe Premiere Pro, DaVinci Resolve, and the full suite of color grading tools. Our students learn:

  • Real-world color correction techniques
  • Creative color grading to enhance visual storytelling
  • How to use scopes and wheels with confidence
  • Advanced workflows to prepare for high-end editing projects

Whether you’re working on music videos, documentaries, weddings, or short films, color mastery can set your work apart.

Conclusion

Color wheels are a beginner-friendly yet powerful tool for improving your video edits. By mastering their use, you can transform flat, lifeless footage into cinematic, emotionally engaging stories.

With practice and the right training—like what you’ll receive at Omega Film Institute—you’ll be on your way to creating polished, professional-grade videos.

Ready to elevate your editing skills?

Join Omega Film Institute and start your journey toward mastering the art and science of color in video editing. Visit Omega Film Institute to learn more.

Apply Now

author avatar
admin
See Full Bio
Prev
No more posts
Next
Avoid These Common Video Editing Mistakes: A Guide for Creators and Professionals
  • No Comments
  • Leave a comment
Cancel Reply

Back Top
Omega Film Institute is owned by Omega Studio Nepal
Follow Us
error: Content is protected !!

Sreejith Samuel

Sreejith is an accomplished professional in filmmaking with over seven years of diverse experience in video editing, graphic design, and motion graphics. He brings passion and dedication to his craft. Sreejith consistently utilizes his talents to their fullest, showcasing his creativity and expertise in every project he undertakes.

Subramanya

With nearly 15 years of experience, I moved to Mumbai and worked with a Bhojpuri album company, gaining valuable industry insights. My career then expanded to TV channels, where I contributed to both fiction and non-fiction projects. Notable highlights include working on Bigg Boss (Kannada and Tamil, two seasons), dance shows, comedy and game shows, award events, and a wide variety of other projects. I’ve had the privilege of working across almost all major South Indian channels, including Sun Network, ZEE Network, Colors Network, and Star Network.

Govinda – Cinematography and Videography Instructor

Govinda is a highly experienced cinematographer and video editor with over 13 years of expertise in Nepali wedding filmmaking and across diverse fields. From crafting breathtaking wedding films to working on large-scale projects in advertisements, documentaries, and music videos, his vast knowledge and hands-on experience in capturing memorable moments make him an exceptional mentor for students at the Omega Film Institute.

At OFI, Govinda specializes in teaching camera operations, Cinematography, and Photography. His ability to blend technical precision with creative artistry helps students master the skills needed to tell compelling visual stories.

Govinda’s dedication to his craft and his approachable teaching style ensure that students gain both confidence and expertise in cinematography. His rich career in the wedding film industry serves as an inspiration, guiding aspiring filmmakers to excel in their journeys. Whether it’s creating captivating wedding films, impactful documentaries, or vibrant music videos.

Angela – Video Editing Instructor

Angela brings over six years of expertise in video editing to the Omega Film Institute. Currently pursuing her bachelor’s degree in cinematography, she combines academic knowledge with practical experience, making her an invaluable part of our teaching team.

Her passion for storytelling shines through in every project she undertakes, and she has a unique ability to connect with students, inspiring them to see editing as an art form. Angela is not only a skilled editor but also an avid movie enthusiast and a book lover, which fuels her creativity and sharpens her storytelling abilities.

Dedicated, innovative, and approachable, Angela thrives on guiding her students to unlock their potential, ensuring they leave her classes equipped with both technical skills and a creative mindset. She believes in the transformative power of visual storytelling and takes pride in helping her students craft compelling narratives.

DAVID – COLOR GRADING AND DAVINCI RESOLVE INSTRUCTOR 

David is a seasoned video editor with over seven years of experience in the industry. His extensive portfolio includes numerous music videos and movies, and he has made significant contributions to the Nepali film industry. A true expert in DaVinci Resolve, David specializes in color grading and advanced editing techniques, bringing a wealth of knowledge and hands-on expertise to his students at the Omega Film Institute.

David’s passion for storytelling through visuals is matched only by his dedication to teaching. He thrives on guiding students through the intricacies of color grading, helping them transform raw footage into cinematic masterpieces.

Beyond his professional achievements, David’s love for worship and his faith in God add a unique dimension to his character, inspiring those around him. His combination of technical brilliance and a grounded approach to life makes him a cherished mentor at the institute.

HOMANATH – MEDIA AND MUSIC INSTRUCTOR

Homenath brings over 15 years of diverse experience in the media industry to the Omega Film Institute. His journey began with recording, digitization and archiving of Intangible cultural heritage in Nepal,  eventually leading him to become an integral part of early Nepali filmmaking, music videos, and film production. His extensive knowledge and hands-on experience make him a cornerstone of our teaching team.

A connoisseur of Nepali music, especially traditional folk music, Homanath’s expertise enriches the creative environment at OFI. His deep understanding of music and its integration into filmmaking provides students with unique insights into crafting emotionally resonant stories.

Homanath’s passion for teaching and his ability to connect with students make him an inspiring mentor. His wealth of knowledge and commitment to preserving Nepali musical heritage are invaluable assets to our institute.

Sanish – Video Editing and Fitness Mentor

Sanish is a dynamic professional who brings a unique blend of skills to the Omega Film Institute. An experienced video editor and fitness enthusiast, Sanish inspires students to grow holistically, both in their craft and in personal development.

At OFI, Sanish combines his technical expertise in video editing with his passion for fitness, encouraging students to adopt a well-rounded approach to growth. His classes are not just about mastering editing techniques but also about fostering discipline and focus—qualities he embodies as a competitive powerlifter.

Sanish’s dedication to helping students excel both creatively and physically makes him a standout mentor. His energetic and motivating presence ensures that students leave his classes equipped with skills for success in all areas of life.

Prakash – Video Editing Instructor 

Prakash is a dedicated video editor with over four years of experience in the field. His expertise and approachable teaching style make him an excellent mentor for students at the Omega Film Institute. Prakash’s kindness and patience foster a positive learning environment where students feel confident to explore and enhance their skills.

In addition to his passion for video editing, Prakash is a talented singer who loves worship, bringing creative and uplifting energy to the classroom. His ability to connect with students and inspire the ensures that they not only learn faster but also develop a genuine appreciation for the art of video editing.

Bipul – Video Editing Instructor 

Bipul brings five years of professional video editing experience to the Omega Film Institute. With a bachelor’s degree in video editing, he combines technical expertise with a passion for teaching, making him a student favorite.

Known for his approachable and supportive teaching style, Bipul creates a learning environment where students feel encouraged to explore their creativity and build their skills with confidence. His dedication to helping each student succeed has made him one of the most beloved instructors at the institute.

Bipul’s deep understanding of editing techniques and his commitment to fostering growth ensure that his students gain not just technical knowledge but also the ability to craft visually compelling stories.