Step-by-Step Guide: How to Add and Use LUTs in Premiere Pro for Stunning Color Grading
Color grading is vital to video editing, transforming ordinary footage into cinematic visuals. One of the most effective tools for color grading is the use of LUTs in Premiere Pro (Look-Up Tables). Whether you’re creating short films, music videos, documentaries, or content for social media, applying LUTs can dramatically improve your video’s aesthetic.
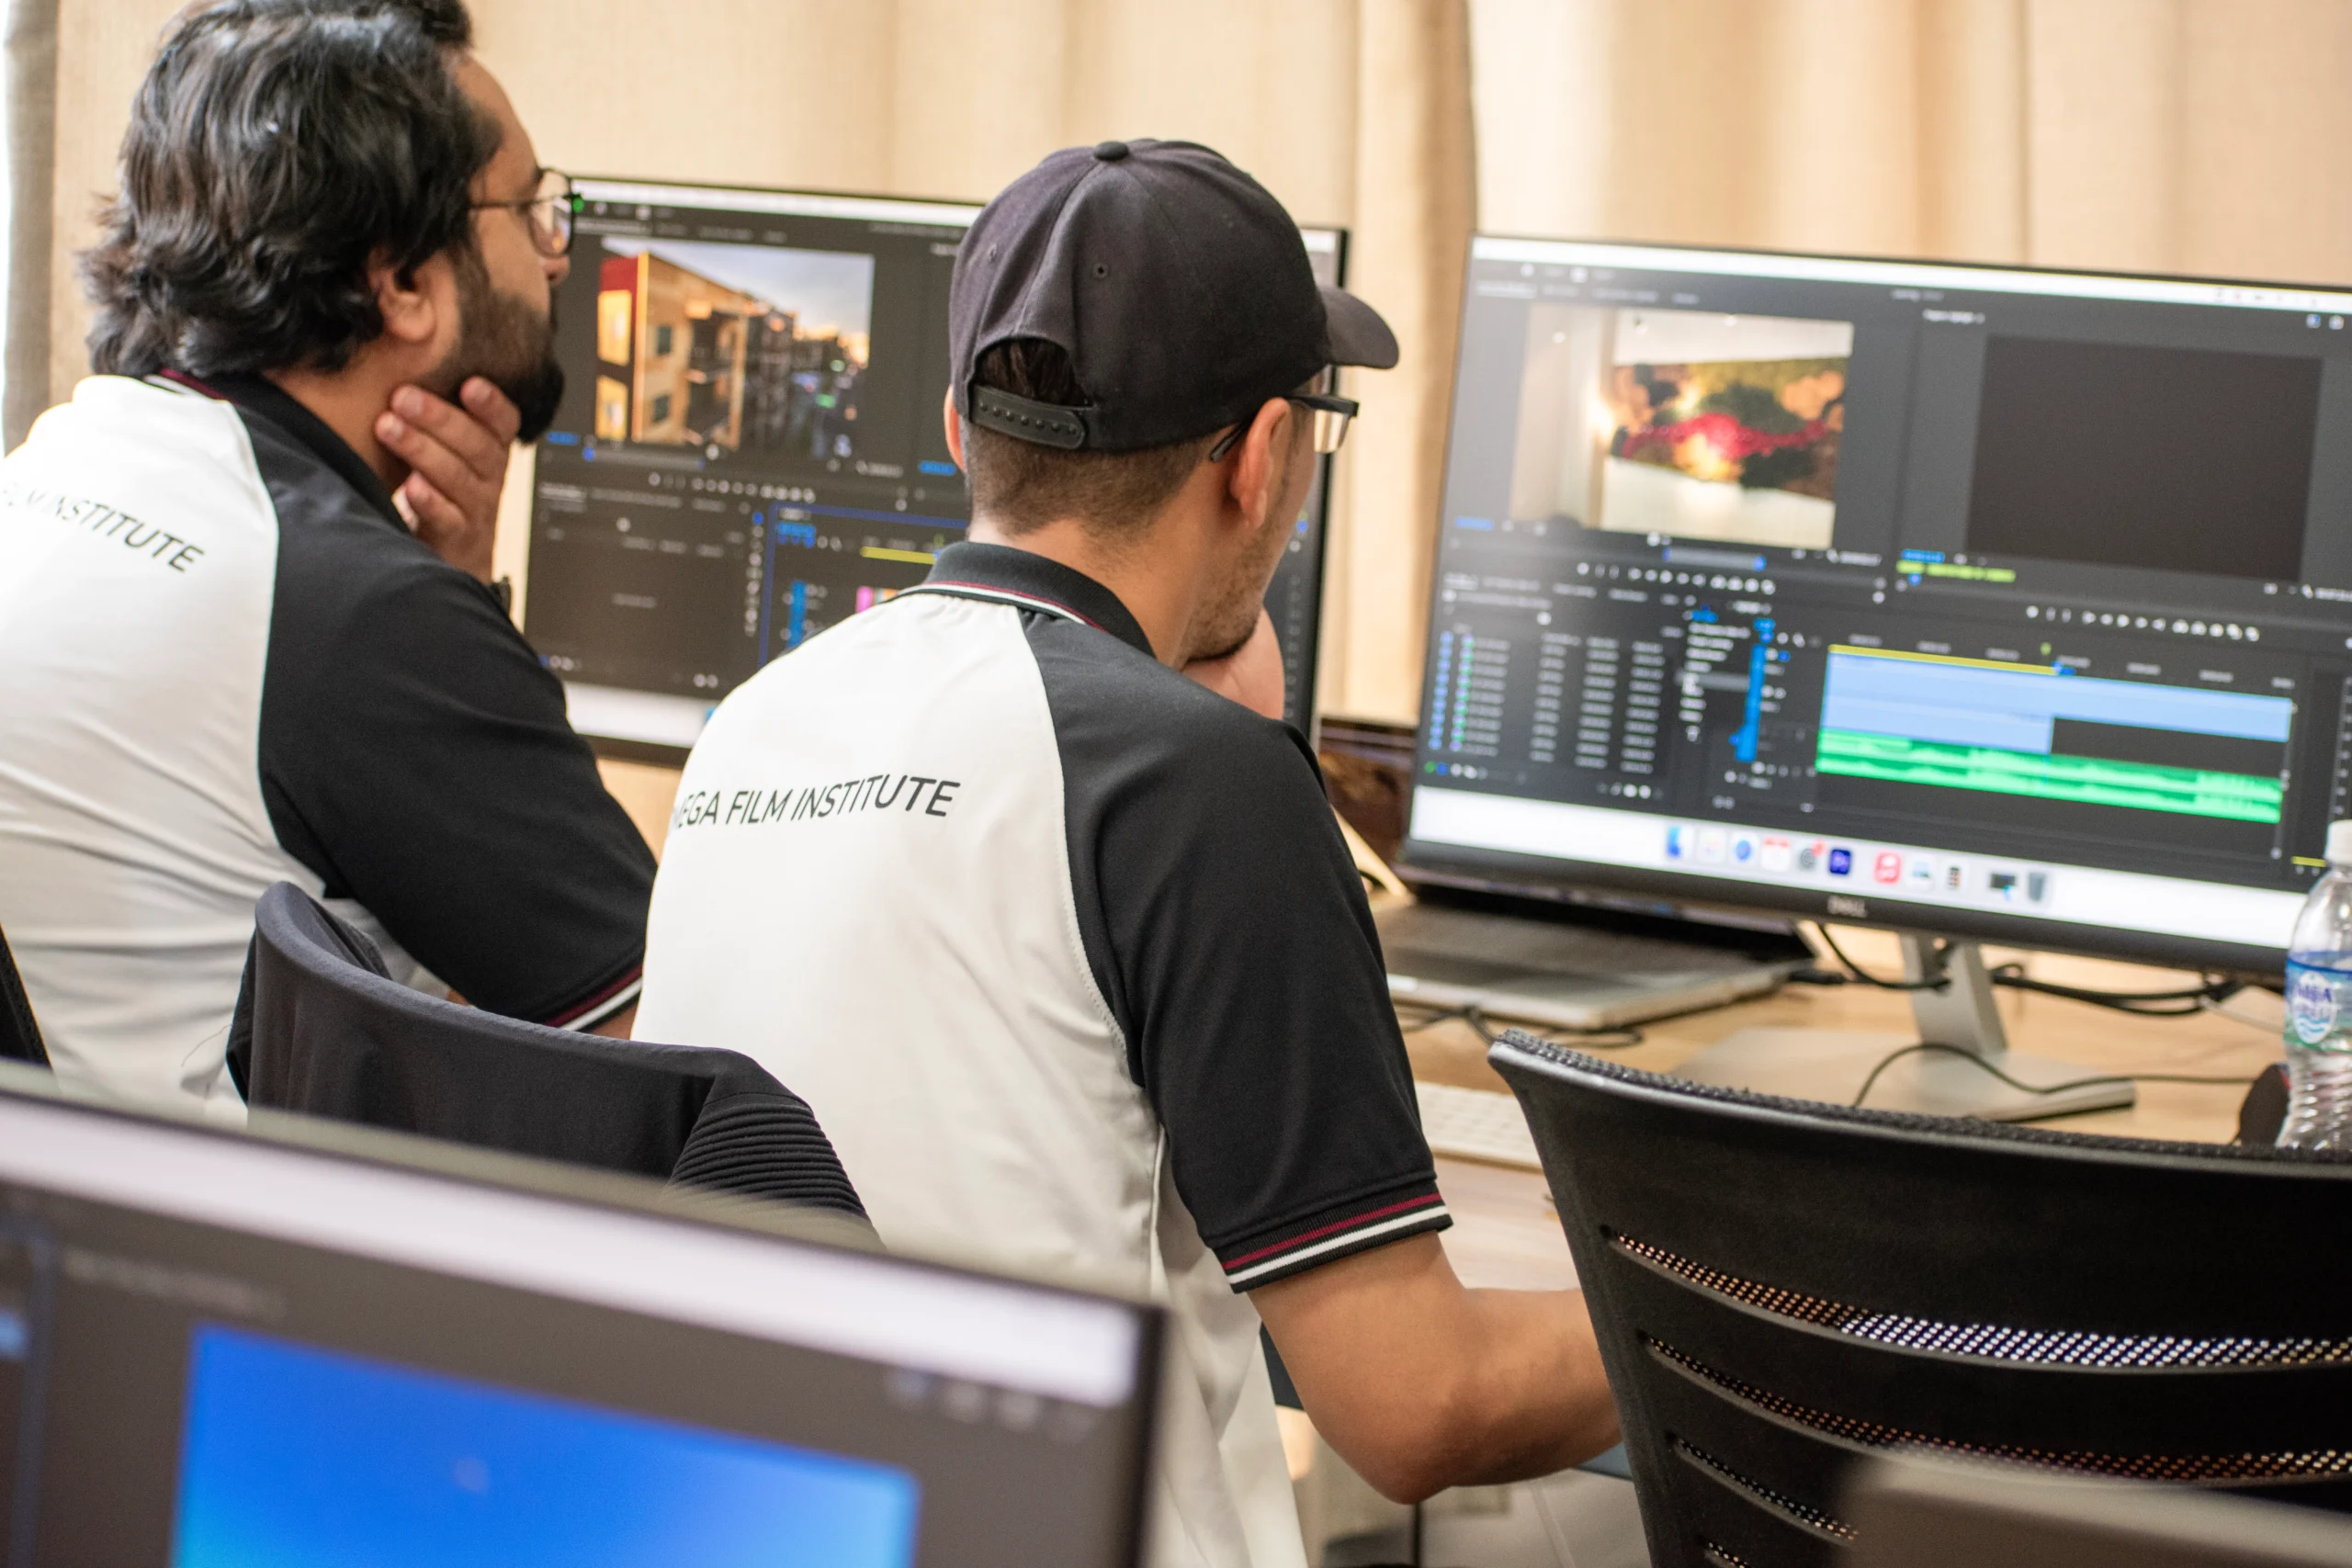
At Omega Film Institute, Nepal’s top video editing school, we teach students how to master professional color grading using LUTs in Adobe Premiere Pro. This beginner-friendly guide will walk you through the process of adding and using LUTs to elevate your video edits.
What Are LUTs?
LUTs (Look-Up Tables) are color presets that instantly apply a specific color tone, mood, or style to your footage. They act as a shortcut for achieving cinematic or branded looks without complex manual adjustments.
Common types of LUTs include:
- Technical LUTs: Correct footage from log profiles (e.g., S-Log, C-Log) to standard color spaces.
- Creative LUTs: Add stylistic looks like warm tones, teal-orange contrast, vintage vibes, or film-inspired colors.
Why Use LUTs?
- Speed up color grading workflows
- Achieve consistent looks across multiple clips
- Simplify the editing process for beginners
- Easily replicate cinematic or professional color styles
LUTs are widely used in the film industry, advertising, YouTube content, and social media edits.
How to Add and Use LUTs in Adobe Premiere Pro
Step 1: Install Your LUTs
- Download your chosen LUTs from a reputable source.
- Please place them in a dedicated folder on your computer.
- You can keep them organized in Premiere Pro’s default LUT directory:
- Mac: Library/Application Support/Adobe/Common/LUTs/Creative
- Windows: Program Files/Adobe/Common/LUTs/Creative
Alternatively, apply them manually in your project timeline.
Step 2: Import Your Footage
- Open Premiere Pro.
- Create a new project or open an existing timeline.
- Import your video clips and place them in the sequence.
Step 3: Open Lumetri Color Panel
- Go to Window > Lumetri Color to open the color grading workspace.
- Select the clip you want to color grade.
Step 4: Apply the LUT
- Under the Basic Correction tab in Lumetri Color, locate the Input LUT dropdown.
- Click Browse, navigate to your LUT folder, and select the desired LUT.
- Premiere Pro will automatically apply the look to your clip.
Step 5: Fine-Tune the Grade
After applying the LUT:
- Adjust Exposure, Contrast, and Saturation as needed.
- Use the Creative tab for additional tweaks (vibrance, faded film effect, etc.).
- Balance your highlights, shadows, and midtones for consistency
Step 6: Apply to Multiple Clips
For consistent color grading across your project:
- Copy the Lumetri Color effect and paste it onto other clips.
- Use Adjustment Layers to apply LUTs to entire sequences non-destructively.
Best Practices for Using LUTs
- Shoot in Log Profiles: Capture more dynamic range for flexible color grading.
- Use LUTs as a Starting Point: Always fine-tune after applying a LUT to match your footage.
- Match Shots: Ensure consistency between different angles or lighting setups.
- Don’t Overdo It: Subtle color grading often looks more professional.
- Test on Different Screens: Review your graded footage on various displays to ensure visual consistency.
Recommended Free and Paid LUT Resources
- Free LUTs:
- IWLTBAP free LUT pack
- Juan Melara Free Print Film Emulation LUTs
- Ground Control Free LUT collection
- Paid LUTs:
- Osiris and ImpulZ LUTs by VisionColor
- FilmConvert Cinematic LUTs
- Luts.io Creative Packs
Why Omega Film Institute Teaches LUT Mastery
At Omega Film Institute, we prepare students for professional careers in video editing by teaching:
- Hands-on color correction and grading workflows
- How to use LUTs for corporate, creative, and cinematic projects
- DaVinci Resolve and Adobe Premiere Pro’s advanced color tools
- Real-world exercises for creating consistent, high-quality visual styles
Whether you’re editing YouTube content, films, ads, or documentaries, learning to use LUTs effectively will elevate your work.
Conclusion
Using LUTs in Premiere Pro is a game-changer for editors of all skill levels. They simplify complex color grading, speed up your workflow, and help achieve professional, cinematic results.
With practice and expert training from Omega Film Institute, you’ll confidently apply LUTs and refine your color grading process to produce standout video content.
Ready to master color grading with LUTs?Explore our video editing programs and elevate your skills at Omega Film Institute.
