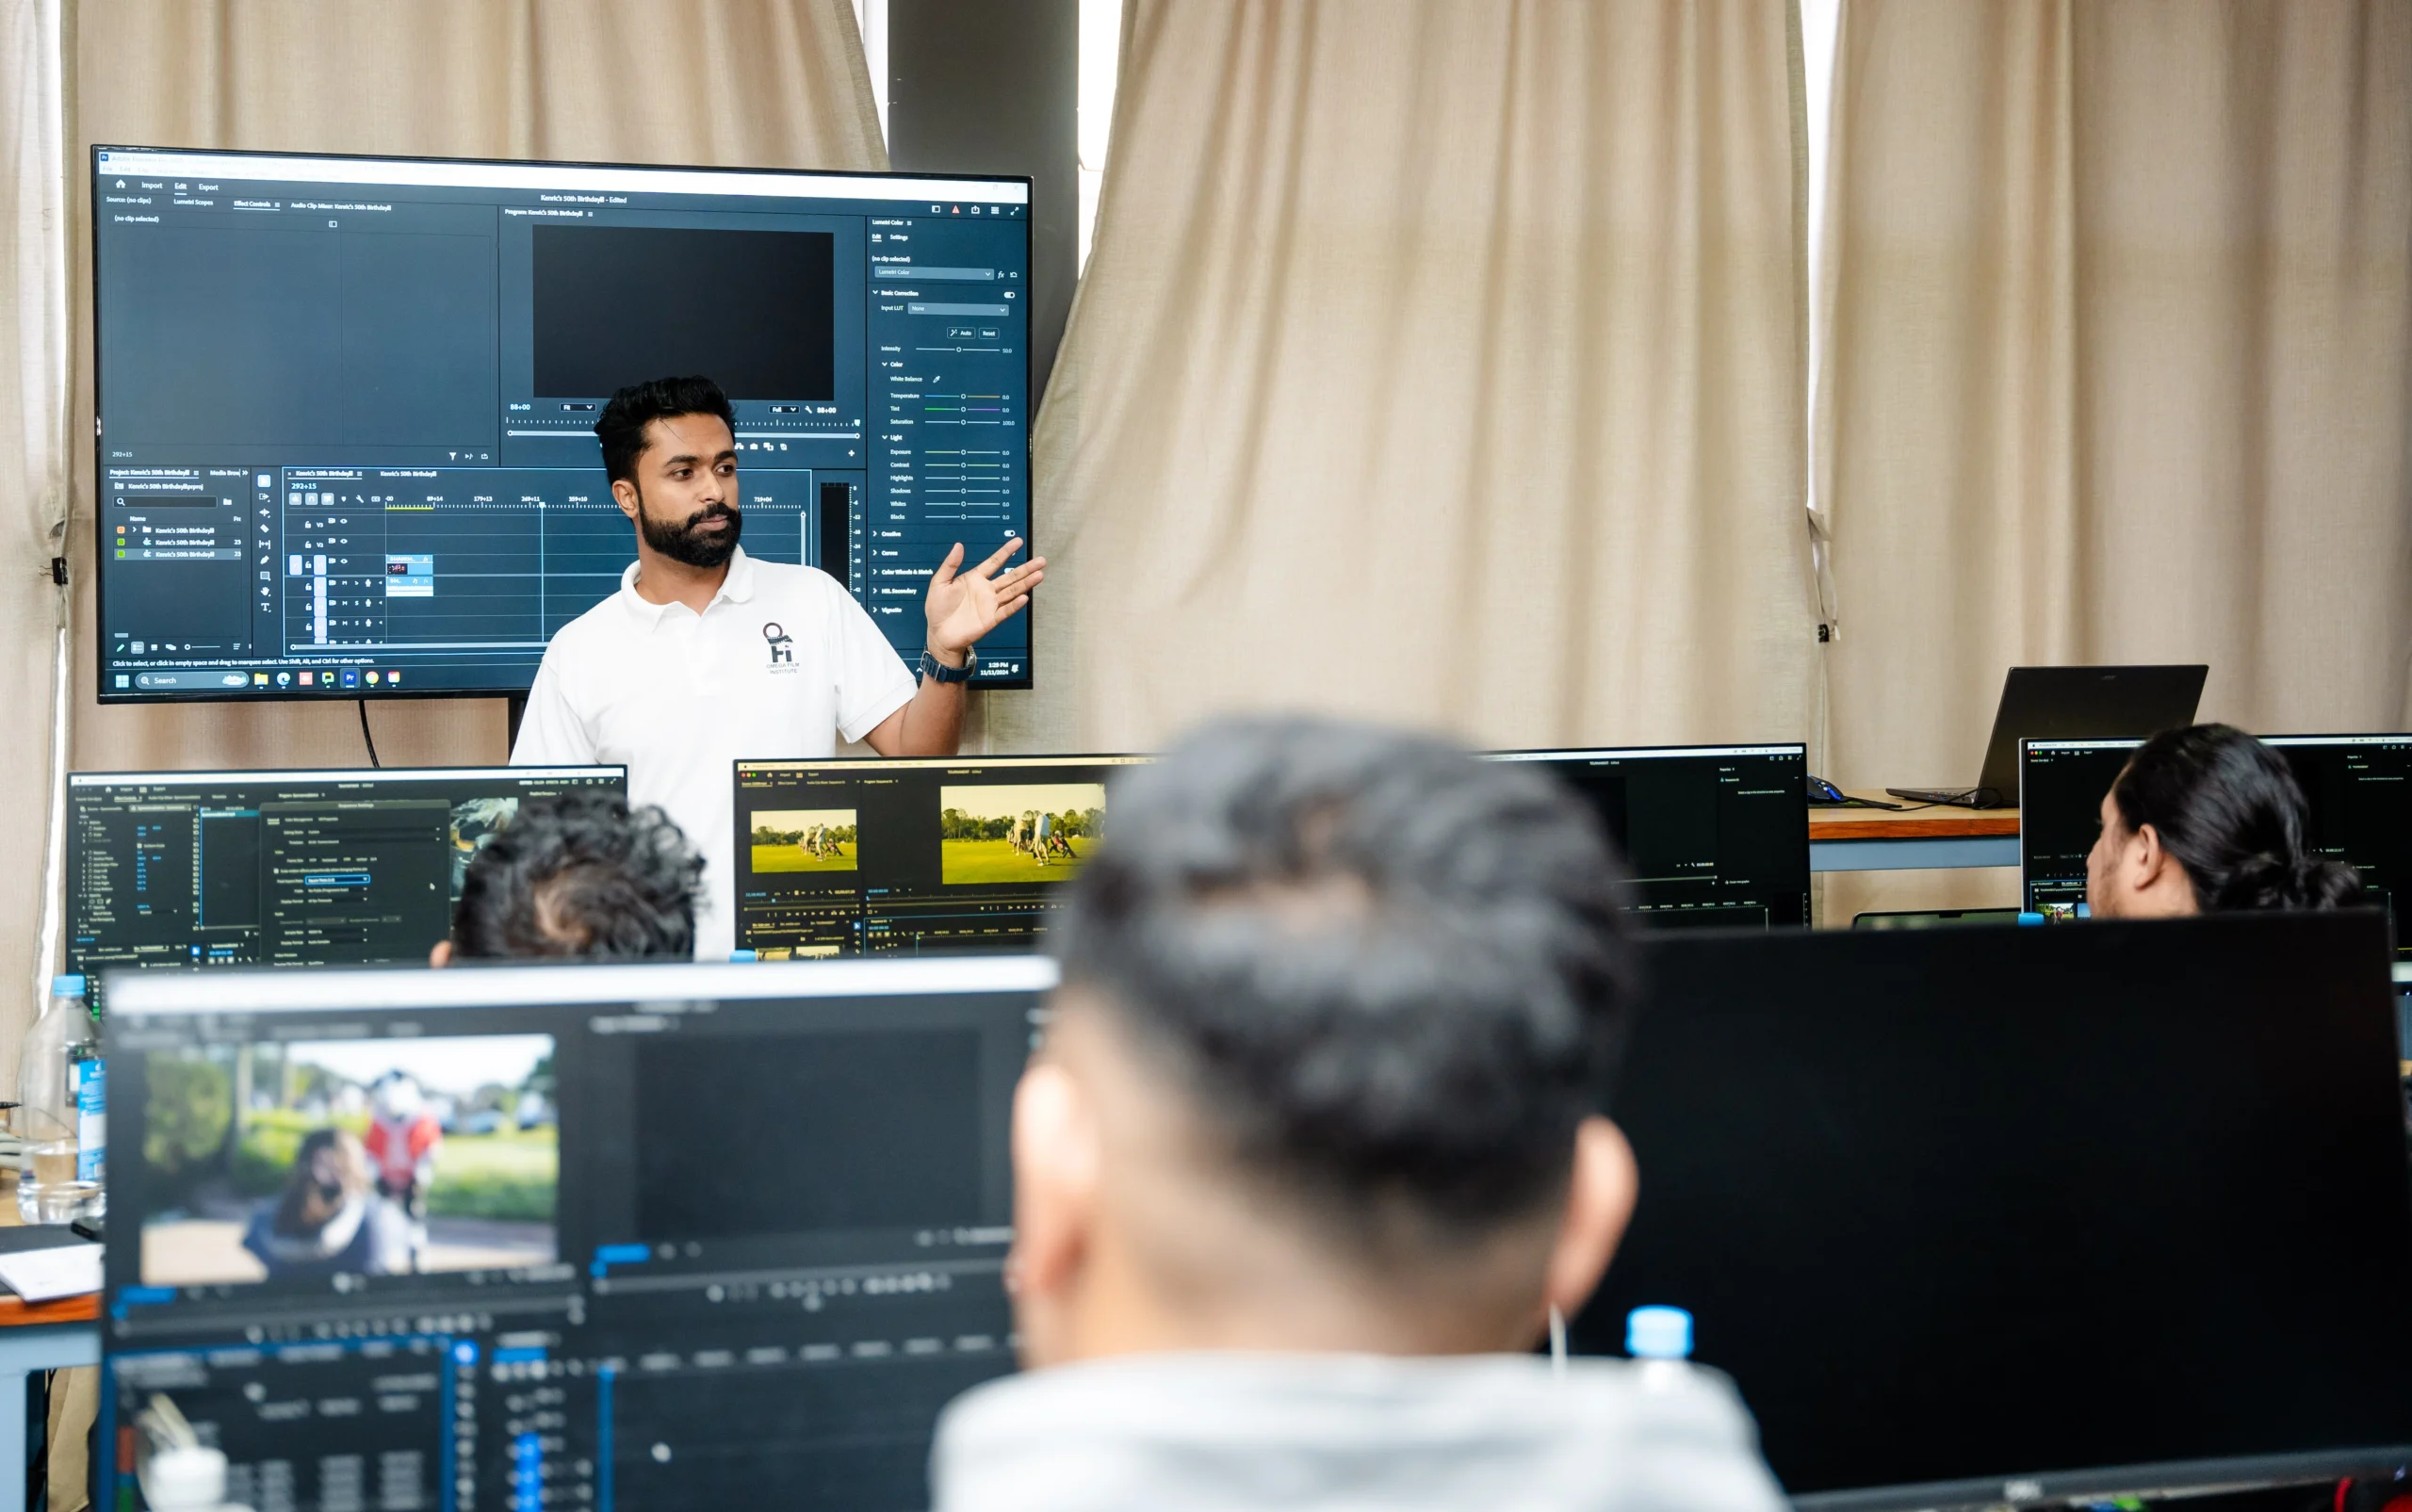
How to Customize Buttons and Playback Controls in Adobe Premiere Pro

How to Customize Buttons and Playback Controls in Adobe Premiere Pro for a Faster Editing Workflow
In professional video editing, speed and efficiency are critical—especially for editors juggling multiple deadlines, managing social content, or working on time-sensitive projects. Adobe Premiere Pro, one of the most widely used editing software programs globally, offers an incredible range of customization options. Learning how to customize Premiere Pro buttons is one of the most effective ways to streamline your workflow and boost editing speed.
In this blog, we’ll explore how to customize Premiere Pro buttons and playback controls to help you work faster, stay more organized, and reduce unnecessary clicks and keystrokes. Whether you’re a student at Omega Film Institute or a freelance editor in Nepal, this comprehensive guide will teach you how to tailor Premiere Pro to your unique editing style and elevate your productivity.
Why Customizing Premiere Pro Helps You Edit Faster
Customizing your interface and playback tools allows you to:
- Work more efficiently by keeping frequently used tools within reach
- Eliminate repetitive actions
- Reduce reliance on menus and default shortcuts
- Create a workflow suited to your editing style and speed
This not only saves time but also minimizes fatigue and boosts your overall productivity.
Getting Started: The Premiere Pro Interface
Before diving into customization, familiarize yourself with these essential components:
- Program Monitor: Where you view your timeline’s playback.
- Source Monitor: Where you preview individual clips.
- Toolbar and Button Editor: Area for playback controls and shortcut buttons.
- Keyboard Shortcuts Panel: Where you assign or change hotkeys.
How to Customize Buttons in the Program Monitor
Step 1: Open the Button Editor
- Open Adobe Premiere Pro.
- Click on the small plus icon (+) in the lower right corner of the Program Monitor.
Step 2: Drag and Drop Custom Buttons
You’ll now see a panel with all available buttons.
- Drag any button you want (e.g., Mark In, Mark Out, Export Frame, Loop Playback) to the control area below the Program Monitor.
- You can also remove buttons by dragging them out of the panel.
Step 3: Arrange Buttons Based on Use
Organize your controls based on your workflow. For example:
- Editors focusing on precision cuts may prioritize Step Forward/Back and Add Edit.
- Wedding editors may want Loop Playback and Safe Margins for perfect framing.
Step 4: Save Your Layout
Premiere Pro remembers your layout preferences per workspace. Once customized, save your workspace via:
- Window > Workspaces > Save as New Workspace
Must-Have Buttons to Add
Here are some highly useful buttons for faster editing:
- Add Marker (M): Quick for labeling beats in music or points of interest.
- Toggle Proxies: Instantly switch between high-res and proxy files.
- Export Frame (Camera Icon): Useful for thumbnails or quick stills.
- Loop Playback: Handy for reviewing transitions and effects.
- Toggle Comparison View: Helpful for color correction side-by-side.
Customizing Keyboard Shortcuts for Playback
While buttons are great, nothing beats a fast keyboard workflow.
Step 1: Access Keyboard Shortcuts
- Go to Edit > Keyboard Shortcuts (Windows) or Premiere Pro > Keyboard Shortcuts (Mac)
Step 2: Customize Playback Controls
Search for these commands and assign your preferred keys:
- Play/Stop (Default: Spacebar)
- Step Forward/Back (Default: Left/Right Arrows)
- Shuttle Fast Forward/Reverse
- Loop Playback
- Play Around
You can assign unused keys (like Q, R, T) or even use modifier combinations (e.g., Ctrl+Shift+J).
Step 3: Save and Export Presets
Once customized:
- Save your keyboard map with a clear name (e.g., “OFI Fast Playback Layout”).
- Export the layout if you work on multiple machines.
Bonus Tip: Use the Shuttle Wheel
If you have a shuttle device or editing controller (like Loupedeck or Contour Shuttle), you can map playback controls for an even smoother experience.
These tools are especially beneficial for:
- Long-form edits
- Multi-cam timelines
- Repetitive playback reviews
Real-World Editing: Omega Film Institute’s Teaching Method
At Omega Film Institute, we not only teach Adobe Premiere Pro from beginner to advanced levels, but we also focus on how to create efficient workflows using real-world tools. Students are taught how to:
- Customize their editing environments
- Build project-specific layouts
- Work faster without compromising quality
Our students graduate with the skills to enter Nepal’s booming media market, where speed, accuracy, and efficiency are as important as creativity.
Frequently Asked Questions
Q: Will my button layout save if I update Premiere Pro?
A: Usually yes, but always export your workspace and shortcut presets before upgrading.
Q: Can I reset to the default buttons?
A: Yes. Just reopen the Button Editor and click Reset Layout.
Q: Can I use the same setup on a different computer?
A: Yes. Export your workspace and import it on any machine running Premiere Pro.
Conclusion
Customizing buttons and playback controls in Adobe Premiere Pro isn’t just a matter of preference—it’s a professional workflow upgrade. It lets you spend more time creating and less time clicking through menus.
If you’re looking to become a faster, more organized, and more professional video editor in Nepal, mastering Premiere Pro’s customization features is a step in the right direction.
Join Omega Film Institute today to learn everything from basic video editing to high-level workflow mastery using Adobe Premiere Pro, DaVinci Resolve, and more. Your editing career deserves a powerful, efficient start.
Visit omegafilminstitute.com to enroll now.
