How to Export Multiple Timelines in Adobe Premiere Pro: Quick Guide
As video editors, we often work with more than one sequence or timeline in a single project. Whether it’s for exporting multiple versions of a wedding film, different edits of a commercial, or social media adaptations of a YouTube video, knowing how to export multiple timelines in Adobe Premiere Pro is an essential skill. For editors in Nepal working on fast-paced projects, this workflow saves valuable time and ensures consistency across outputs.
Why Export Multiple Timelines?
- Multiple Versions – Wedding films (highlight, full edit, trailer) often require separate exports.
- Platform-Specific Outputs – YouTube (16:9), TikTok/Reels (9:16), and TV commercials (square or wide) may need separate sequences.
- Client Revisions – Exporting different drafts for client feedback.
- Efficiency – Avoid exporting sequences one by one manually.
Step 1: Organize Your Timelines
- In Premiere Pro, each timeline is saved as a sequence.
- Make sure each sequence is properly named (e.g., Wedding Highlight, YouTube Edit, Instagram Reel).
- Keep them inside a Sequences Bin in your Project Panel for easy access.
Step 2: Queue Timelines in Adobe Media Encoder
The most efficient way to export multiple sequences is by using Adobe Media Encoder (AME).
- Select the first sequence in the Project Panel.
- Go to File > Export > Media (or press Ctrl+M / Cmd+M).
- In the Export Settings window, click Queue instead of Export.
- This opens Adobe Media Encoder.
- Repeat the same steps for each sequence you want to export.
- All timelines will appear in the Media Encoder queue.
Step 3: Customize Export Settings
For each sequence in the AME queue:
- Choose Format: H.264 (for YouTube/social media), ProRes/DNxHD (for professional delivery).
- Choose Preset: YouTube 1080p Full HD, Match Source, or custom.
- Define Output Name and Location to organize your exports.
Pro Tip: Add sequence names to filenames automatically for clarity.
Step 4: Batch Export
- Once all timelines are queued, click the Green Play button in Media Encoder.
- AME will export all sequences one after the other.
- This allows you to continue working in Premiere Pro while AME handles the exports.
Alternative Method: Manual Export
If you don’t have Media Encoder:
- Open each sequence in Premiere Pro.
- Go to File > Export > Media.
- Export each one individually.
This method works but is slower compared to batch exporting.
Pro Tips for Exporting Multiple Timelines
- Use Presets – Save custom presets (e.g., Wedding 4K, YouTube 1080p, Instagram Reels) to speed up exports.
- Check Sequence Settings – Make sure resolution and frame rate match your final delivery needs.
- Name Clearly – Avoid confusion by naming sequences and exports properly.
- Batch Overnight – Queue multiple timelines before leaving your system overnight.
- Hardware Acceleration – Enable GPU acceleration in AME for faster rendering.
Real-World Applications in Nepal
- Wedding Films – Export highlight, trailer, and full edit simultaneously.
- YouTube Creators – Export main video plus shorts/reels versions.
- Corporate Videos – Export multiple language versions.
- Short Films – Export festival submission version, director’s cut, and web version.
For editors in Nepal juggling multiple client projects, batch exporting with Media Encoder is a huge time-saver.
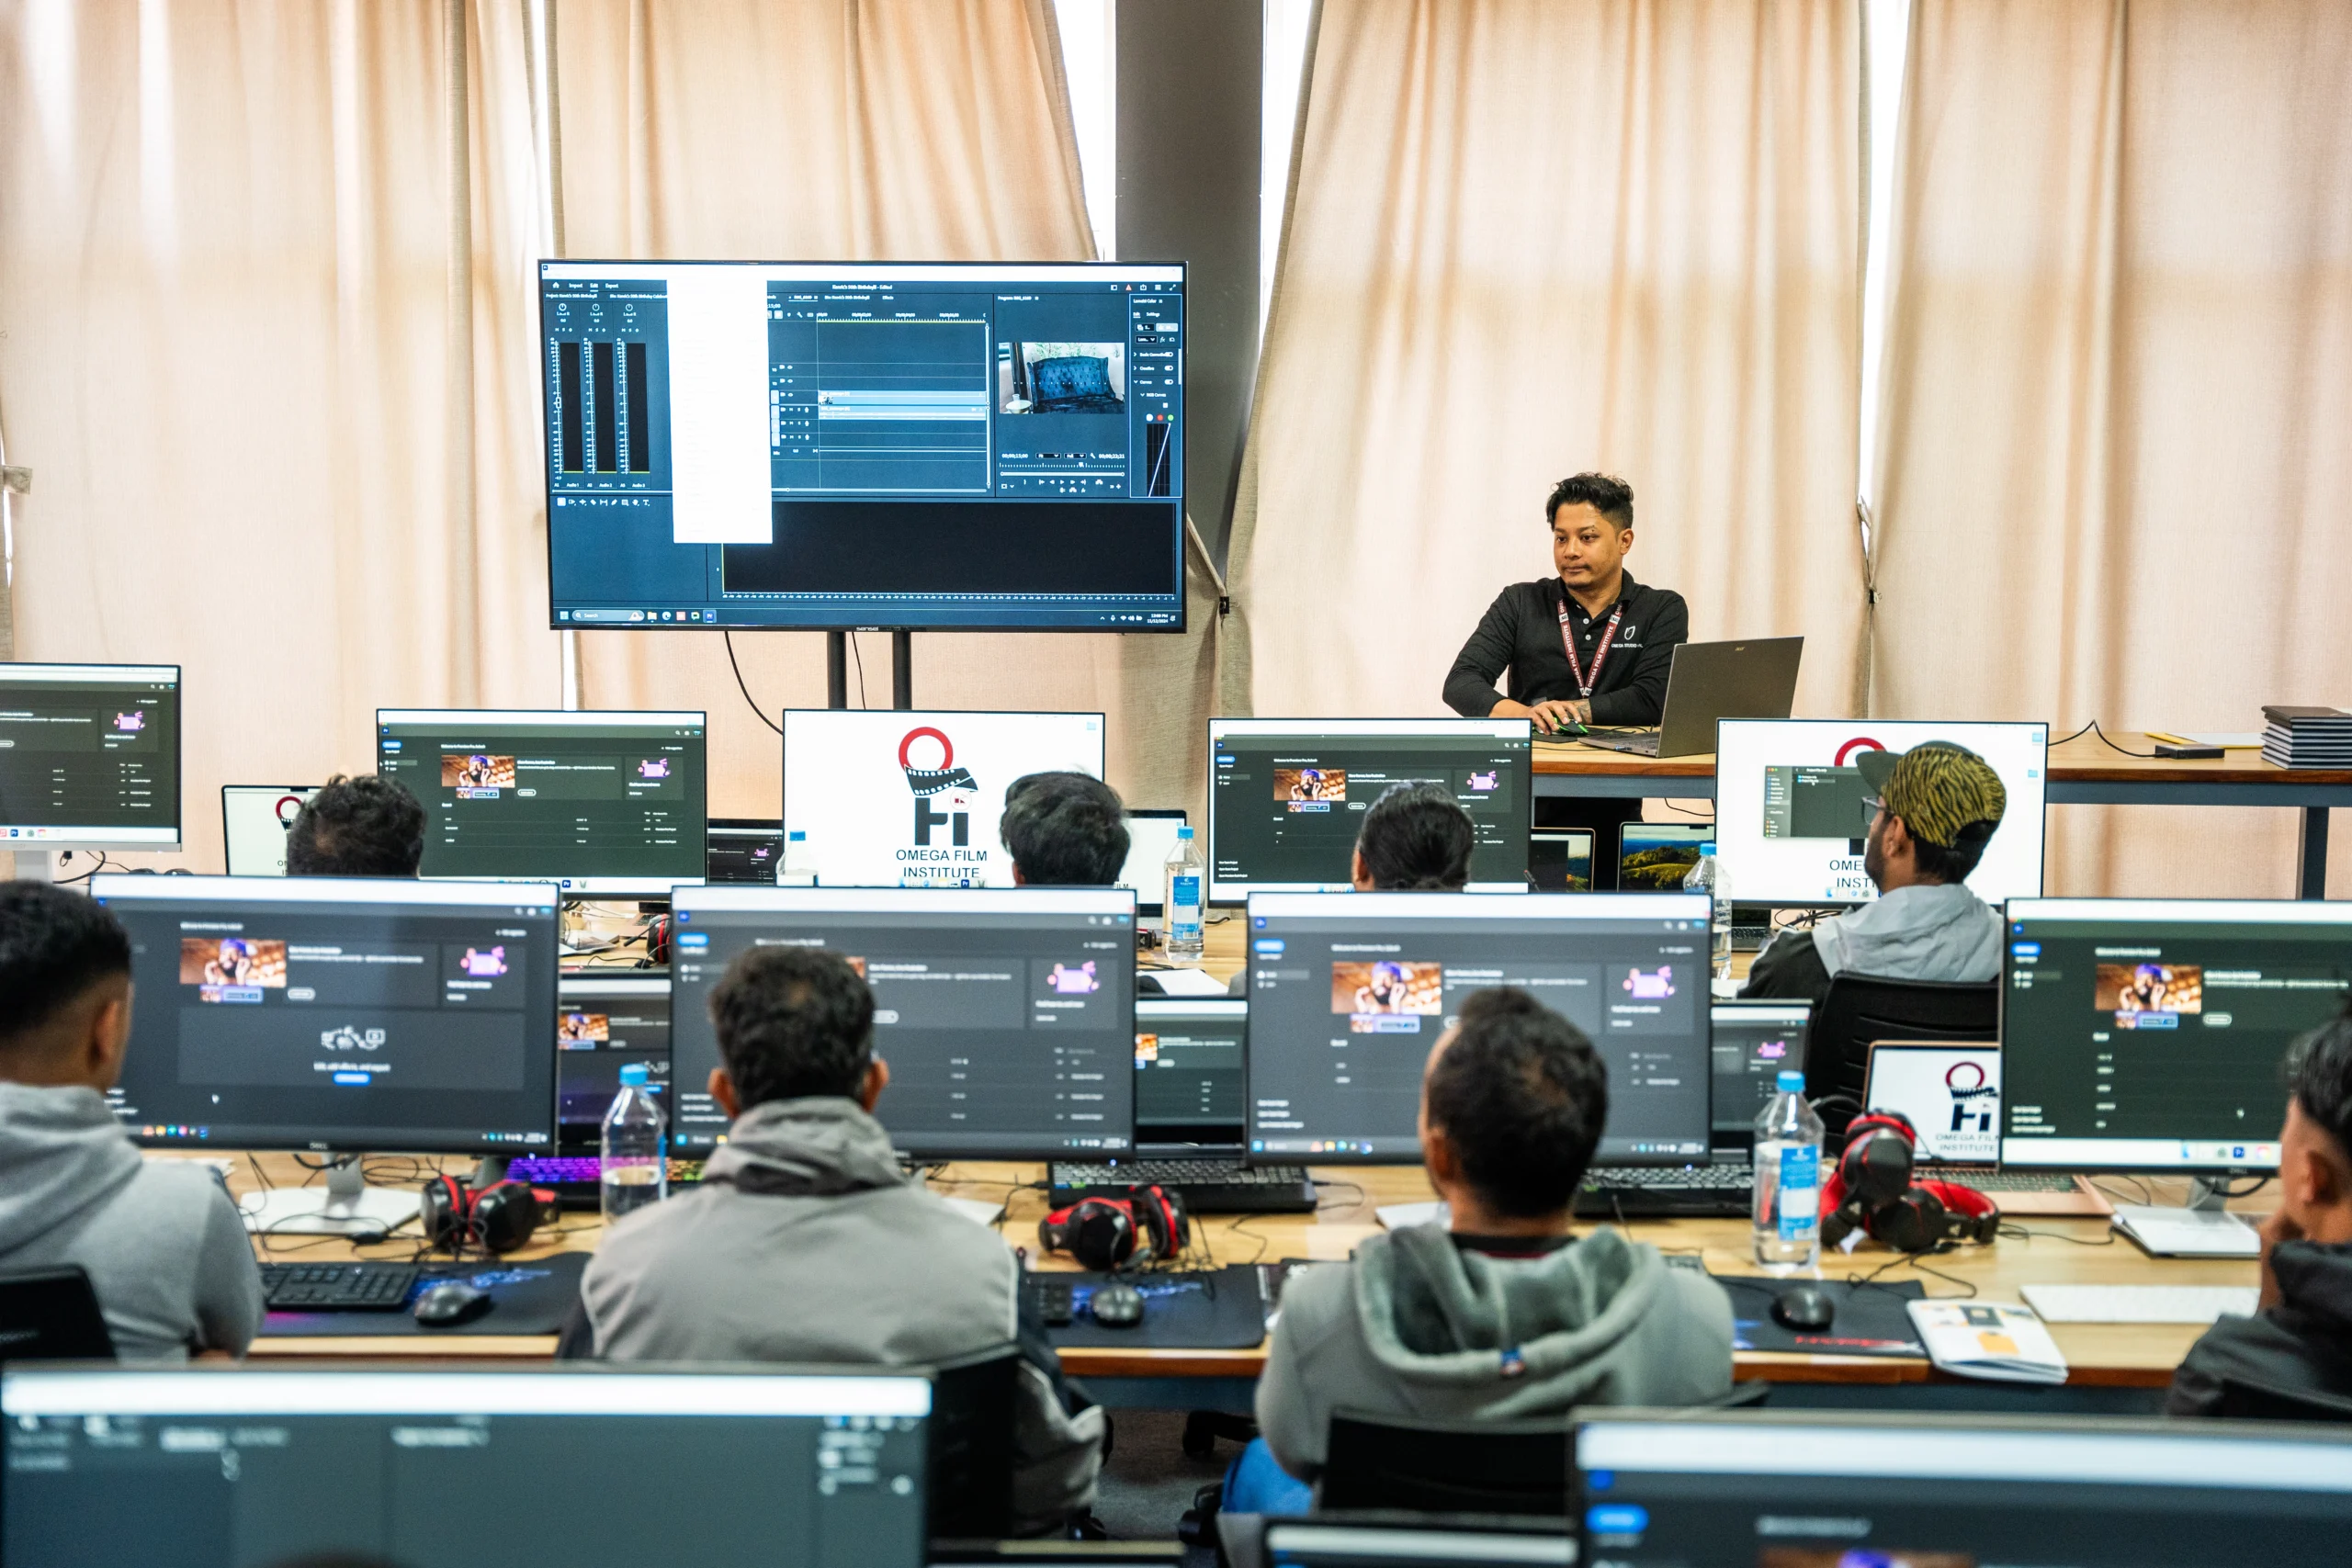
Why Learn at Omega Film Institute?
At Omega Film Institute, we prepare students for professional workflows by teaching:
- Advanced exporting techniques in Premiere Pro
- Integration with Adobe Media Encoder
- File organization and project delivery methods
- Real projects, including weddings, YouTube content, and commercials
By the time they graduate, our students can deliver professional edits faster and more efficiently than competitors.
Conclusion
Exporting multiple timelines in Adobe Premiere Pro doesn’t have to be time-consuming. With Adobe Media Encoder, you can batch export multiple sequences efficiently, saving time and delivering projects on schedule. Whether you’re working on wedding films, corporate videos, or YouTube content in Nepal, this skill will help you stay ahead.
If you want to master Adobe Premiere Pro, DaVinci Resolve, and professional editing workflows, join Omega Film Institute—Nepal’s best video editing school. Learn practical skills that prepare you for the real demands of the media industry.
Enroll today and take your video editing career to the next level with Omega Film Institute.
