How to Create Cinematic Mountain Footage: Editing Tips for Himalayan Shoots
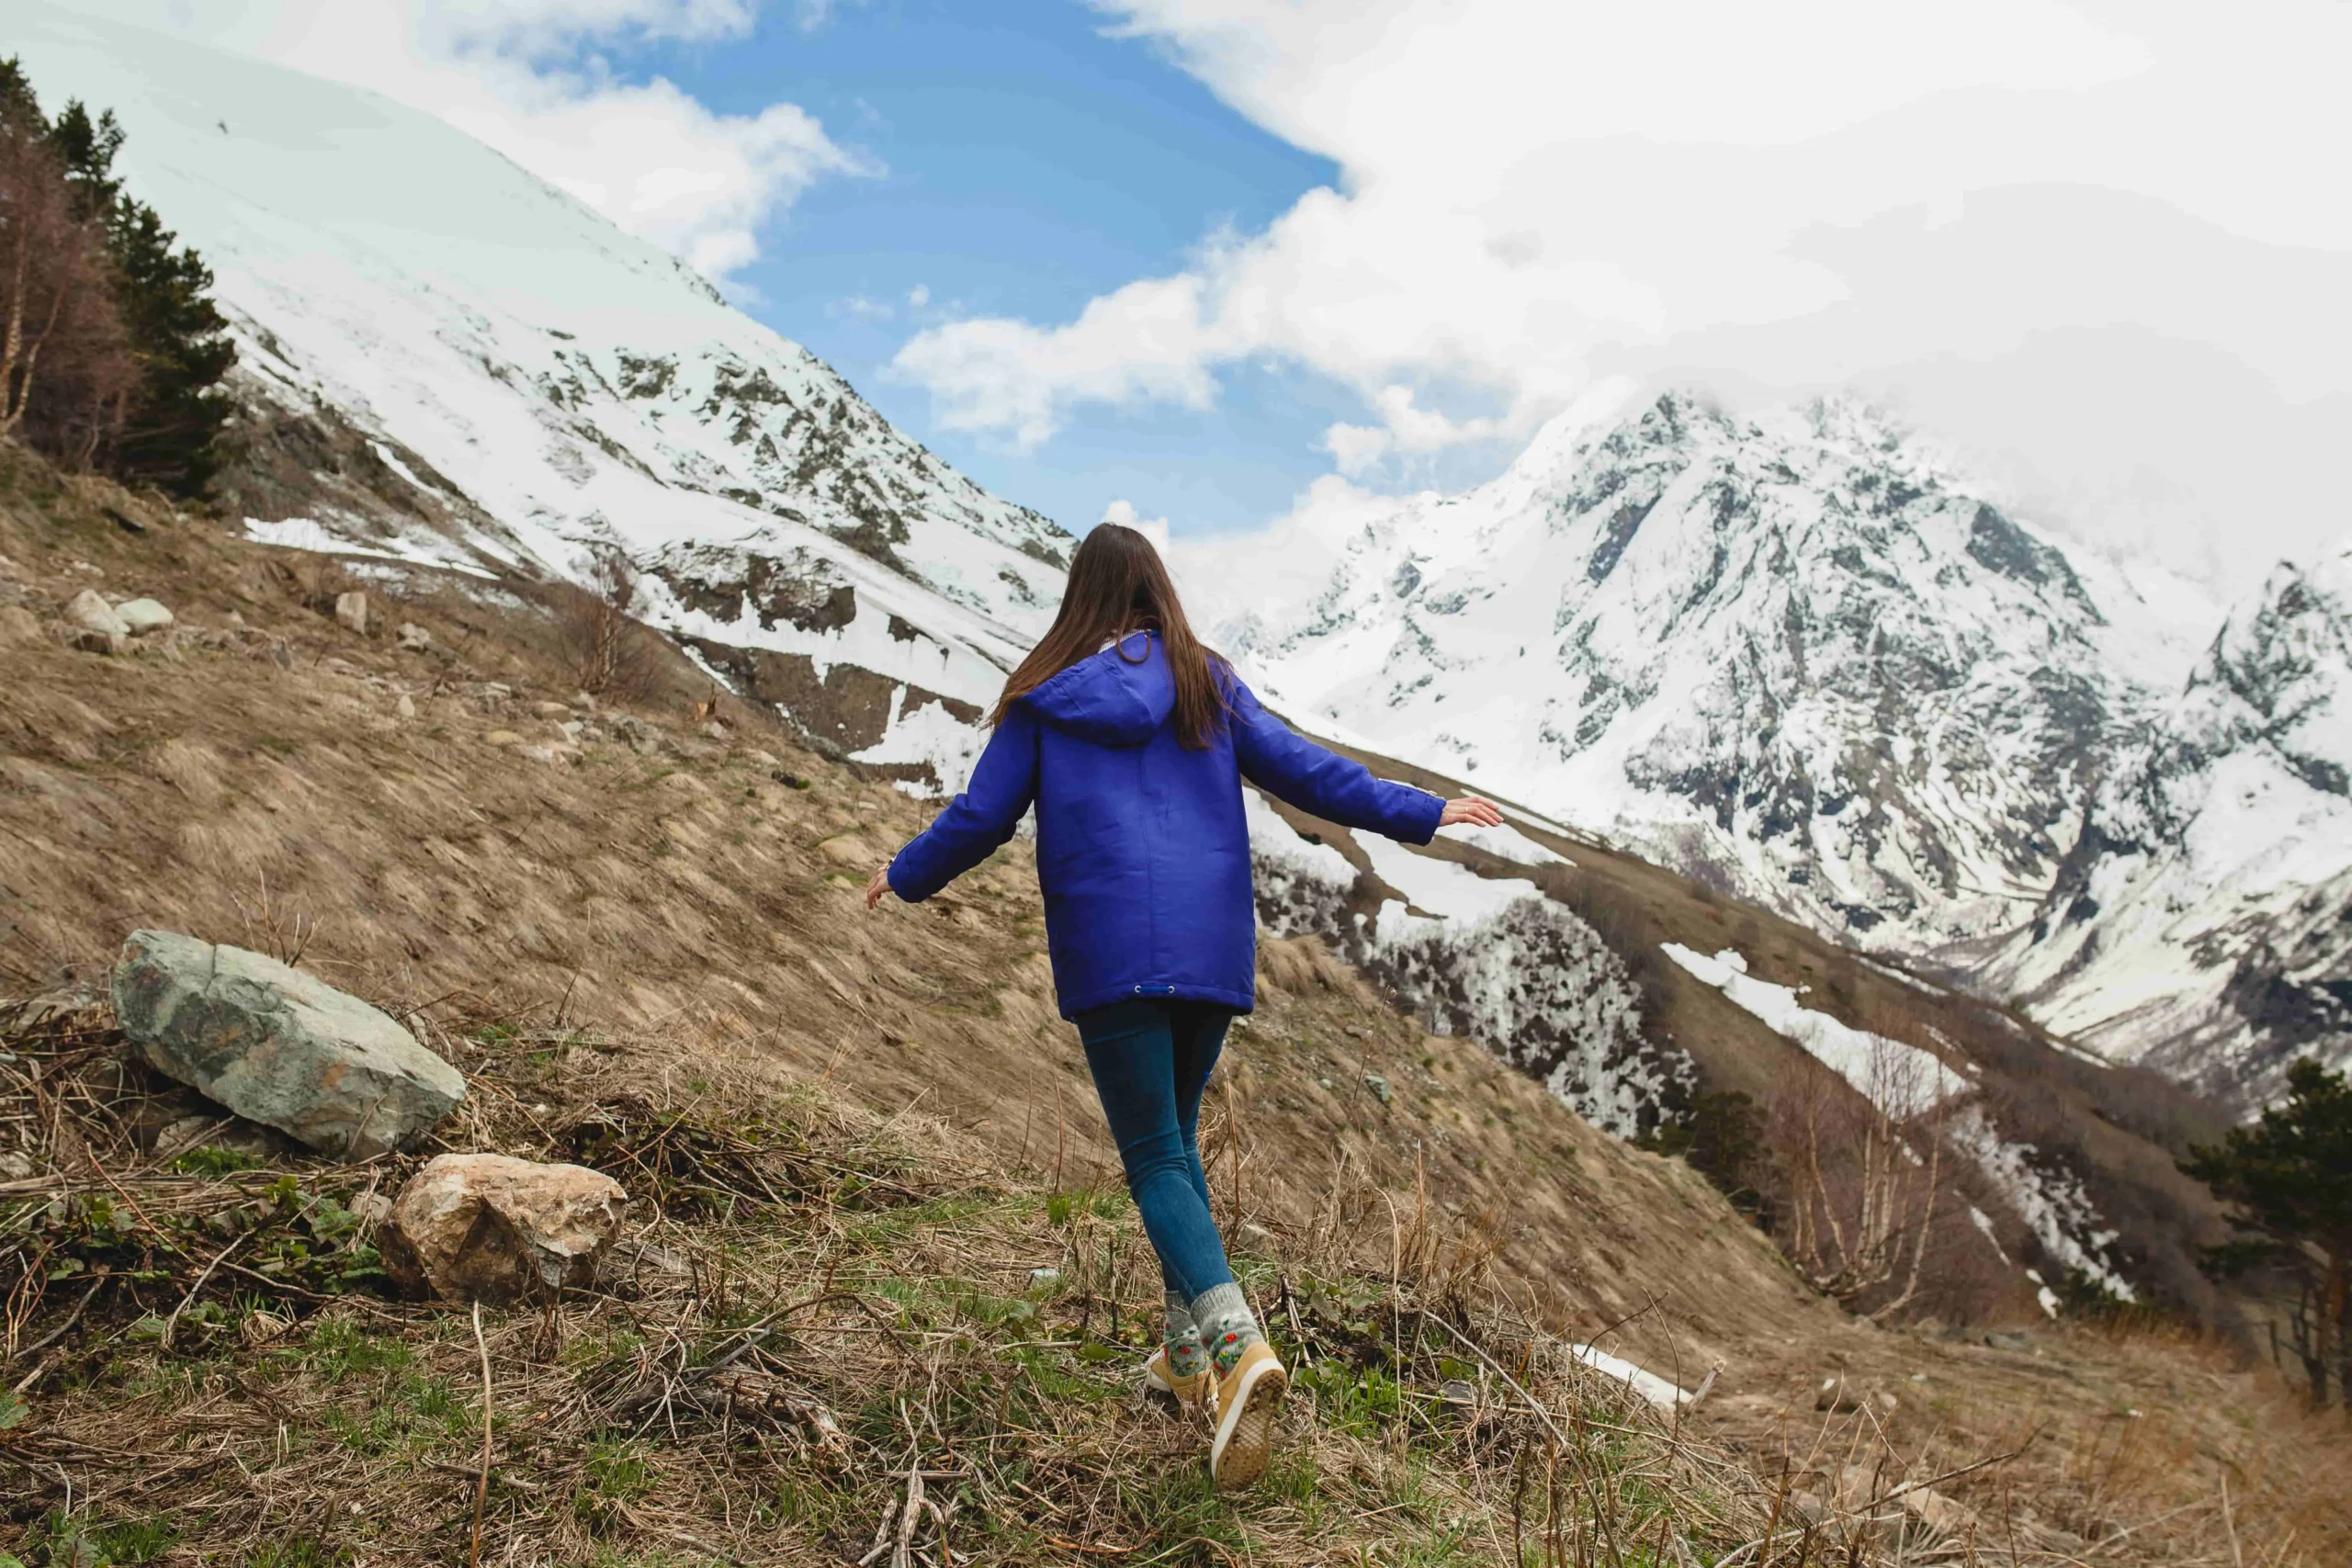
The Himalayas are more than just a mountain range; they are a cinematic canvas of unparalleled grandeur, stark beauty, and profound spiritual energy. Cinematic mountain video editing is what transforms this raw visual magnificence into an emotionally powerful film experience. Capturing the Himalayas on camera is unforgettable, but shaping that footage into a truly cinematic masterpiece is where the real magic of editing happens. For filmmakers and aspiring editors in Nepal and beyond, mastering cinematic mountain video editing for high-altitude, dramatic landscapes is a skill that sets you apart in today’s competitive film industry.
At Omega Film Institute, the best video editing school in Nepal, we don’t just teach you software like Adobe Premiere Pro and DaVinci Resolve—we teach you the art of visual storytelling tailored to your environment. This guide dives deep into the specific editing techniques you need to make your Himalayan mountain footage look breathtakingly cinematic and ready for the world stage.
Why Himalayan Footage Needs Specialised Editing
Shooting in the mountains presents unique challenges: harsh light, unpredictable weather, extreme contrast between shadows and highlights, and the sheer scale of the landscape. Effective post-production is crucial for:
- Recovering Detail: Bringing back lost details in the snow-white peaks and the deep shadows of the valleys.
- Establishing Scale: Enhancing the feeling of immense size and verticality.
- Creating Mood: Using colour and contrast to convey the awe, isolation, or majesty of the environment.
Phase 1: Preparation and Organisation in Adobe Premiere Pro
Before you even touch the colour wheels, an efficient workflow is essential, especially with the large file sizes often associated with 4K+ cinematic footage.
1. Proxies and Optimised Sequences
Himalayan shoots often involve high-resolution, high-bitrate codecs (like ProRes or CinemaDNG). Running these files natively can cripple your computer.
- Tip: Use the Proxy Workflow in Adobe Premiere Pro. Generate lower-resolution, editor-friendly versions (proxies) for smooth playback and editing. Once done, simply switch back to the original files for final export.
- Organisation: Group shots by location, time of day (e.g., “Sunrise_BaseCamp”), and shot type (e.g., “Drone_Pan,” “Timelapse”). A clean Project Panel is the first step to a clean final edit.
2. Mastering Timelapses and Hyperlapses
Mountains are ideal subjects for time-based techniques that compress hours into seconds, conveying the dramatic movement of clouds, shadows, and light.
- Stabilisation: Use Premiere Pro’s Warp Stabiliser judiciously on your hyperlapses. For timelapses, consider deflickering if exposure shifts occurred (though manual adjustments in the raw processing stage are often better).
- Speed Ramping: Use Speed Ramping (remapping) to smoothly transition from real-time motion to compressed time, emphasizing a moment of action (like a climber ascending) before accelerating the background movement.
Phase 2: The Art of the Cut: Pacing and Scale
Cinematic editing is less about showing everything and more about carefully controlling what the viewer experiences.
3. Emphasising Scale with Slow Cuts
To convey the sheer, intimidating scale of the Himalayas, avoid rapid-fire cutting.
- Hold the Shot: Allow wide shots of the massive peaks to linger for 3 to 6 seconds. This gives the viewer time to absorb the scale and detail. Fast cuts diminish the feeling of size.
- The Contrast Cut: Cut from a tight, human-focused shot (a climber’s face, hands on a rope) directly to an ultra-wide shot of the peak. This juxtaposition is a powerful editing technique to emphasise the smallness of man against nature.
4. The Power of Movement (Camera and Edit)
Movement keeps the viewer engaged. In post-production, this means enhancing existing movement or adding subtle movement to static shots.
- Refining Drone Shots: Drone shots are the backbone of mountain cinematography. Ensure pans and tilts are butter-smooth. If needed, a feathered Gaussian Blur applied to the edges of wide, fast drone moves can sometimes mimic the natural motion blur of high-end cinema cameras.
- “Ken Burns” Effect: For static photos or even high-res video clips, add a slow, subtle push-in or push-out (zoom) to introduce gentle movement. The slower the better—it should be barely perceptible but enough to bring the scene to life.
Phase 3: Colour Grading for Drama in DaVinci Resolve
This is the most critical stage for achieving the “cinematic” look. DaVinci Resolve, with its industry-leading colour tools, is your best friend here.
5. Recovering Highlights and Shadows
The extreme dynamic range of a bright, snow-covered mountain under a blue sky is a challenge.
- The Waveform Monitor: Constantly monitor your Luminance Waveform scope in DaVinci Resolve. The goal is to bring the peaks (highlights) down and the troughs (shadows) up without clipping.
- Logarithmic Correction (If Shot in Log): If you shot in a Log profile (S-Log, C-Log, V-Log), apply the correct Rec. 709 Look-Up Table (LUT) first. Then, use the Primary Wheels/Bars to fine-tune exposure, bringing the blacks down and the whites up to fill the 0-1023 range (or 0-100 IRE).
6. The “Cold Blue/Warm Foreground” Look
A classic cinematic mountain look uses colour separation to enhance mood and depth.
- Split Toning: In DaVinci Resolve, use the Log Wheels or Offset/Gain/Gamma controls to introduce subtle blues into the shadows and slight warmth/gold into the midtones and highlights. This cool/warm contrast enhances the sense of high-altitude chill and dramatic light.
- Sky and Snow Isolation: Use a Hue vs. Saturation curve to select the blues of the sky and deepen them without affecting other colours. Be careful with snow—it should be slightly blue to look white in the mountains, but avoid making it look icy or sterile.
7. Sharpening and Noise Reduction
Sharp peaks are essential, but high ISO shooting often introduces noise.
- Noise Reduction First: Always apply Noise Reduction before sharpening. Use DaVinci Resolve’s powerful spatial and temporal noise reduction tools to clean up dark areas (like the insides of a tent or deep valleys).
- Selective Sharpening: Use a Power Window or a Luminance Qualifier to apply sharpening only to the rock faces and distant mountain ridges. Avoid sharpening the sky, which can introduce artefacts and a grainy look.
Phase 4: Final Polish and Sound Design
A cinematic visual is only half the battle; sound is arguably more important for immersion.
- Foley for Realism: Add sound effects (Foley) that emphasise the environment: the crunch of boots in snow, the whistle of the wind, or the distant caw of an eagle. This grounds the beautiful visuals in a tangible reality.
- Musical Score: Choose a score with a wide dynamic range—quiet, ambient sections for the peaceful shots, and sweeping, orchestral swells to coincide with the majestic wide shots and peak reveals. Match the music’s climax to the most powerful visual moments.
Omega Film Institute: Elevating Your Mountain Storytelling
Creating cinematic mountain footage requires a sophisticated understanding of both light captured in the field and the powerful tools available in the edit suite. At Omega Film Institute, our courses in Adobe Premiere Pro and DaVinci Resolve focus on these real-world, environment-specific challenges, ensuring you graduate with the practical skills to tell the world’s most dramatic stories, right here from Nepal.
Ready to conquer the cinematic peaks? Enroll in Nepal’s best video editing school and transform your Himalayan footage into global-standard cinema.
Contact Omega Film Institute today to explore our comprehensive video editing programs!
