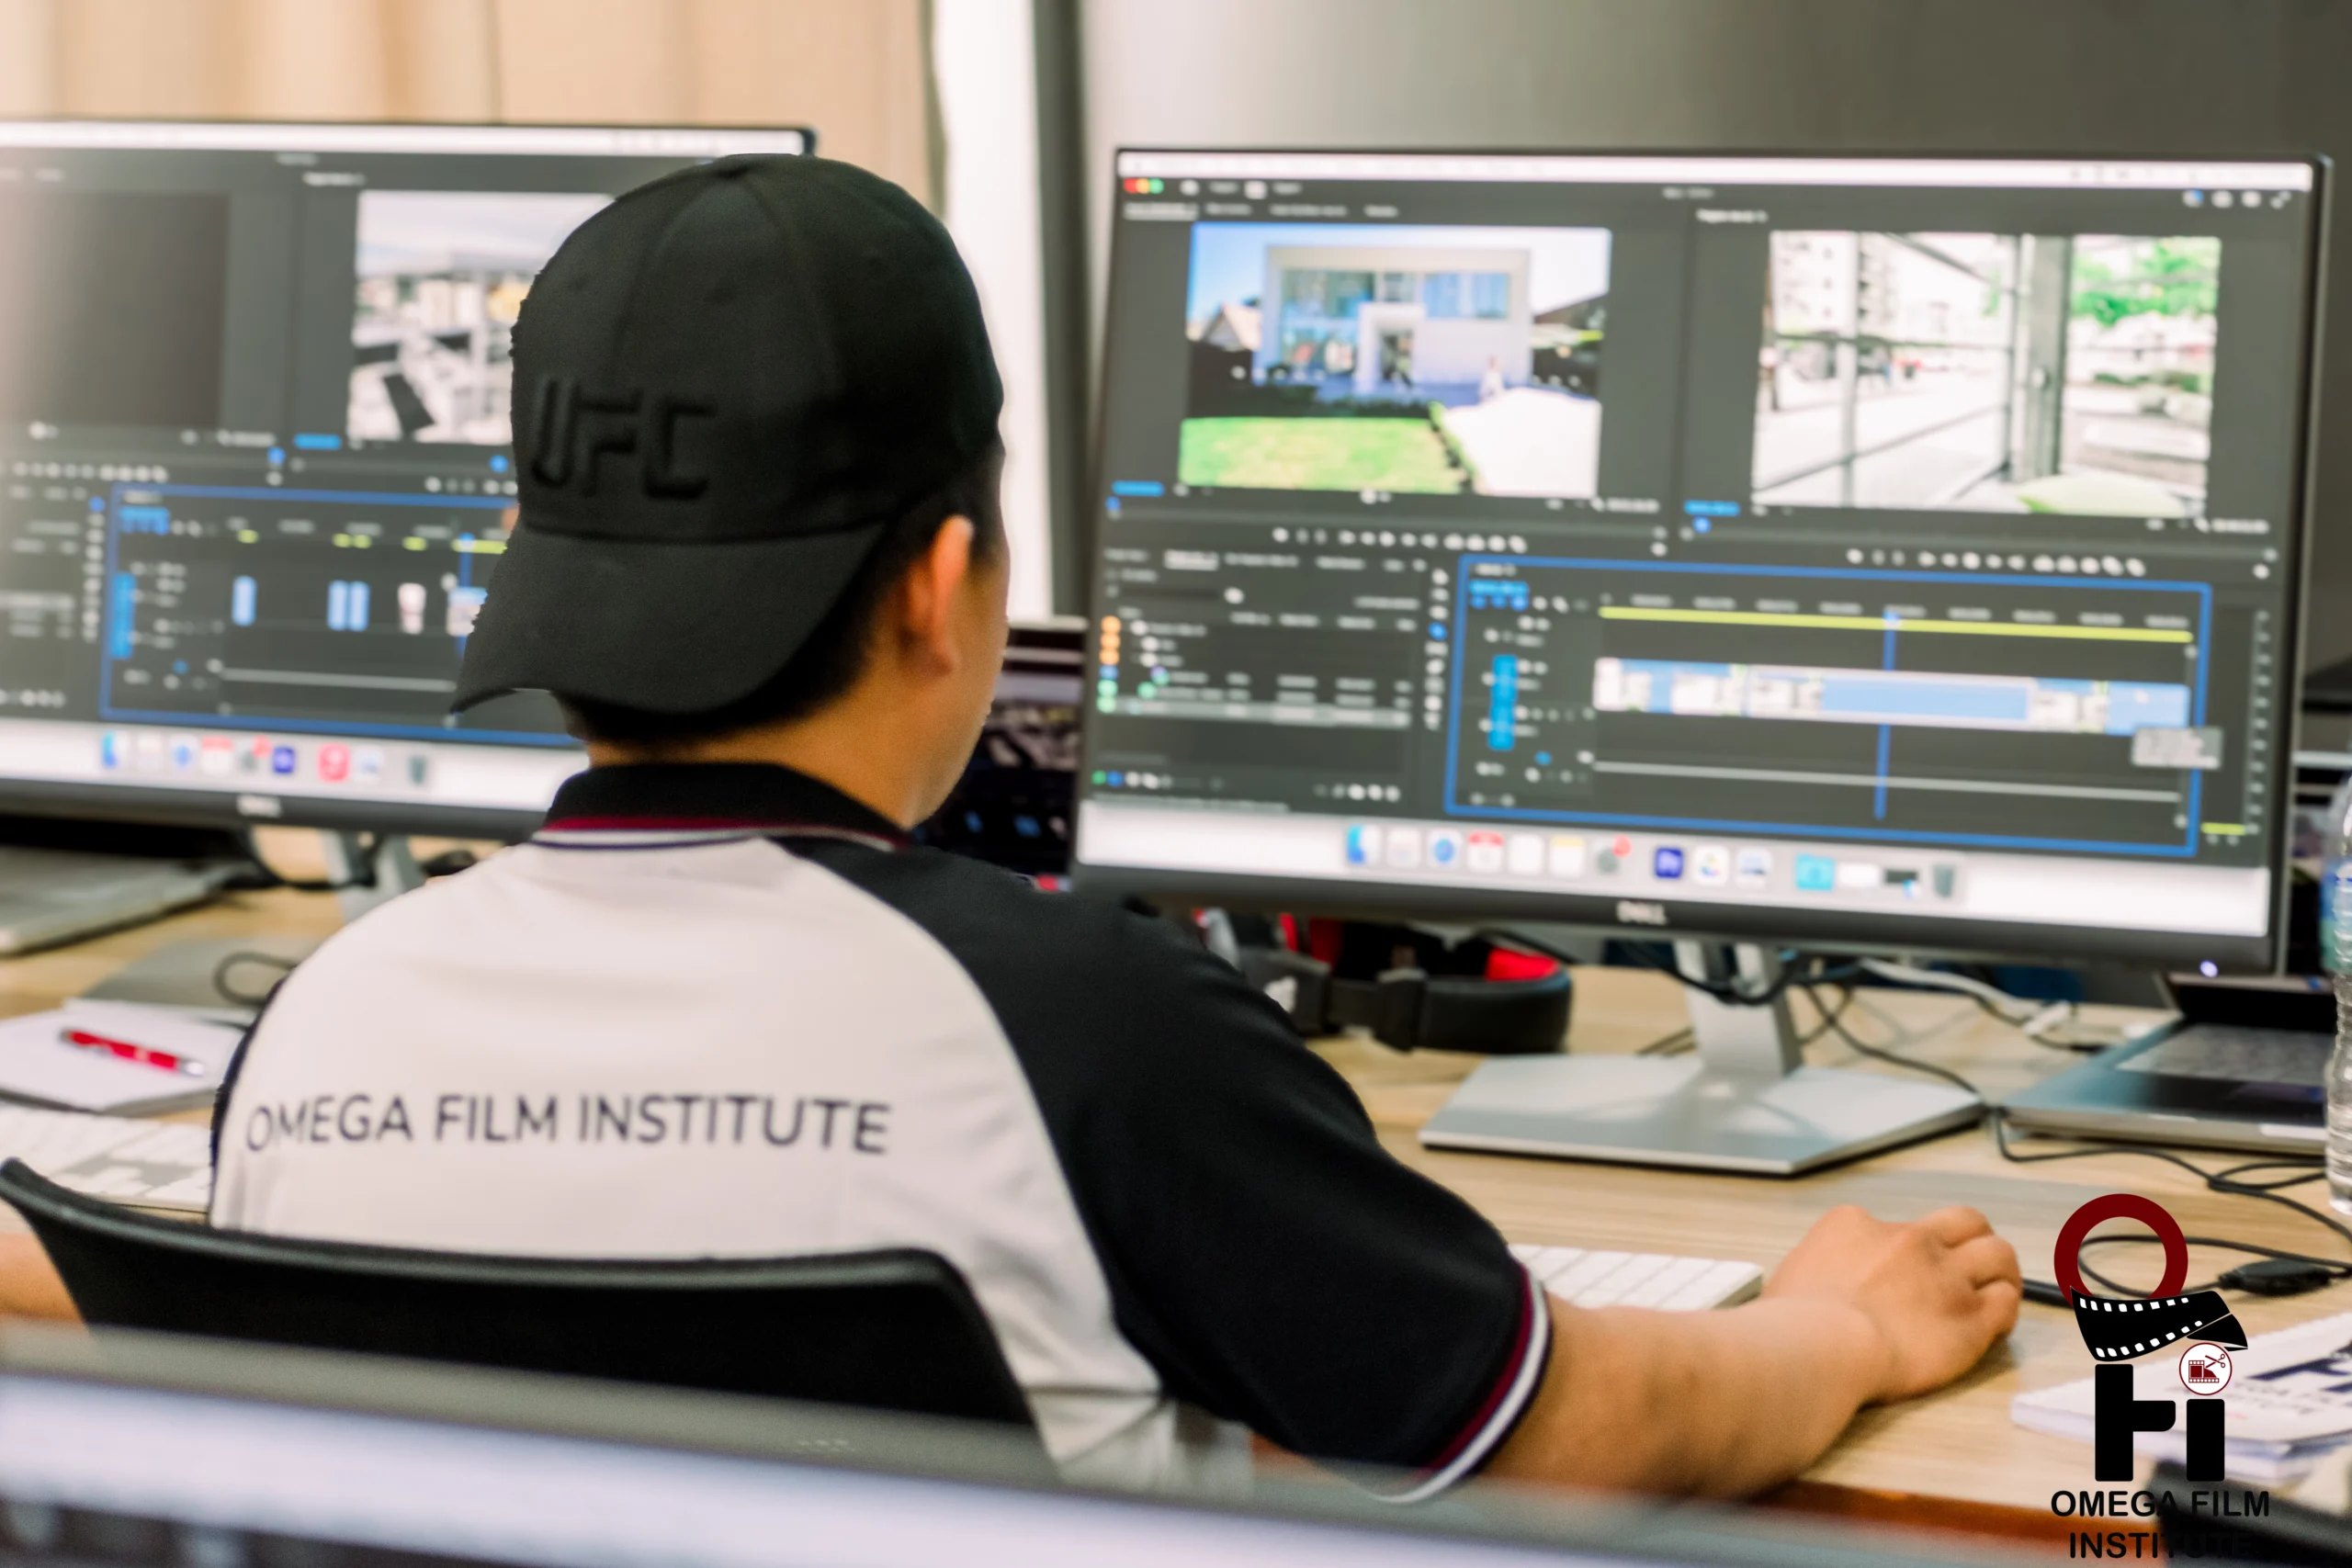
Mastering the Basics: A Beginner’s Guide to Using Color Wheels in Video Editing

Color plays a crucial role in storytelling. Whether it’s enhancing mood, guiding emotion, or establishing visual continuity, understanding how to use color effectively can elevate your video editing from ordinary to professional. One of the most powerful tools for color correction and color grading is the color wheel.
At Omega Film Institute, Nepal’s top video editing school, we teach aspiring editors how to master color wheels through professional color grading techniques using industry-standard software like Adobe Premiere Pro and DaVinci Resolve. This guide will walk you through the fundamentals of using color wheels so you can start creating visually stunning and emotionally resonant content.
What Is a Color Wheel in Video Editing?
A color wheel is a visual tool used to adjust the color balance of a video. It lets you manipulate the shadows, midtones, and highlights to achieve the desired look or correct color imbalances.
Most professional editing software includes three primary color wheels:
- Shadow Wheel: Affects the darkest parts of the image.
- Midtone Wheel: Adjusts the middle range of brightness.
- Highlight Wheel: Controls the brightest areas of your frame.
By shifting the wheel in different directions, you can push these tonal ranges toward warmer or cooler tones, adjust saturation, and create visual consistency across shots.
Why Use Color Wheels?
- Correct Color Imbalance: Fix shots that are too warm, too cool, or incorrectly exposed.
- Create a Mood: Use color to reinforce emotion—blue tones for sadness, warm orange for happiness or nostalgia.
- Match Footage: Make multiple camera sources look uniform.
- Improve Skin Tones: Subtle adjustments to midtones can dramatically improve how skin looks on camera.
Step-by-Step: How to Use Color Wheels for Beginners
1. Import and Prepare Your Footage
Open your project in Adobe Premiere Pro or DaVinci Resolve and import the clips you want to correct. Place them in the timeline and locate the color grading tab.
2. Identify Problem Areas
Look at your footage and identify:
- Areas that appear too dark or too light.
- Scenes with unwanted color casts (like green or yellow).
- Inconsistent lighting or color between different clips.
Use video scopes (such as waveform and vectorscope) if available to get a technical view of your color balance.
3. Adjust Shadows
Start with the shadows. If your dark areas are tinted (for example, slightly green), use the shadow wheel to pull them back towards a neutral color. Move the wheel slightly in the opposite direction of the cast.
4. Correct Midtones
The midtone wheel affects faces and natural surfaces the most. Adjust it to:
- Neutralize skin tones.
- Remove any unwanted tints from middle brightness areas.
Be gentle—small movements have a big effect.
5. Tweak Highlights
Use the highlight wheel to brighten or shift the color of the lightest parts of your image. You can:
- Warm up white areas.
- Cool down harsh daylight.
- Add a subtle cinematic tone.
6. Match Color Between Shots
When working with multiple clips, match them by comparing one clip’s shadows, midtones, and highlights to another. You can:
- Use the “comparison view” tool (in software like Premiere).
- Copy color grading settings from one clip and paste to others, then fine-tune using the wheels.
7. Add Finishing Touches
Once your footage is balanced:
- Boost saturation slightly for a vivid look.
- Use contrast to add depth.
- Apply a vignette or creative LUT if your project requires a stylized feel.
Best Practices for Beginners
- Work in a properly lit environment. Color perception changes under different lighting.
- Use calibrated monitors. An uncalibrated screen can lead to incorrect corrections.
- Make small adjustments. The color wheel is sensitive—subtle changes often yield better results.
- Always use scopes. They provide accurate information, which is especially helpful for skin tones and broadcast standards.
Common Mistakes to Avoid
- Over-saturating: This makes your footage look unrealistic.
- Skipping midtone adjustments: Midtones are where the eye is most sensitive.
- Relying only on your eyes: Use scopes to guide your decisions.
- Not matching shots: Even small color mismatches between clips are noticeable.
Learn With Omega Film Institute
At Omega Film Institute, we offer hands-on training in Adobe Premiere Pro, DaVinci Resolve, and the full suite of color grading tools. Our students learn:
- Real-world color correction techniques
- Creative color grading to enhance visual storytelling
- How to use scopes and wheels with confidence
- Advanced workflows to prepare for high-end editing projects
Whether you’re working on music videos, documentaries, weddings, or short films, color mastery can set your work apart.
Conclusion
Color wheels are a beginner-friendly yet powerful tool for improving your video edits. By mastering their use, you can transform flat, lifeless footage into cinematic, emotionally engaging stories.
With practice and the right training—like what you’ll receive at Omega Film Institute—you’ll be on your way to creating polished, professional-grade videos.
Ready to elevate your editing skills?
Join Omega Film Institute and start your journey toward mastering the art and science of color in video editing. Visit Omega Film Institute to learn more.
