4 Tips for Converting Horizontal Footage into Vertical Videos in Premiere Pro
Introduction: The Rise of Vertical Video
The rise of smartphones and social media has dramatically shifted the way people consume video content. Traditionally, videos were filmed in a horizontal (landscape) format, which was ideal for television and cinema. However, with the increasing use of mobile devices, vertical videos have become the preferred format for capturing and sharing content. Social media platforms are now optimized for vertical viewing, and users expect content that fits perfectly on their mobile screens. For creators and editors looking to adapt, learning how to convert horizontal to vertical video in Premiere Pro is essential for producing mobile-friendly content that resonates with today’s audience.
For content creators, marketers, and videographers in Nepal, adapting to this change is not just a trend—it’s a necessity. Whether you are a freelancer, a business owner, or an aspiring video editor, knowing how to convert horizontal footage into vertical videos is crucial for reaching and engaging modern audiences.
The Importance of Vertical Videos in Today’s Market
Vertical videos offer several advantages that make them ideal for today’s digital media consumption:
- Mobile-Friendly Viewing: Vertical videos fit the natural orientation of a smartphone, providing an immersive viewing experience.
- Higher Engagement: Research shows that vertical videos often result in higher engagement and retention rates on platforms like Instagram and TikTok.
- Improved Reach: Social media algorithms tend to favor native vertical content, increasing the likelihood of your video being recommended to a wider audience.
- Versatility: Vertical videos can be repurposed for multiple platforms, making them an excellent tool for marketing, branding, and storytelling.
For businesses and content creators in Nepal, leveraging vertical videos can lead to increased brand visibility, higher conversion rates, and a stronger online presence. Omega Film Institute equips students with the skills to master these techniques, ensuring they are well-prepared for the competitive digital landscape.
Challenges in Converting Horizontal Footage to Vertical Videos
Converting horizontal footage to a vertical format is not as simple as changing the aspect ratio. The process presents several challenges that require careful planning and execution:
- Composition Issues: Horizontal footage is typically composed for widescreen viewing. Converting it to a vertical format can lead to important elements being cut off or misaligned.
- Loss of Visual Information: When you switch from a 16:9 to a 9:16 ratio, you may lose background details or key visual cues that contribute to the overall narrative.
- Technical Adjustments: Ensuring the video maintains high quality, correct color balance, and proper framing in a vertical format requires technical expertise and creativity.
- Consistency in Branding: For businesses and influencers, maintaining brand consistency when converting formats is essential for recognition and credibility.
Despite these challenges, mastering the conversion process can open up new creative opportunities and help you reach a broader audience.
Tip 1: Plan Your Conversion Strategy
Before diving into the editing process, planning is critical. Determine the story you want to tell with your vertical video and how the existing horizontal footage can be re-framed to support that narrative.
Key Planning Steps:
- Review Your Footage: Watch your horizontal footage carefully and identify key moments that must be retained. Focus on elements like facial expressions, important text, or critical actions that tell your story.
- Decide on the Focus: In a vertical format, the central focus becomes even more important. Decide which part of the frame is most important and plan to center it.
- Storyboard Your Edit: Sketch out a rough storyboard or outline how the final vertical video will look. This will help you determine which portions of the horizontal footage to use and how to crop them effectively.
- Consider Adding B-Roll: If you find that critical information is lost during cropping, consider incorporating additional B-roll or graphical elements to fill the gaps.
By planning your conversion strategy, you ensure that you retain the essence of your original footage while making it suitable for vertical viewing.
Tip 2: Use Premiere Pro’s Cropping and Scaling Tools
Adobe Premiere Pro offers powerful tools to help you convert horizontal footage into vertical format without losing quality. The key is to use cropping and scaling features to reframe your shots effectively.
How to Crop and Scale:
- Set Up a Vertical Sequence: Start by creating a new sequence with a vertical aspect ratio (9:16). In Premiere Pro, you can manually set the sequence settings to 1080 x 1920 or any vertical resolution that suits your needs.
- Reposition the Footage: Drag your horizontal footage onto the vertical timeline. Use the Motion controls in the Effects Control panel to adjust the position of the video. You can reposition the shot so that the most important elements are centered.
- Adjust Scale: If needed, scale up your footage to fill the vertical frame. Be cautious, as scaling too much may reduce the overall quality. Find the balance between filling the frame and maintaining clarity.
- Keyframe Motion: For dynamic shots where the subject moves across the frame, use keyframes to adjust the position throughout the video. This ensures that the focus remains on the subject even as they move.
Using these tools allows you to maintain the quality of your footage while adapting it to a vertical format.
Tip 3: Enhance Composition with Creative Reframing
Once you have cropped and scaled your footage, it’s time to focus on creative reframing. This step is about reimagining the composition to make the vertical video as engaging as possible.
Techniques for Creative Reframing:
- Reposition Key Elements: Shift the focus of the shot by repositioning the subject or important elements so they are centered in the vertical frame.
- Use Dynamic Cuts: Combine close-ups and wide shots strategically. For example, start with a wide shot to establish context, then cut to a close-up to capture emotion.
- Add Graphics and Text: Use text overlays, lower thirds, or animated graphics to emphasize key points and fill any visual gaps left by the cropping process.
- Incorporate Motion Graphics: Enhance your vertical video with motion graphics that complement your brand’s style. This can help reintroduce lost background elements and add visual interest.
- Experiment with Transitions: Smooth transitions between shots can help maintain the flow of your narrative. Consider using fades, dissolves, or custom transitions that blend seamlessly with your content.
By focusing on creative reframing, you can transform a simple crop into a visually dynamic piece that stands out on mobile devices and social media platforms.
Tip 4: Maintain Consistency and Brand Identity
For businesses and content creators, maintaining consistency across all videos is crucial for brand recognition. When converting horizontal footage to vertical videos, it is important to ensure that your brand’s visual identity remains intact.
How to Maintain Brand Consistency:
- Use Consistent Color Grading: Apply a uniform color grade across your vertical videos to ensure they have a consistent look and feel. Use LUTs (Look-Up Tables) to streamline this process.
- Incorporate Brand Elements: Add your logo, branded intros, and outros to every video. This not only reinforces your brand identity but also adds a professional touch.
- Standardize Text and Graphics: Use the same fonts, colors, and styles for text overlays and lower thirds across all your videos.
- Create a Template: Develop a vertical video template that includes pre-set transitions, graphics, and audio cues. This template can be used for all future projects, ensuring consistency and saving time during the editing process.
- Review and Iterate: Regularly review your vertical videos to ensure that they align with your overall branding strategy. Feedback from peers and audience analytics can provide valuable insights for improvement.
Maintaining consistency is key to building trust and recognition among your viewers, which is essential for long-term success in the digital space.
Create Engaging Thumbnails
- High-Quality Images: Design clear, eye-catching thumbnails that reflect the content of your video.
- Branding: Incorporate your logo and consistent color schemes to reinforce your brand identity.
Leverage Social Media and Backlinks
- Social Media Sharing: Promote your vertical videos on platforms such as Facebook, Instagram, TikTok, and YouTube to increase visibility.
- Backlinks: Collaborate with influencers, industry blogs, and partners to build high-quality backlinks to your content.
- Engage with Your Audience: Encourage comments, shares, and likes, as these engagement metrics can improve your SEO ranking.
Use Analytics for Continuous Improvement
- Monitor Performance: Use tools like Google Analytics and YouTube Analytics to track the performance of your videos.
- Adjust Strategies: Based on the analytics data, refine your content strategy, video format, and SEO techniques to maximize reach and engagement.
Why Omega Film Institute is the Best Place to Learn Video Editing in Nepal
For aspiring video editors in Nepal, Omega Film Institute stands out as the leading institution for mastering professional video editing. Here’s why:
Comprehensive Curriculum
Omega Film Institute offers courses covering every aspect of video editing, including techniques for converting horizontal footage to vertical videos. Our curriculum is designed to equip students with practical skills and industry knowledge.
Hands-On Training
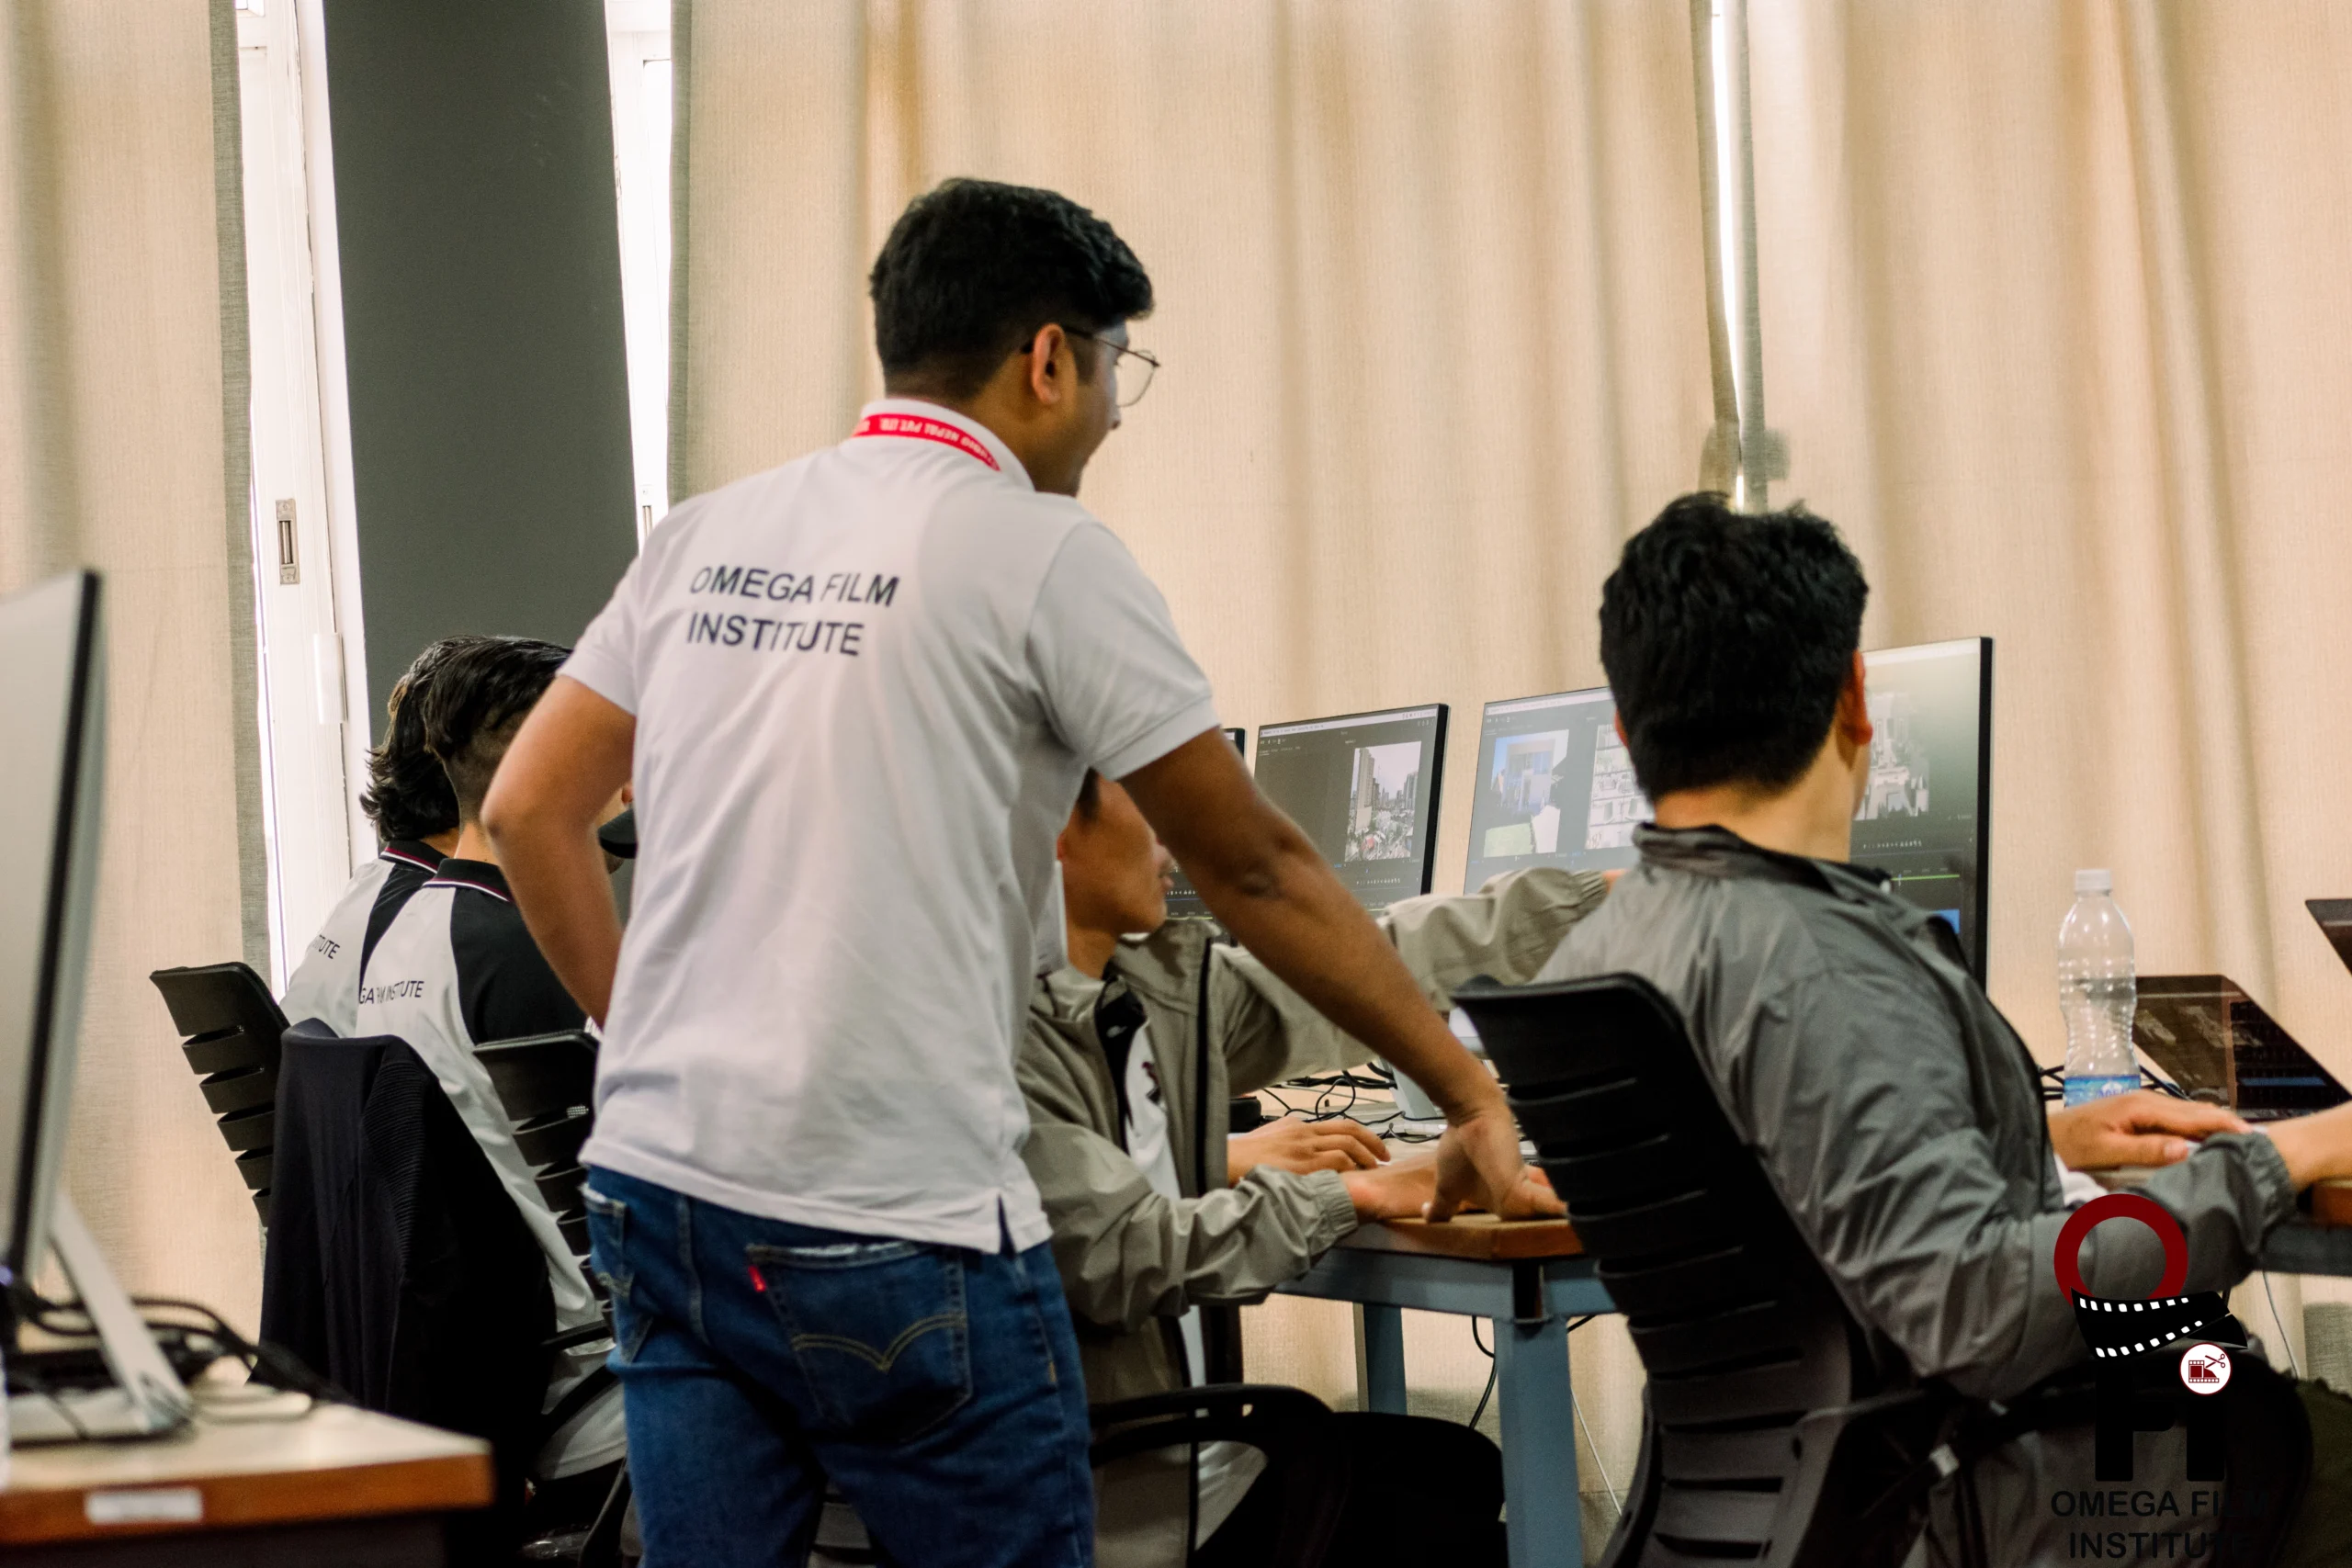
Students benefit from real-world projects, practical assignments, and access to state-of-the-art equipment. This hands-on approach ensures that graduates are job-ready and can handle any video editing challenge.
Expert Instructors
Our instructors are experienced professionals with extensive backgrounds in film and digital media. They bring real-world insights and best practices to every class, ensuring that students receive top-notch education.
Industry Connections and Career Support
Omega Film Institute offers robust job placement assistance, internships, and networking opportunities. Our graduates are highly sought after by leading companies in Nepal and beyond.
Certification and Recognition
Graduates from Omega Film Institute receive certification that validates their skills and enhances their professional profiles. This recognition is valuable for freelancers, full-time editors, and digital marketers alike.
Final Thoughts
Converting horizontal footage into vertical videos is a skill that is increasingly in demand as more content is viewed on mobile devices. With the right techniques in Adobe Premiere Pro, you can transform your footage to suit the vertical format without compromising quality or storytelling. By following the four tips outlined in this guide—planning your conversion strategy, using Premiere Pro’s cropping and scaling tools, enhancing your composition through creative reframing, and maintaining brand consistency—you can create vertical videos that capture attention and drive engagement.
Moreover, optimizing your content for SEO with targeted keywords and strategic metadata will help your videos rank higher on Google search results in Nepal. Whether you’re a business, content creator, or aspiring video editor, mastering these skills can set you apart in a competitive digital landscape.
At Omega Film Institute, we are dedicated to providing comprehensive video editing training that meets the needs of today’s digital market. Our courses are designed to empower students with the skills required to excel in various aspects of video editing—from basic cutting techniques to advanced color grading and vertical video conversion.
If you’re ready to elevate your video editing skills and adapt to the evolving demands of digital media, consider enrolling at Omega Film Institute. With our expert training, state-of-the-art facilities, and real-world projects, you’ll be well-prepared to become a professional video editor in Nepal.
Enroll Today and Transform Your Video Editing Career!
Contact Omega Film Institute today to learn more about our courses and how we can help you become a top video editor in Nepal. Visit our website for detailed course information, success stories, and to begin your journey toward mastering professional video editing.
