How to Record a Podcast on Zoom: A 6-Step Guide to Podcasting Remotely
Why Record Your Podcast on Zoom?
Wondering how to record a podcast on Zoom? It’s one of the most accessible and cost-effective ways to produce quality content remotely. Whether you’re just starting out or looking for a flexible podcasting solution, Zoom makes it easy to connect with guests, record high-quality audio and video, and share your message with the world.
- Accessibility: Zoom is widely used and accessible across various devices, making it easy for remote guests to join from anywhere.
- Cost-Effective: It is a free or low-cost solution that eliminates the need for expensive recording equipment or studio rentals.
- Ease of Use: The platform is user-friendly, allowing even beginners to start podcasting without a steep learning curve.
- Integrated Video Options: Zoom not only records audio but also captures video, which can be repurposed for social media or YouTube content.
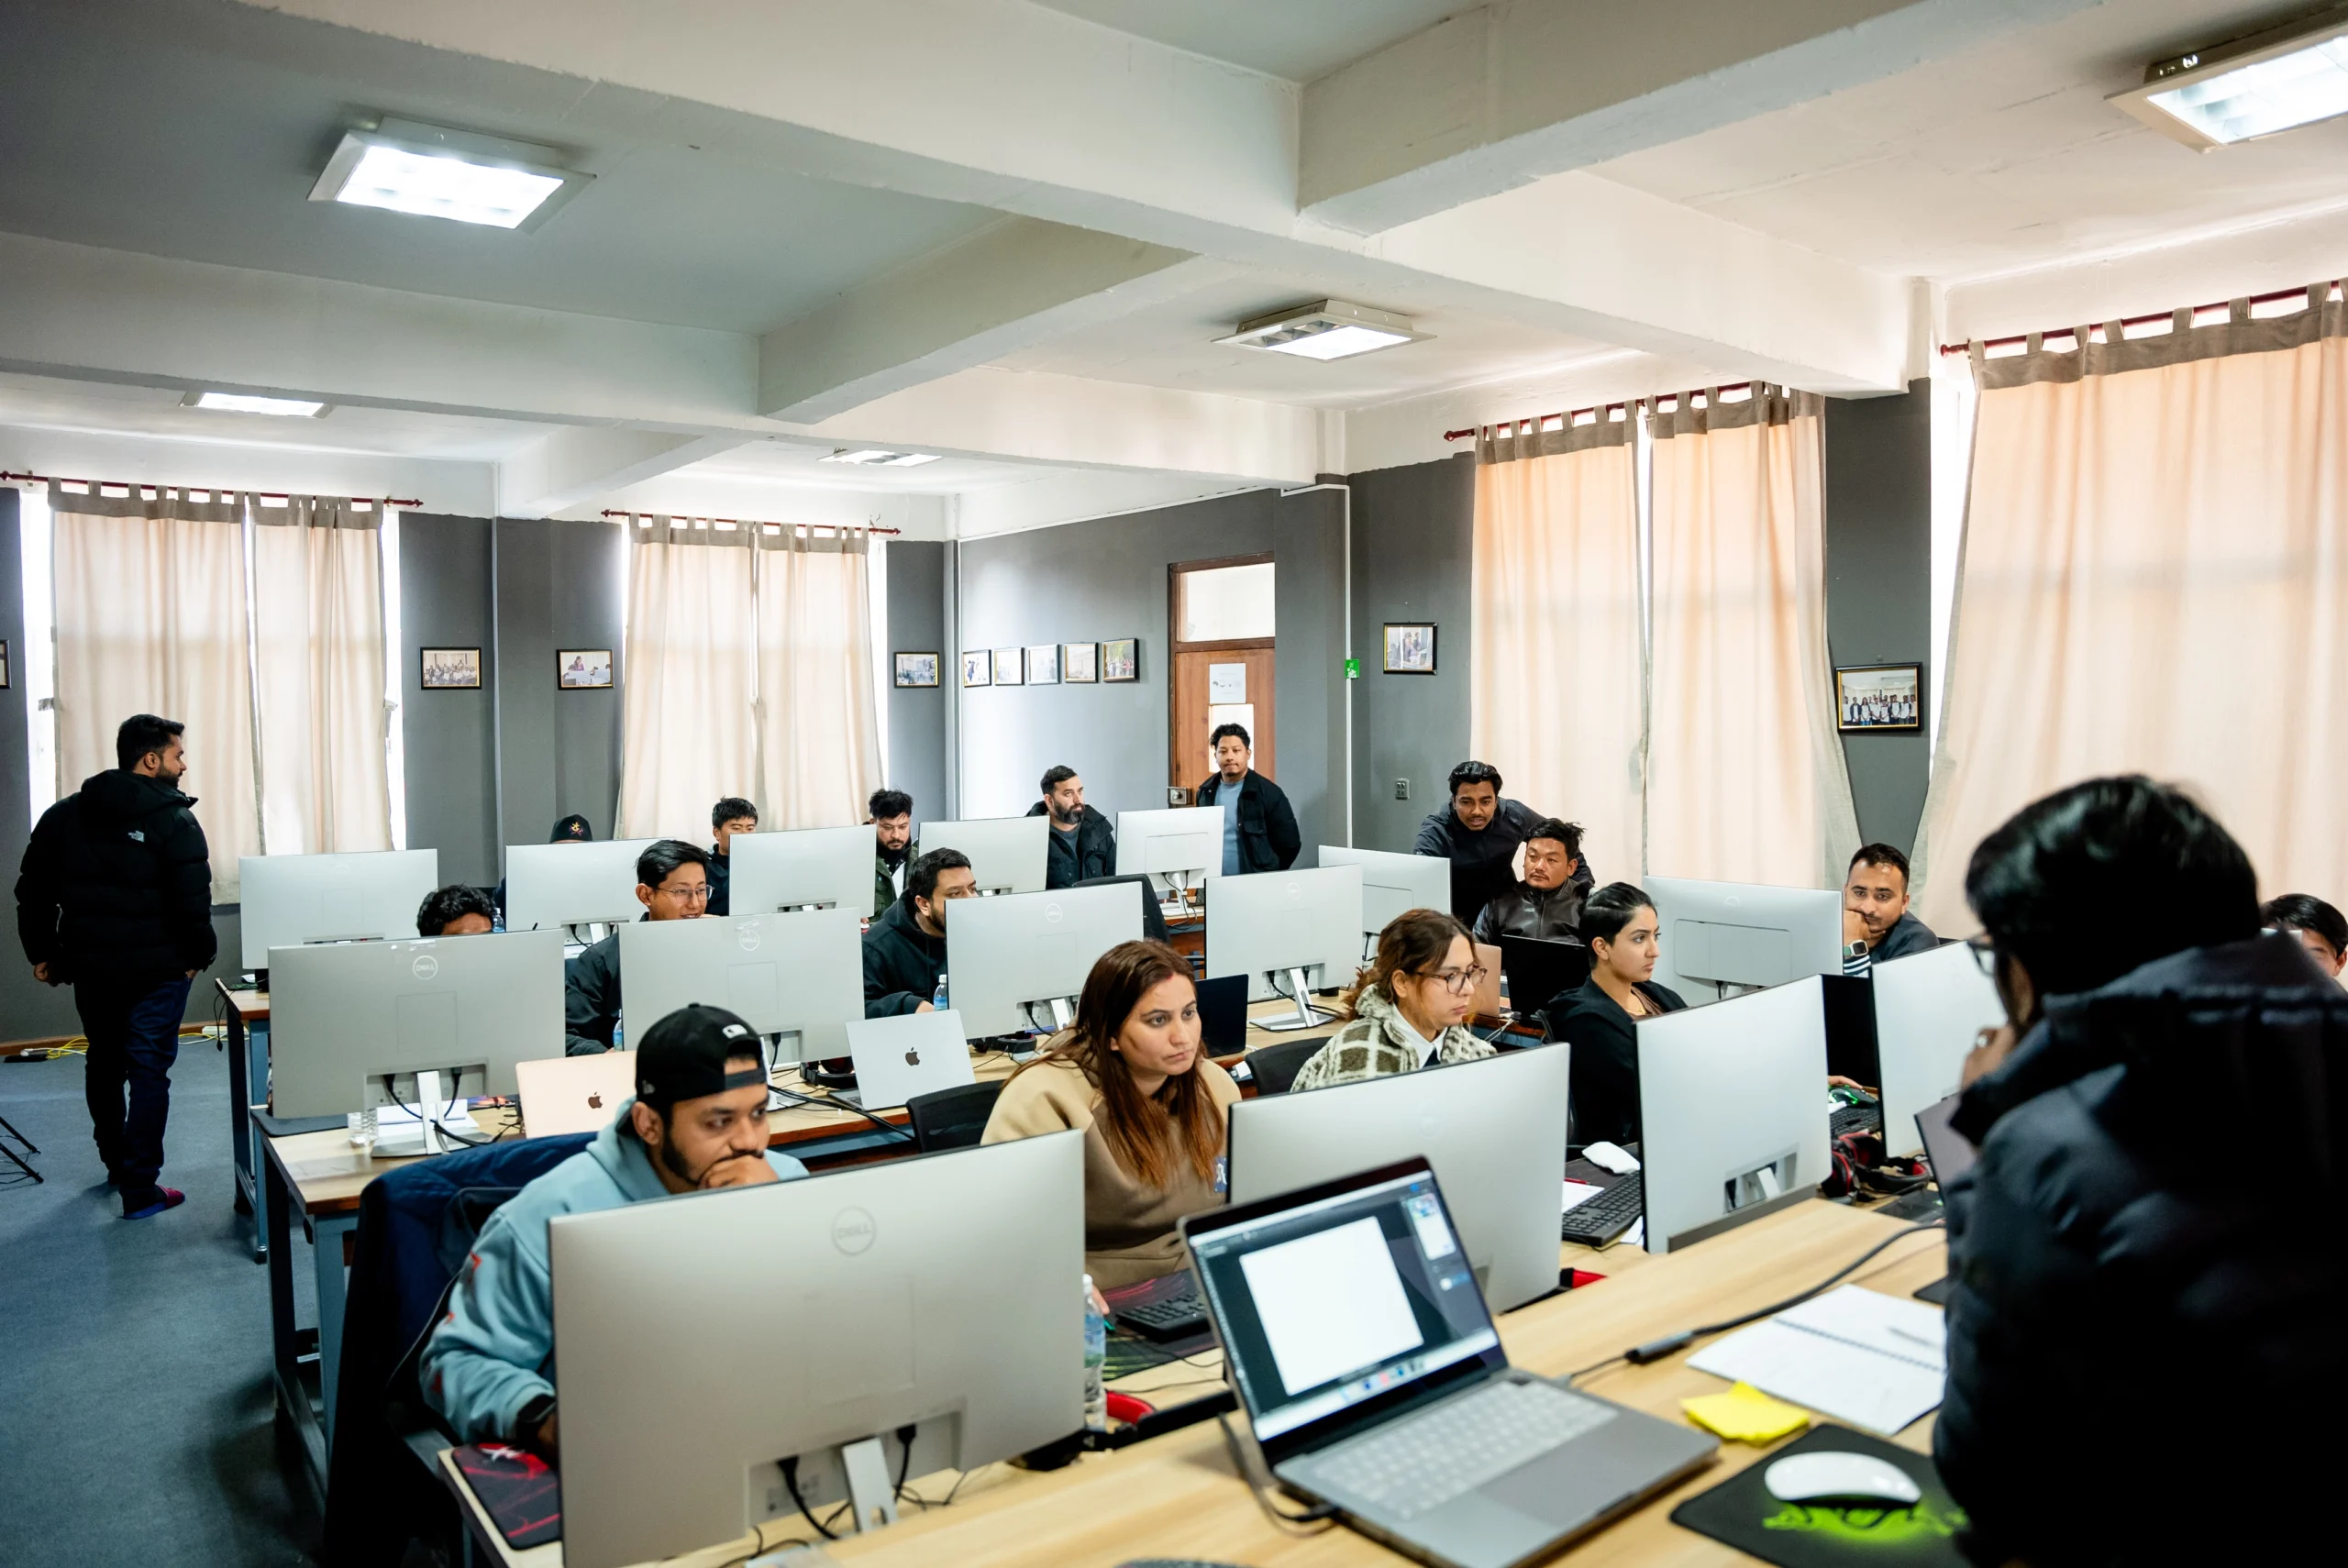
For content creators in Nepal, leveraging Zoom for podcast recording can help expand your audience reach and build your brand’s credibility. Omega Film Institute provides courses on multimedia production that cover both video and audio editing, giving you the skills needed to produce professional content that stands out in a competitive digital landscape.
Step 1: Planning Your Podcast
Before hitting the record button, proper planning is crucial to ensure a smooth recording process and an engaging final product.
Define Your Podcast’s Purpose and Audience
- Purpose: Determine the goal of your podcast. Is it to educate, entertain, or inform? Clear objectives will shape the content and structure.
- Target Audience: Identify who you are speaking to—whether it’s business professionals, creative enthusiasts, or general listeners interested in your niche.
Develop a Content Outline and Script
- Outline: Create a detailed outline that includes key topics, questions, and segments. This helps maintain a clear flow during the conversation.
- Script (Optional): While a full script might not be necessary, having bullet points or a rough script can keep the discussion focused and prevent tangents.
Choose Your Podcast Format
- Interview Style: Feature guests and engage in discussions.
- Solo Commentary: Share your insights and expertise.
- Panel Discussion: Host multiple experts discussing a common topic.
Having a well-defined plan will save you time during the editing process and ensure your podcast delivers value to your listeners.
Step 2: Setting Up Your Zoom Environment
A professional recording requires an optimized environment to minimize technical issues and maximize audio quality.
Ensure a Reliable Internet Connection
- Stable Connection: Use a wired connection if possible to reduce latency and prevent interruptions.
- Bandwidth: Make sure your internet speed is sufficient for video and audio streaming. A minimum of 5 Mbps upload speed is recommended.
Optimize Your Recording Space
- Quiet Room: Choose a quiet room free from background noise.
- Acoustic Treatment: Use soft furnishings, carpets, or even portable acoustic panels to reduce echo and reverberation.
- Lighting (if recording video): Ensure your face is well-lit. Natural light or softbox lights can enhance your video quality.
Test Your Equipment
- Microphone: Invest in a good-quality microphone. External USB microphones or XLR mics with an audio interface can significantly improve sound quality.
- Camera: If you plan to record video along with audio, ensure your webcam or external camera is set up properly.
- Headphones: Use headphones to monitor your audio during recording and avoid feedback.
Configure Zoom Settings for Optimal Recording
- Recording Quality: In Zoom settings, choose a high-quality video and audio recording option.
- Local Recording: Enable local recording to store the highest quality file on your computer.
- Cloud Recording (Optional): Cloud recording is useful for backup, but ensure you select the highest quality setting available.
Step 3: Recording Your Podcast on Zoom
With your plan and setup in place, you’re ready to record your podcast on Zoom. Follow these best practices during the recording session:
Schedule and Invite Participants
- Schedule a Meeting: Set up your Zoom meeting and share the invitation link with your guests.
- Prepare Participants: Brief your guests on the agenda, recording process, and technical requirements. Encourage them to use headphones and a quality microphone.
Start the Recording
- Begin with a Test: Conduct a quick test recording to check audio levels, video quality, and internet stability.
- Record the Session: Once satisfied, start the full recording. Remember, it’s better to record a bit more than needed, as you can always trim unnecessary parts during editing.
Manage the Session
- Stay Focused: Follow your content outline to ensure the conversation remains on track.
- Monitor Audio and Video: Regularly check that all participants are clearly visible and audible.
- Engage Your Audience: Speak naturally, and encourage your guests to do the same. Authenticity resonates well with listeners.
Step 4: Editing Your Zoom Recording
After recording your podcast, the next step is to edit the raw footage to create a polished final product. Editing is where you transform your recording into engaging content that holds the audience’s attention.
Import Your Zoom Recording into Your Editing Software
- Choose Software: Use industry-standard editing software like Adobe Premiere Pro or DaVinci Resolve, both of which are taught at Omega Film Institute.
- Import Footage: Organize your files in folders, import your Zoom recording, and any additional assets (intro/outro videos, images, music, etc.) into your project.
Trim and Organize
- Cut Unnecessary Segments: Remove long pauses, technical glitches, or off-topic discussions.
- Organize Clips: Arrange your clips in the order that best tells your podcast’s story.
Enhance Audio Quality
- Noise Reduction: Use built-in filters to reduce background noise and improve clarity.
- Audio Sync: Ensure all audio is perfectly synchronized with the video. If needed, use keyframes to adjust volume levels.
- Background Music: Add subtle background music that complements your conversation without overpowering the dialogue.
- Equalization and Compression: Enhance audio quality with equalization to balance frequencies and compression to maintain consistent volume.
Add Visual Enhancements
- Transitions: Use smooth transitions between segments to maintain flow.
- Graphics and Lower Thirds: Insert lower thirds to introduce speakers, display key points, or provide additional context.
- Branding Elements: Incorporate your logo, consistent color schemes, and call-to-action overlays to reinforce your brand identity.
- Captions: Add closed captions or subtitles, as many viewers in Nepal watch videos with the sound off.
Color Correction and Grading
- Consistent Look: Adjust color settings to ensure a consistent look throughout the video.
- LUTs and Presets: Utilize Look-Up Tables (LUTs) to achieve a cinematic feel and professional finish.
Review and Export
- Full Playback: Watch your edited video multiple times to identify any errors or areas for improvement.
- Feedback: Share a draft with colleagues or mentors for constructive feedback.
- Export Settings: Export your final video in a high-quality format (typically MP4 with H.264 encoding) optimized for your target platforms, such as YouTube, Facebook, or your website.
Step 5: Optimizing Your Video for SEO and Distribution
Once your video is edited and polished, the next step is to optimize it for search engines and distribute it effectively.
SEO Best Practices for Video Content
- Title and Description: Craft a compelling title and description that include keywords such as “how to edit a Zoom recording,” “Zoom podcast editing,” “professional video editing in Nepal,” and “Omega Film Institute.”
- Tags: Use relevant tags and keywords that help search engines understand your video content.
- Thumbnails: Create an engaging thumbnail that accurately represents your video content and entices viewers to click.
- Closed Captions: Adding captions not only improves accessibility but also enhances SEO.
- Engagement: Encourage viewers to like, comment, and share your video to boost its ranking on platforms like YouTube.
Distribution Strategies
- YouTube: Publish your video on YouTube, optimizing it with proper metadata, tags, and playlists.
- Social Media: Share your edited video on platforms like Facebook, Instagram, and LinkedIn. Tailor the video format (vertical, square, horizontal) to fit each platform’s requirements.
- Website: Embed the video on your website or blog to drive traffic and increase on-page engagement.
- Email Marketing: Include the video in your email newsletters to reach a broader audience.
- Collaborations: Partner with influencers or other content creators in Nepal to expand your reach.
The Benefits of Recording and Editing Podcasts on Zoom
Recording a podcast on Zoom offers several advantages that contribute to the success of your content strategy:
- Remote Collaboration: Easily connect with guests and co-hosts from anywhere in the world.
- Cost-Effective: No need for expensive studio setups or recording equipment.
- High Accessibility: Zoom is user-friendly and accessible on multiple devices.
- Integrated Video Options: Many recordings include video, which can be repurposed for social media content and marketing.
How Omega Film Institute Can Help You Master Video Editing for Podcasting
At Omega Film Institute, we provide comprehensive courses that cover every aspect of video editing, including editing Zoom recordings and producing professional podcasts. Our curriculum is designed to equip you with the technical skills and creative insights needed to excel in today’s digital content landscape. Here’s what you can expect when you enroll with us:
Expert-Led Courses
- Adobe Premiere Pro and DaVinci Resolve Training: Master industry-standard editing software used by professionals worldwide.
- Practical Projects: Work on real-world projects that include editing Zoom recordings, webinars, and podcasts.
- Hands-On Learning: Gain practical experience through workshops, assignments, and live projects.
- Certification: Earn a certification that validates your skills and enhances your professional profile.
Career Support
- Job Placement Assistance: Benefit from our extensive network and career support services to secure opportunities in the video editing and digital media industry.
- Internships and Collaborations: Participate in internships and collaborative projects that provide valuable industry exposure.
State-of-the-Art Facilities
- Modern Equipment and Software: Learn in an environment equipped with the latest technology and tools.
- Industry-Standard Practices: Our training ensures that you are well-prepared to meet the demands of the global digital content market.
Final Thoughts
Editing a Zoom recording into a professional podcast or video is a skill that can transform your content and elevate your brand. Whether you’re a business owner, educator, or content creator, following a structured editing process ensures that your videos are engaging, polished, and optimized for SEO.
By mastering the steps outlined in this guide, you’ll be well on your way to producing high-quality content that stands out in Nepal’s competitive digital landscape. Recording and editing on Zoom is not just a temporary solution—it’s a powerful tool that, when used correctly, can significantly enhance your online presence and boost your marketing performance.
If you’re ready to take your video editing skills to the next level and master the art of podcast and video production, consider enrolling in a course at Omega Film Institute. As Nepal’s best video editing school, we are committed to helping you achieve excellence in digital content creation.
Enroll Today and Transform Your Video Editing Career!
Contact Omega Film Institute for more details on our courses and how we can help you become a professional video editor. Visit our website to learn more about our comprehensive training programs, state-of-the-art facilities, and success stories from our graduates.
