How to Make a Low-Budget Wedding Trailer That Still Looks Cinematic
A cinematic wedding trailer is one of the most powerful storytelling formats in modern wedding filmmaking. Couples expect emotional, visually stunning, and engaging previews that capture the essence of their big day. However, not every wedding project in Nepal comes with a large production budget. Many videographers—especially freelancers and beginners—struggle to balance client expectations with limited gear, tight schedules, and minimal crew. That’s why learning how to create a low budget wedding trailer that still looks cinematic has become an essential skill for today’s wedding filmmakers. With the right techniques, storytelling approach, and smart editing, you can deliver premium-looking results without expensive equipment.
The good news is this: you don’t need an expensive camera setup to produce a cinematic wedding trailer. With smart planning, creative shooting techniques, and efficient editing workflows, you can deliver breathtaking results even on a low budget.
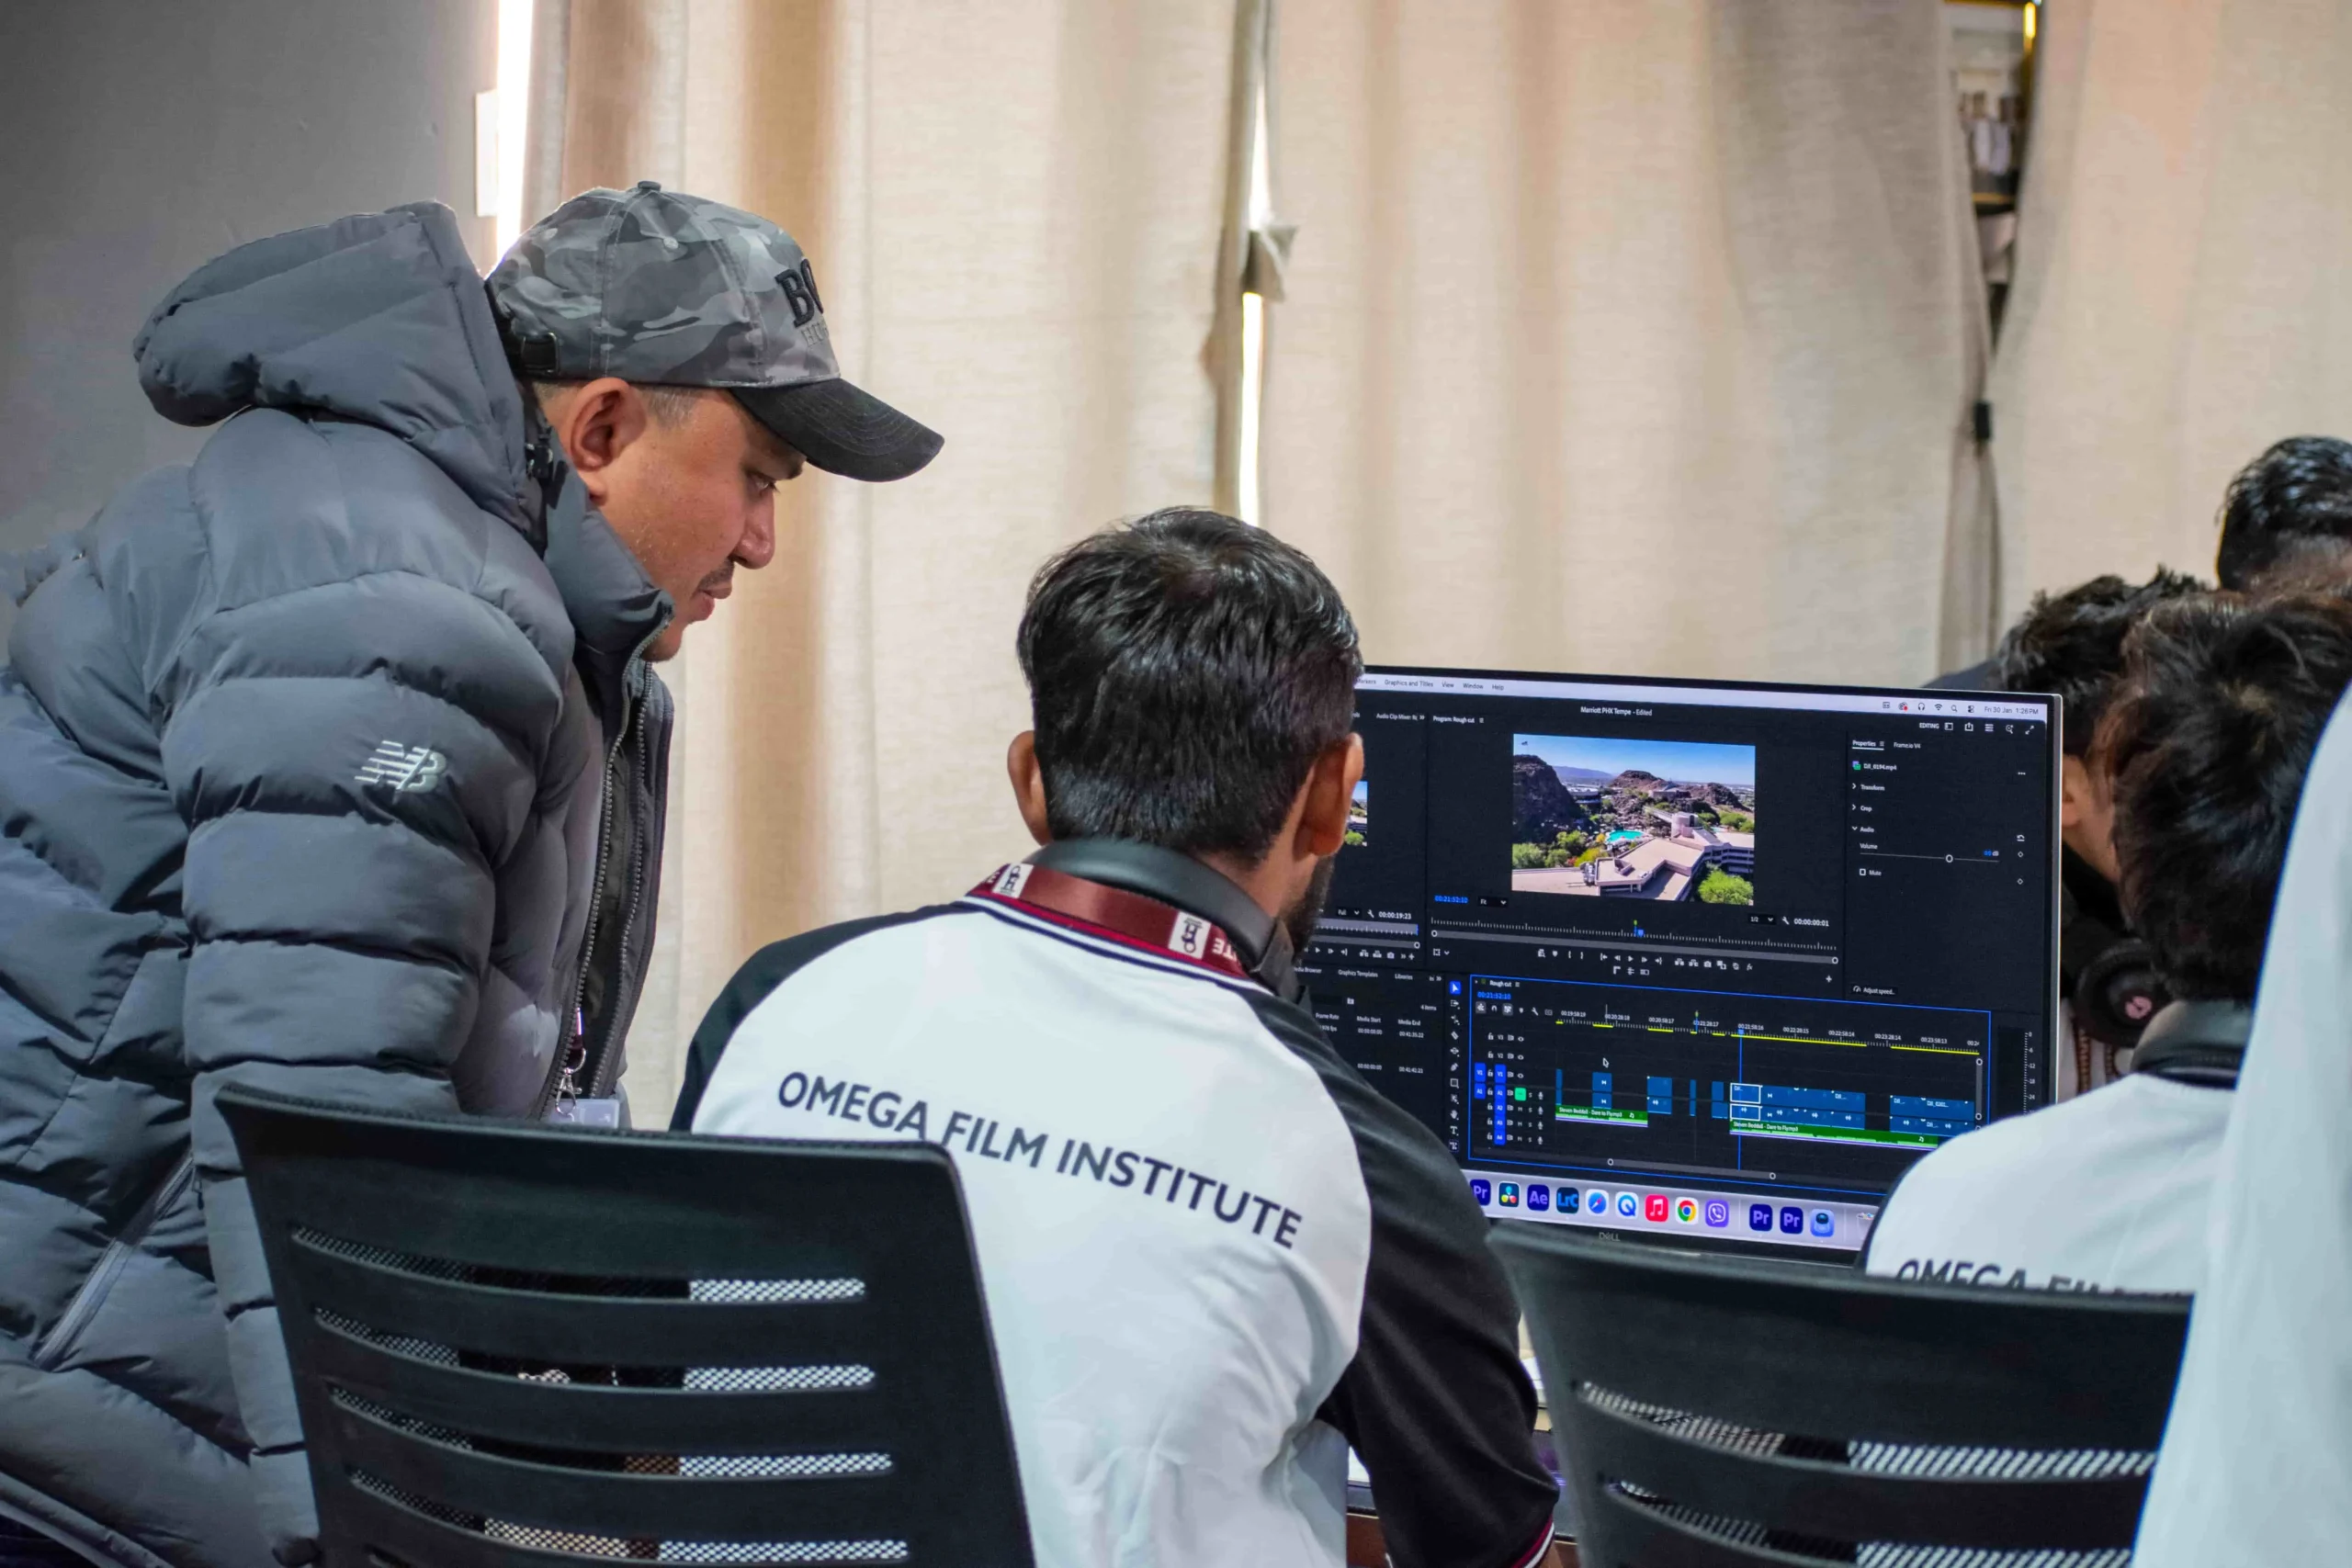
At Omega Film Institute, Nepal’s leading hub for professional video editing and filmmaking training, we specialize in helping aspiring editors and filmmakers create cinematic wedding trailers using affordable equipment and professional editing tools like Adobe Premiere Pro and DaVinci Resolve. This guide breaks down the essential steps to crafting a cinematic-looking trailer—even when resources are limited.
What Makes a Wedding Trailer Cinematic?
A cinematic trailer is not just about visuals—it’s about emotion. A great trailer has:
- Strong narrative flow
- Emotional pacing
- Beautiful transitions
- Thoughtful music selection
- Meaningful moments
- Professional color grading
The audience should feel something in less than 2 minutes.
Step 1: Work With What You Have
You don’t need the latest cameras or lenses. Even budget-friendly cameras or smartphones can produce great results if used correctly.
Recommended Low-Budget Gear
- Camera: Canon M50, Sony A6400, Nikon Z30, or a modern smartphone
- Lens: A 50mm prime lens for shallow depth of field
- Stabilizer (Optional): Basic tripod, monopod, or handheld gimbal
- Audio Recorder: Boya M1 lavalier mic for vows or speeches
Investing in a good lens and stabilization matters more than buying a high-end body.
Step 2: Plan Your Story Before You Shoot
A cinematic trailer feels intentional, not random. Start with a structure:
Storytelling Formula
- Introduction – venue, décor, rings
- Characters – bride and groom shots
- Emotional beats – moments of laughter, tears, vows
- The celebration – dance, rituals, family
- Finish strong – a signature moment
Planning saves time and eliminates unnecessary shooting.
Step 3: Shoot Smart, Not Expensive
Your techniques matter more than your tools.
Budget-Friendly Cinematic Shooting Techniques
- Use natural light whenever possible
- Shoot during golden hour for warm tones
- Use slow-motion for emotional emphasis
- Capture tight close-ups of details (hands, jewelry, flowers)
- Frame shots using leading lines and foreground elements
These techniques instantly elevate production value without costing more.
Step 4: Choose the Right Music
Music dictates the trailer’s emotional direction.
Music Selection Tips
- Avoid copyrighted songs (YouTube will restrict your client’s video)
- Look for royalty-free music packs
- Match music tempo to the couple’s personality
- Use instrumental tracks for emotional sections
Platforms like Epidemic Sound, AudioJungle, or local Nepali composers can provide affordable options.
Step 5: Edit for Emotion
Cinematic editing focuses on pacing—not complexity.
Editing Workflow
- Start with an emotive clip or dialogue
- Sync visuals with music beats
- Use transitions sparingly
- Keep shots short and dynamic
- Avoid random effects or presets
Your trailer should feel like a journey, not a montage.
Step 6: Use Simple Yet Stylish Transitions
Instead of expensive plugins, rely on:
- Cross dissolves
- Speed ramps
- Whip pans
- Match cuts
These transitions are free, powerful, and cinematic when used correctly.
Step 7: Color Grade for Cinematic Impact
A good grade can transform low-budget footage.
Basic Color Grading Tips
- Shoot in flat/log profile if possible
- Apply a film-inspired LUT
- Balance skin tones before adding effects
- Add contrast and slight warmth for weddings
Tools like DaVinci Resolve offer powerful, free color grading features.
Step 8: Final Touches That Make All the Difference
To enhance production quality:
- Add sound effects (footsteps, laughter, ambience)
- Stabilize shaky shots
- Add tasteful vignettes
- Use film grain for texture
Small details elevate your edit without extra cost.
Why Low-Budget Doesn’t Mean Low-Quality
Budget limitations fuel creativity. When you learn to:
- Use light smartly
- Frame intentionally
- Edit emotionally
- Grade professionally
You can deliver cinematic results that clients love—and recommend.
Some of the most viral Nepali wedding trailers online weren’t shot with expensive cameras—they were shot with skill.
Why Learn Wedding Trailer Production at Omega Film Institute
At Omega Film Institute, students learn:
- How to plan, shoot, and edit cinematic wedding trailers
- Multi-cam editing workflows
- Color grading for Nepali skin tones
- Music synchronization techniques
- Real wedding footage practice
You leave not just with theory—but with portfolio-ready cinematic trailers.
Conclusion
A cinematic wedding trailer isn’t about budget—it’s about choices. With the right storytelling approach, sound design, and color work, even affordable gear can produce breathtaking results.
If you master these techniques, you won’t just deliver trailers—you’ll deliver emotions your clients can treasure forever.
If you’re ready to elevate your editing skills, join Omega Film Institute, Nepal’s leading destination for aspiring video editors, filmmakers, and content creators.
Create beauty. Tell love stories. Make wedding trailers that feel cinematic—no matter the budget.
