How to Apply Audio Effects to Multiple Tracks
How to Apply Audio Effects to Multiple Tracks in Adobe Premiere Pro
Audio plays a crucial role in video production. Whether you’re editing a YouTube vlog, a wedding video, or a commercial, clean and professionally processed audio can make all the difference. In Adobe Premiere Pro, applying Premiere Pro audio effects can significantly enhance the sound quality of your project. But what if you want to apply the same audio effect to multiple clips or entire tracks at once? That’s where track-level audio effects come into play.
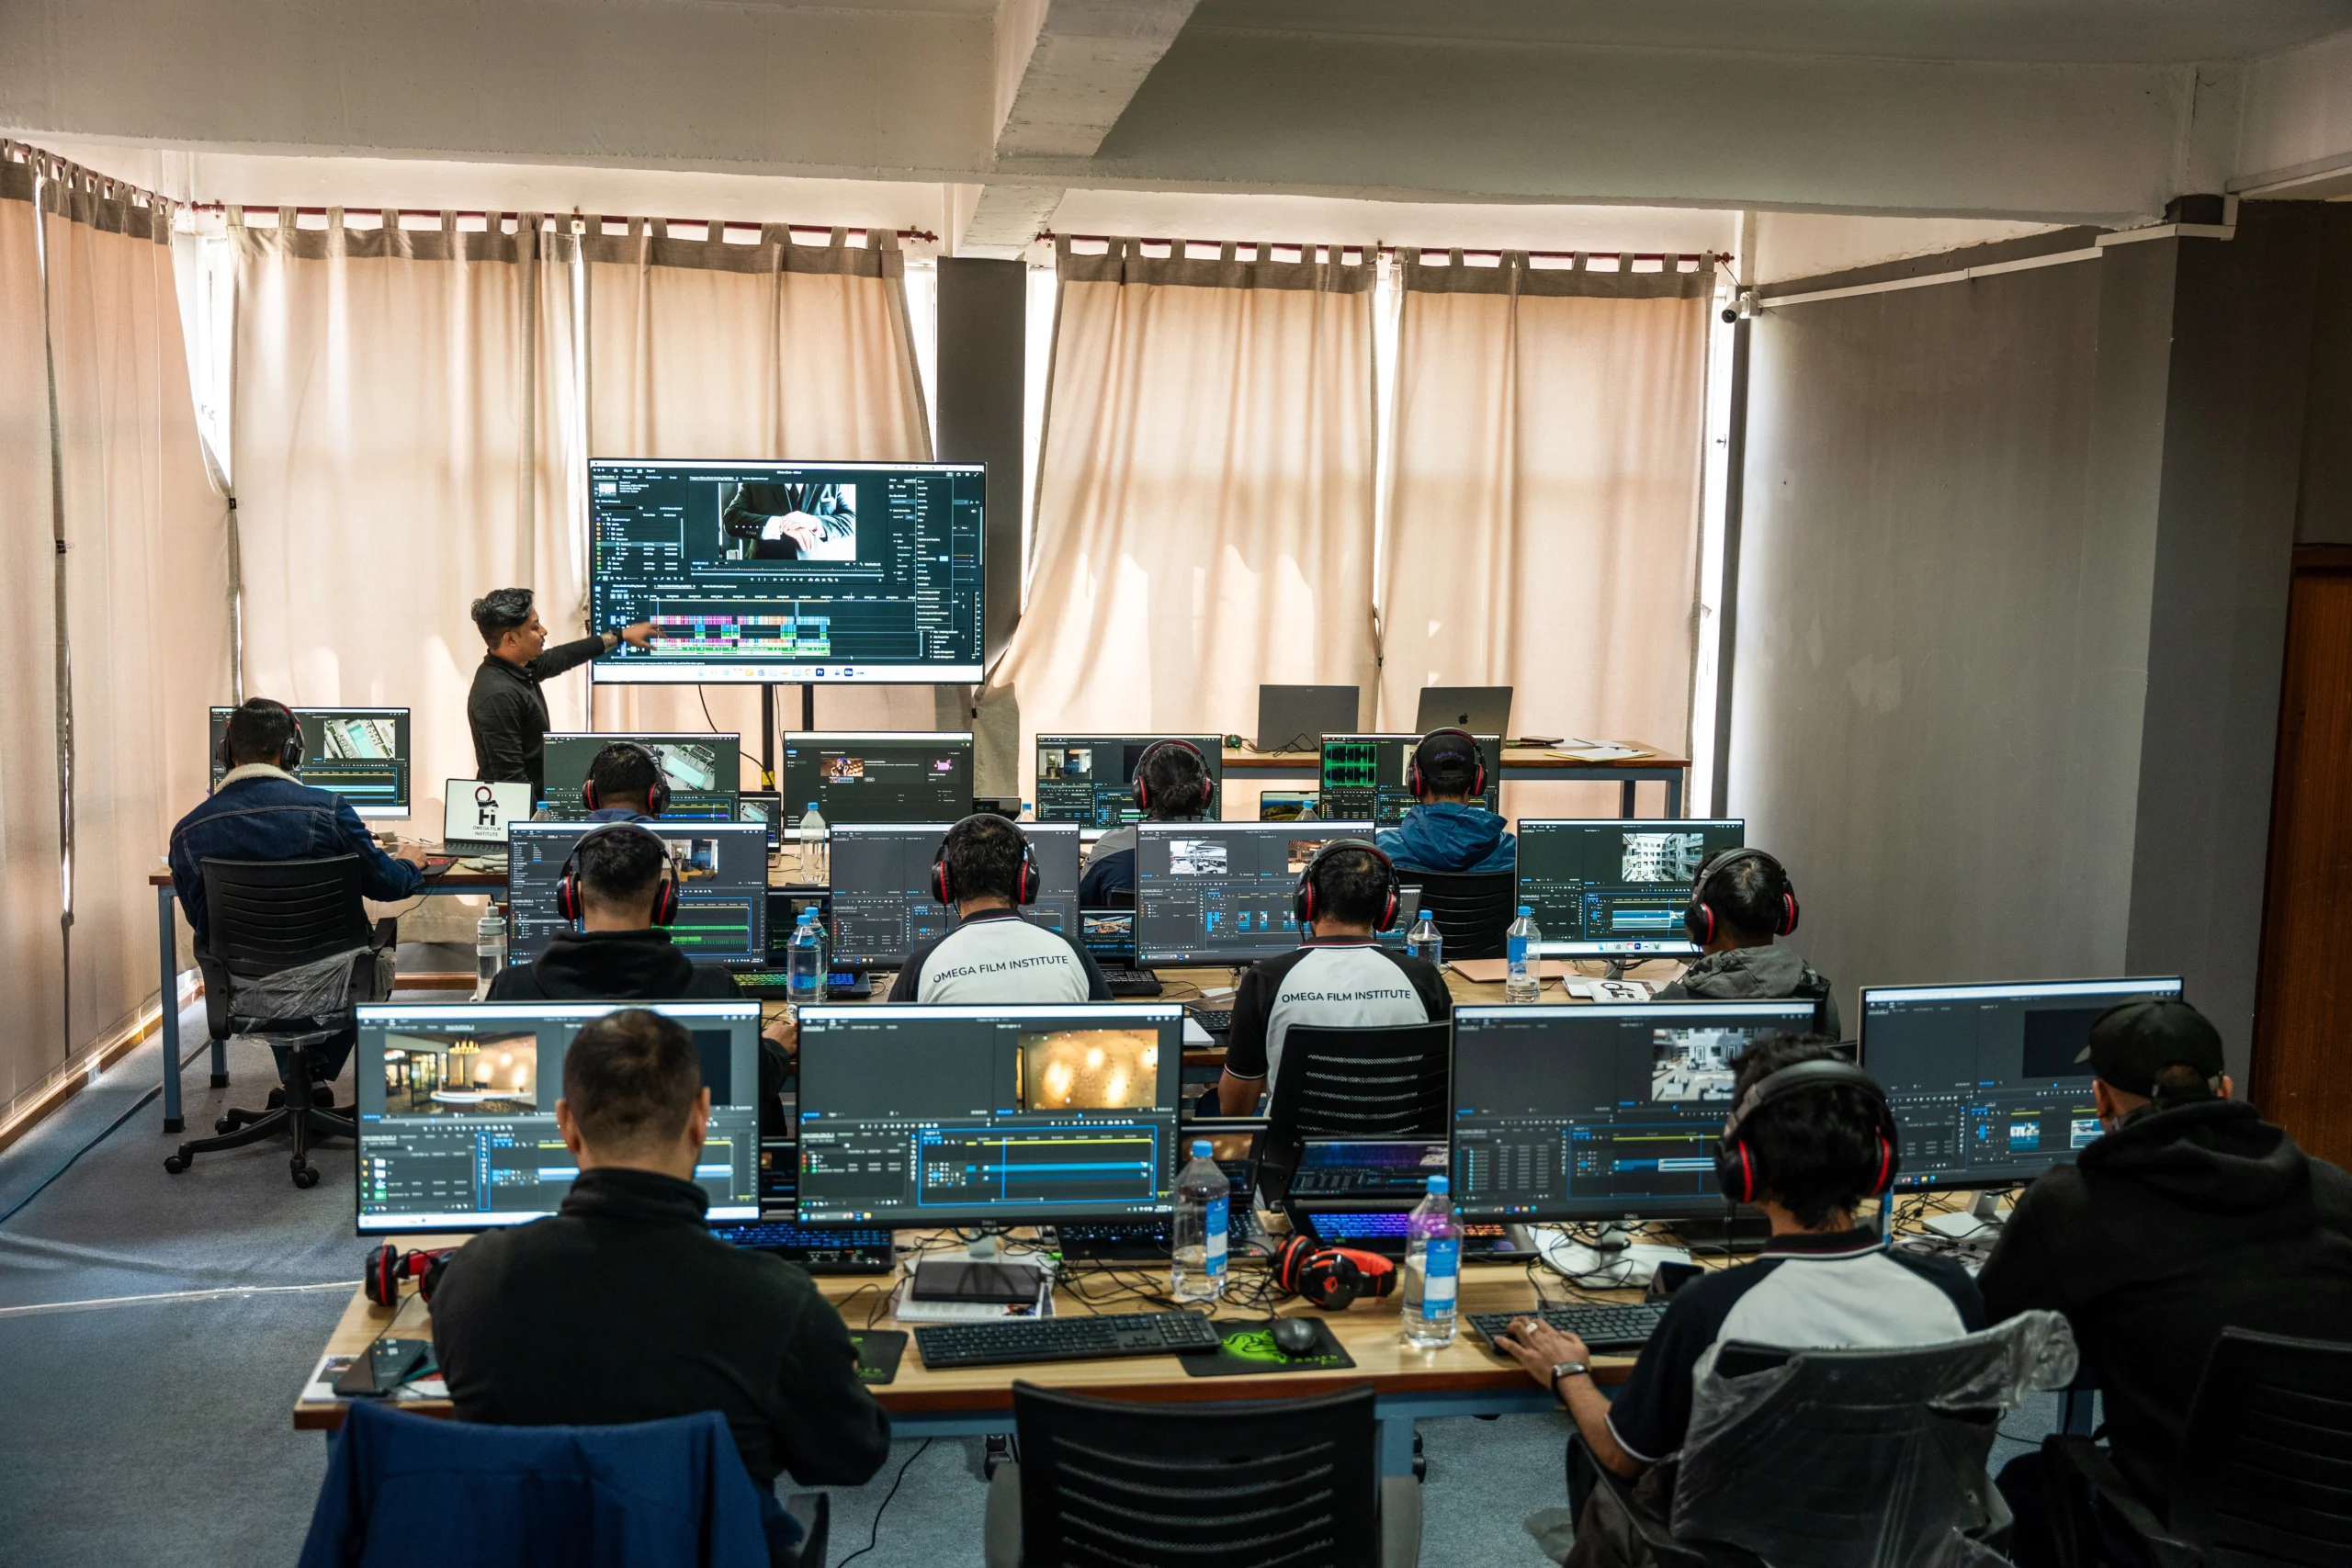
At Omega Film Institute, Nepal’s leading video editing school, we teach practical techniques that speed up workflow and enhance production quality. One of the first things we teach in sound design is how to use audio track mixers and submixes to apply global effects across multiple clips.
In this step-by-step guide, you’ll learn how to apply audio effects to multiple tracks efficiently in Adobe Premiere Pro, improve your editing speed, and ensure consistent sound throughout your project.
Why Apply Audio Effects to Multiple Tracks?
1. Consistency
If you want all your voiceovers, background music, or dialogue clips to sound similar, applying effects track-wide ensures uniform processing.
2. Speed
Rather than adding the same effect to each clip individually, track effects save time and reduce clutter in your timeline.
3. Non-destructive Workflow
Track-level audio processing lets you make adjustments globally without permanently affecting your original clips.
Method 1: Use the Audio Track Mixer
Step 1: Open the Audio Track Mixer
- Navigate to Window > Audio Track Mixer to open the mixer panel.
- Make sure you’re viewing the mixer for the correct sequence.
Step 2: Add Effects
- In the Audio Track Mixer, locate the FX section above each track.
- Click on a slot (e.g., Track FX 1) and select an audio effect such as:
- DeNoise for removing background noise
- Dynamics for compression and gating
- Parametric Equalizer for frequency adjustments
- Reverb for atmospheric sound
Step 3: Tweak the Effect
- After adding the effect, click on the name to open the settings panel.
- Adjust the parameters to suit your needs. These will affect every clip on that audio track.
Step 4: Playback and Refine
- Play back your sequence to hear the changes.
- Adjust sliders in real-time to dial in the perfect sound
Method 2: Use Submix Tracks
Submix tracks allow you to group multiple audio tracks and apply effects collectively.
Step 1: Create a Submix
- In the Audio Track Mixer, click the dropdown below any track’s Output.
- Select Create Submix.
Step 2: Route Audio Tracks to Submix
- For each audio track you want to group, change its Output to the new submix.
Step 3: Add Effects to Submix
- Just like regular tracks, you can now apply effects in the submix’s FX slots.
- This method is ideal for controlling overall background music, ambient effects, or dialogue.
Common Use Cases
Voiceovers
Apply compression, EQ, and noise reduction to a submix to maintain consistency across all VO clips.
Dialogue
Use a dedicated audio track for dialogue and apply DeEssers or Reverb to soften harsh sounds and add presence.
Music
Use submixes to manage volume, EQ, and ducking effects to ensure music doesn’t overpower dialogue.
Sound Effects
Route multiple SFX tracks into one submix and use limiters or equalizers to keep levels under control.
Pro Tips from Omega Film Institute
1. Name Your Tracks
Label your audio tracks (e.g., Dialogue, Music, VO) to keep your mixer organized.
2. Use Track Presets
Create and save your custom settings as presets for use across future projects.
3. Monitor Audio Levels
Always keep an eye on your audio meters. Aim for -6dB to -12dB for dialogue and -20dB for background music.
4. Solo and Mute Options
Solo tracks to isolate specific sound elements during editing. This helps you focus on problem areas.
Final Thoughts
Mastering audio workflow is essential for any video editor. By applying audio effects at the track or submix level, you streamline your workflow, ensure consistency, and save time—hallmarks of professional editing.
At Omega Film Institute, we train students on real-world editing techniques like these using Adobe Premiere Pro. Our courses cover everything from basic cuts to advanced audio mixing and mastering.
Whether you’re editing wedding films, YouTube videos, or documentaries, knowing how to manage audio tracks professionally will set you apart in Nepal’s growing media industry.
Ready to learn advanced audio techniques and video editing in Nepal? Join Omega Film Institute and take your post-production skills to the next level with our expert-led courses and hands-on training.
Apply what you’ve learned today and start mixing smarter—not harder!
