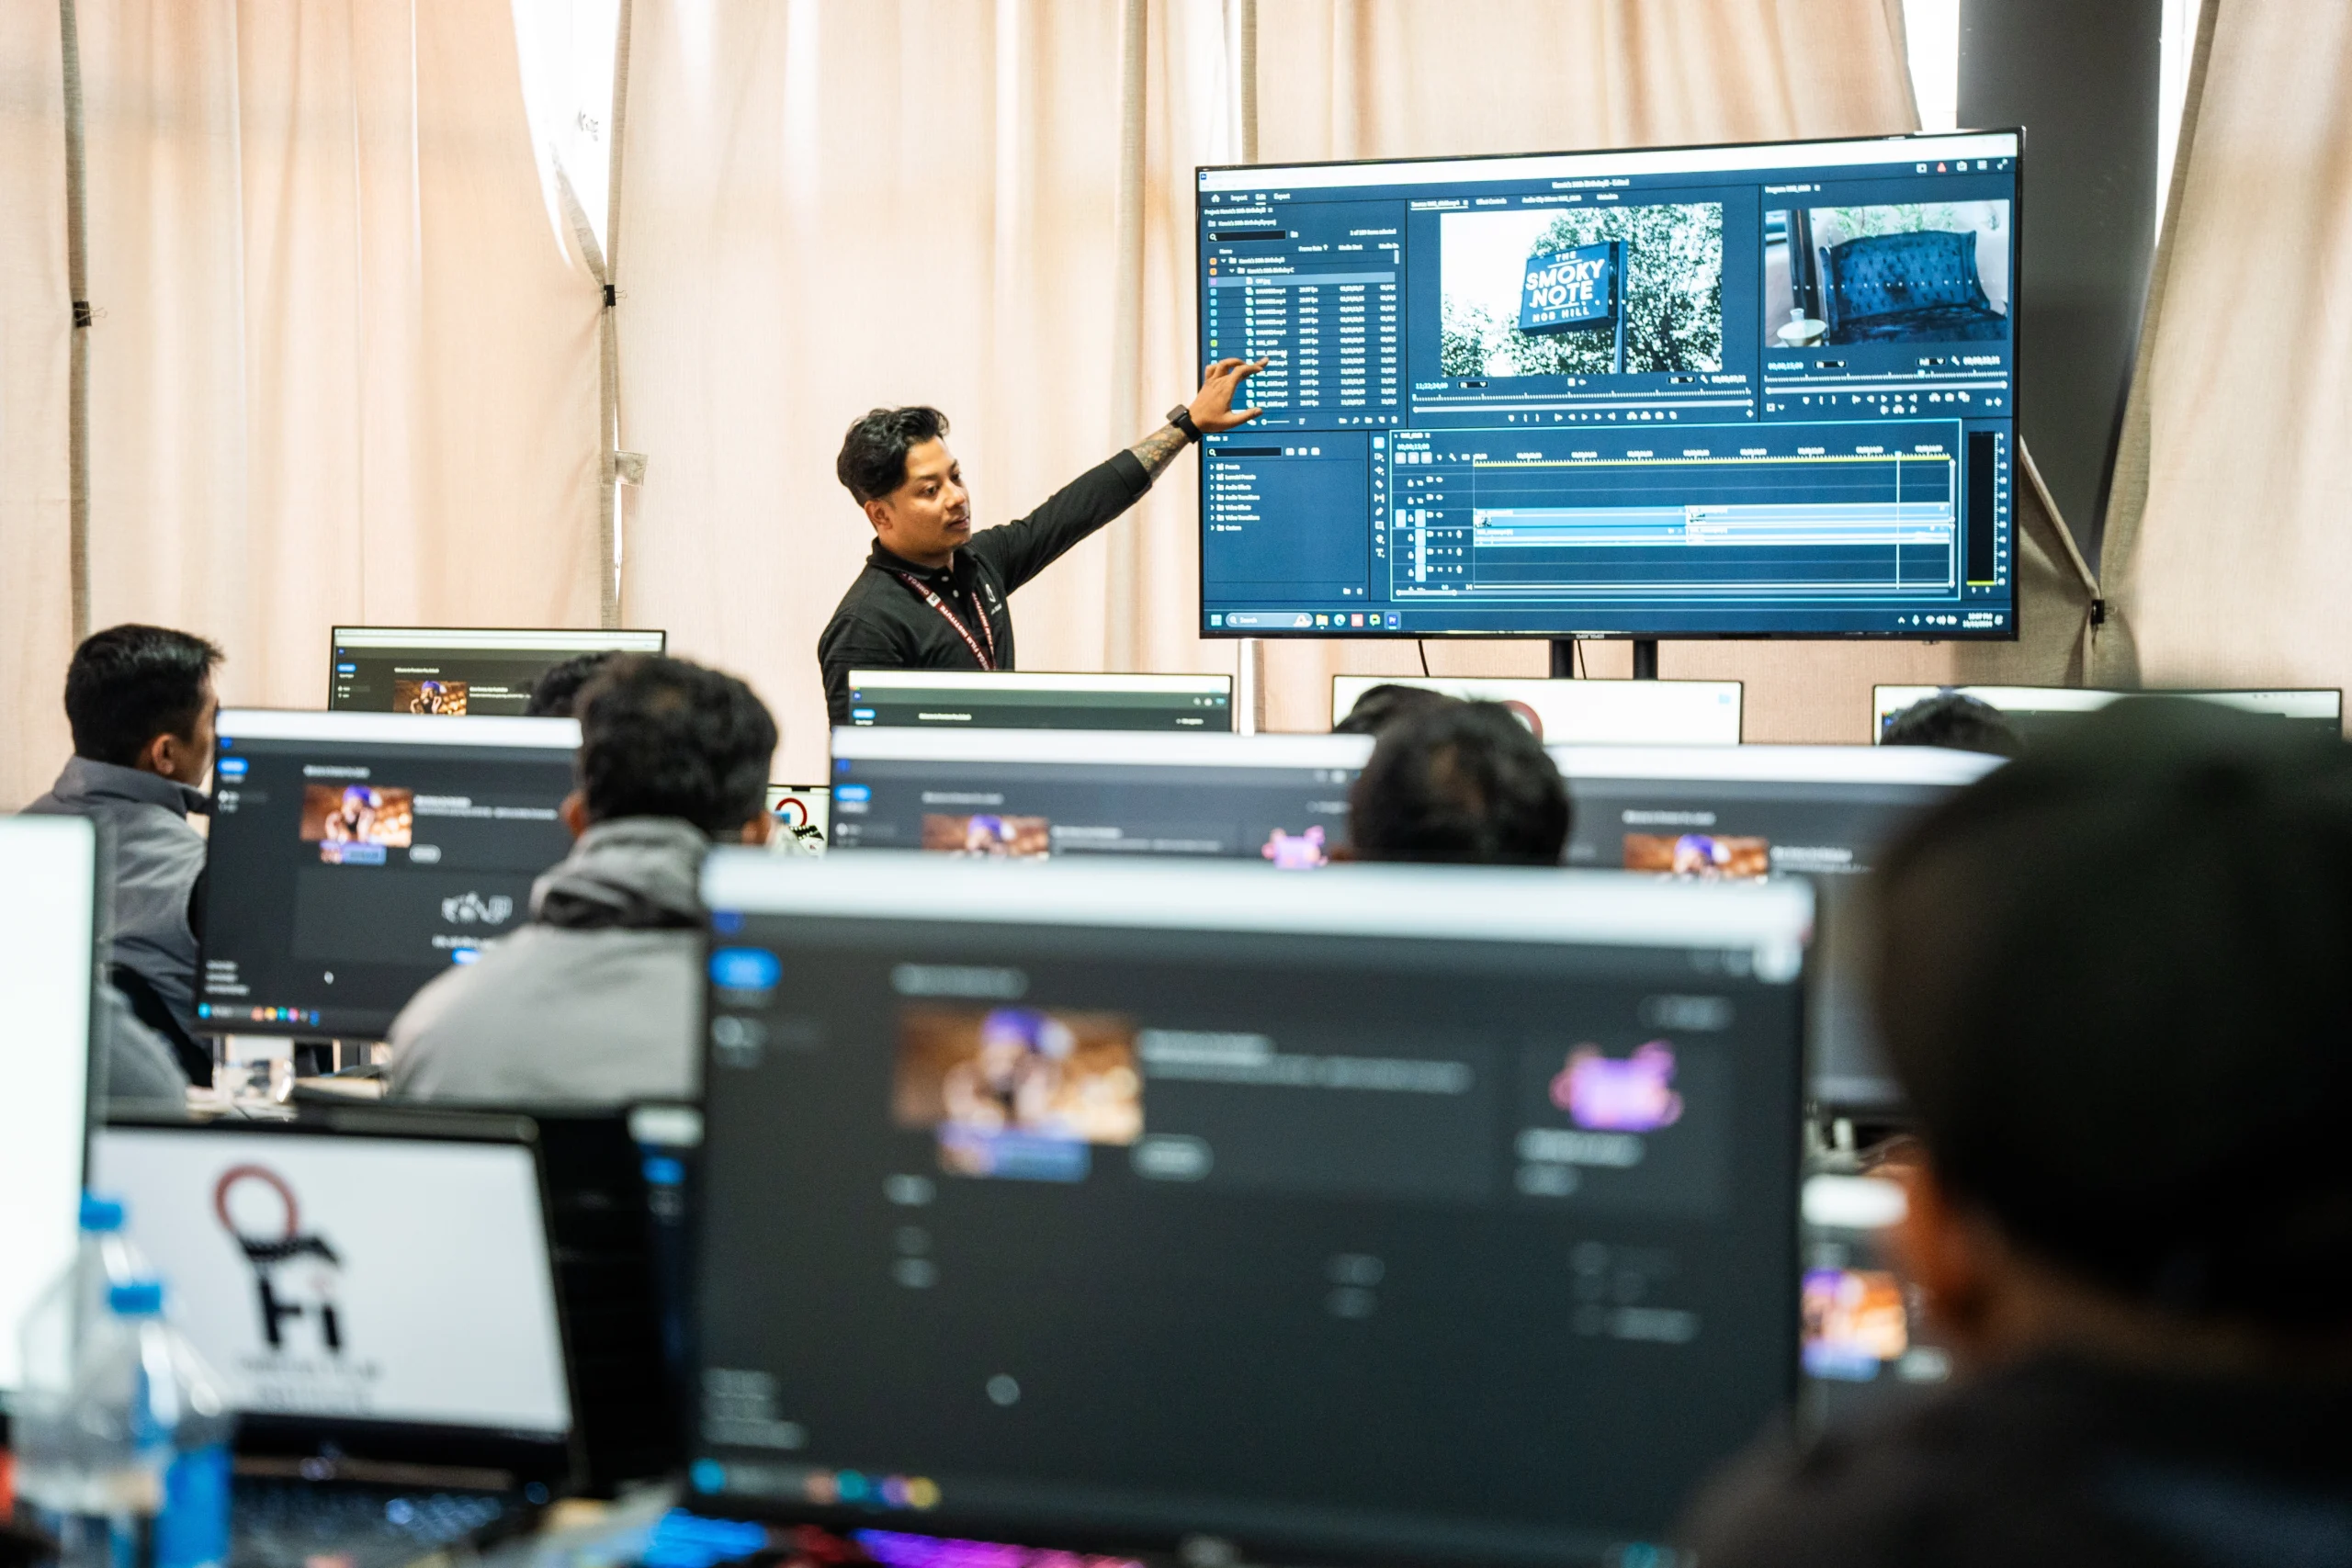
Automate Clips with Sequence Markers in Premiere Pro: Quick Guide

Automate Clips with Sequence Markers in Premiere Pro: Quick Guide
Video editing is as much about creativity as it is about efficiency. Adobe Premiere Pro offers a variety of tools that streamline workflow, and one of the most powerful yet underutilized features is Premiere Pro Sequence Markers. Whether you’re working on a music video, wedding highlight, or corporate documentary, learning how to use sequence markers to automate clip placement and editing decisions can significantly boost your productivity.
At Omega Film Institute, Nepal’s leading video editing school, we emphasize smart editing workflows that save time while enhancing quality. In this guide, we’ll show you how to automate clips using sequence markers in Adobe Premiere Pro—ideal for students, freelance editors, and professionals in Nepal’s growing digital media scene.
What Are Sequence Markers?
Sequence markers are colored indicators placed on a timeline that help editors identify key moments, actions, or instructions. Unlike clip markers, sequence markers are applied to the entire timeline and can be used across multiple clips.
Benefits of Using Sequence Markers:
- Tag key points for timing, transitions, or cut points
- Organize your timeline for easy navigation
- Sync visuals with audio cues (great for music videos)
- Automate clip placement via Premiere Pro’s Automate to Sequence feature
Step-by-Step Guide: Automate Clips with Sequence Markers
Step 1: Import Your Media
- Import all your clips, audio files, and other media into the Project panel.
- Organize them in bins (folders) if necessary for easier navigation.
Step 2: Add Sequence Markers
- Open your timeline and play through your sequence.
- Press M on your keyboard at any point to add a marker.
- To edit a marker, double-click on it. You can:
- Name it (e.g., “Cut to Beat 1”)
- Add comments or instructions
- Change the marker color
- Set duration if necessary
Step 3: Create a New Sequence (Optional)
You can automate to an existing sequence or create a new one.
- Go to File > New > Sequence and choose your preferred settings (e.g., 1920×1080, 24fps).
Step 4: Select Clips to Automate
- In the Project panel, select the clips you want to use in your timeline.
- Order them as you want them to appear (sort by name, duration, etc.)
Step 5: Automate to Sequence
- Right-click your selected clips.
- Click Automate to Sequence.
- In the dialog box, set the following options:
- Ordering: Based on clip order or sort order.
- Placement: Choose “At Unnumbered Markers.”
- Method: Choose Overwrite Edit or Insert Edit.
- Still Duration: If using stills, you can define how long each stays on screen.
- Click OK. Premiere Pro will place your clips at each marker point.
Creative Applications in Real Projects
Music Videos
Use sequence markers to tag beats or lyrical transitions, then automate synced visuals for a dynamic music video.
Wedding Highlights
Tag emotional moments in the audio (e.g., vows, music peaks) and drop in highlight clips to match the pacing.
YouTube Content
Automate intros, titles, and main talking points based on a pre-planned script.
Documentary Editing
Mark interview timestamps and insert B-roll at corresponding moments.
Pro Tips from Omega Film Institute
1. Use Color-Coded Markers
Different colors for dialogue, music beats, transitions, and effects help you visually organize your timeline.
2. Use Marker Comments
Write specific instructions for yourself or collaborators. This is helpful in team environments.
3. Set Marker Duration
Duration markers can define how long a clip or graphic should remain on screen.
4. Sync Audio First
If you’re syncing clips to audio (music, VO), lay down your track first and mark out the beats or key points.
5. Use Templates
Create a blank sequence template with pre-placed markers for recurring projects like vlogs or tutorials.
Why This Matters for Editors in Nepal
In Nepal’s competitive video editing and filmmaking landscape, time is money. Being able to automate repetitive tasks while maintaining quality is a hallmark of a professional editor.
At Omega Film Institute, we train students not just in tools, but in workflows that prepare them for real-world demands. From Adobe Premiere Pro to DaVinci Resolve, our courses blend theory with hands-on project work—helping you become faster, smarter, and more creative.
Conclusion
Sequence markers and automation are game changers for editors seeking efficiency and consistency. Whether you’re a beginner or a pro, this workflow can streamline your edits and free you up for more creative decision-making.
If you’re in Nepal and looking to build a professional editing career, Omega Film Institute offers the best training in video editing, storytelling, and post-production workflows. Learn how to master tools like Adobe Premiere Pro and create projects that stand out.
Join Omega Film Institute today and become part of Nepal’s leading community of storytellers, editors, and digital creators.
Ready for faster, smarter video editing? Try using sequence markers in your next Premiere Pro project and experience the difference!
