Premiere Pro Shortcut Guide
Premiere Pro Shortcut Guide: How to Quickly Switch Between Panels in the Editing Interface
Adobe Premiere Pro is one of the most powerful and widely used video editing tools in the world. Whether you’re just starting your video editing journey or you’re a seasoned professional working on commercial projects, efficiency in your editing workflow is crucial. One of the best ways to boost your editing speed is by mastering keyboard shortcuts—especially when it comes to switching between the different panels in the Premiere Pro interface. That’s where this Premiere Pro Shortcut Guide comes in.
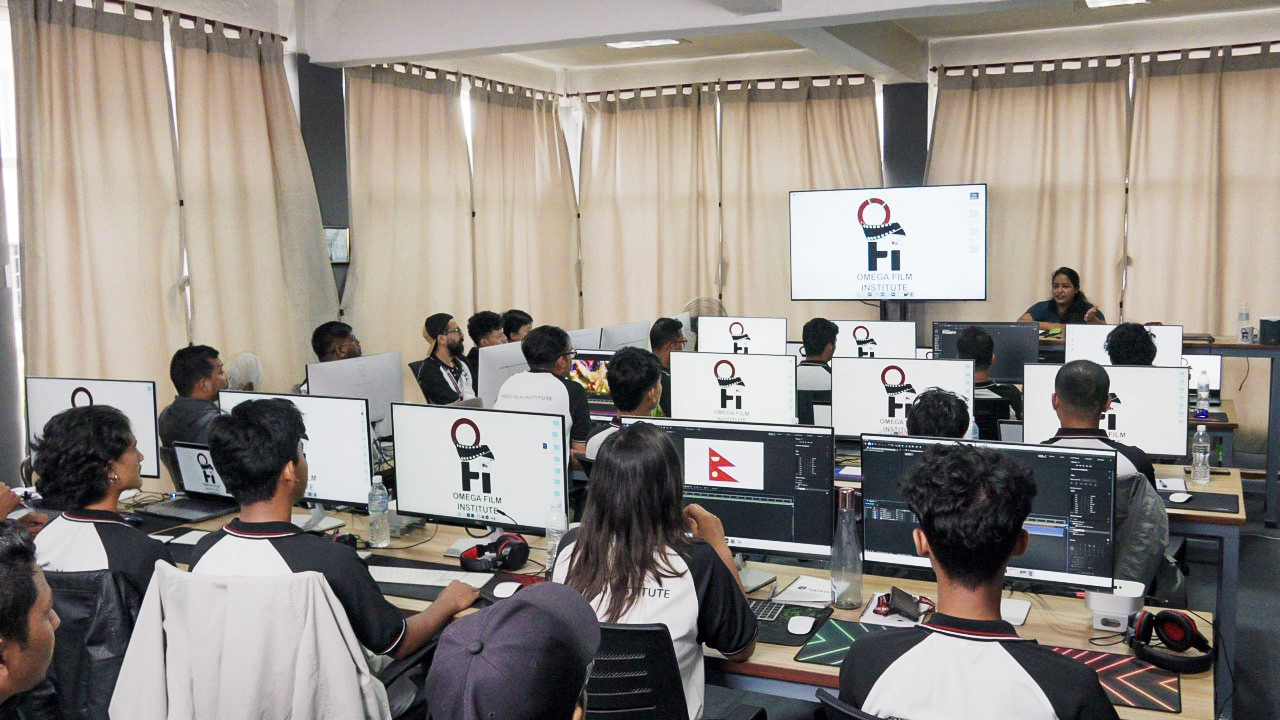
At Omega Film Institute, the leading video editing school in Nepal, we believe that understanding the layout and mastering the tools of Premiere Pro is the foundation of becoming a professional editor. In this blog, we’ll guide you through the essential shortcuts for navigating Premiere Pro’s panels, helping you edit faster, smarter, and more professionally.
Why Keyboard Shortcuts Matter in Premiere Pro
Time is everything in video editing. Using keyboard shortcuts to switch between panels can:
- Increase your productivity
- Reduce mouse dependency and strain
- Speed up your workflow significantly
- Keep you focused on creative tasks instead of navigating menus
Once these shortcuts become second nature, you’ll work more fluidly and complete projects with less fatigue and more confidence.
Overview of Premiere Pro Panels
Understanding what each panel does is important before learning how to jump between them. The main panels include:
- Project Panel: Where your media and sequences are organized.
- Timeline Panel: Where your editing happens.
- Source Monitor: Preview and trim clips before adding to the timeline.
- Program Monitor: Displays the active timeline sequence.
- Effects Panel: Where you search for and apply transitions and effects.
- Audio Meters: Show real-time audio levels.
- Tools Panel: Shortcut buttons for tools like the Razor, Selection, Pen, etc.
- Effect Controls: Modify and keyframe video/audio effects.
Default Keyboard Shortcuts for Switching Panels
Here are the most useful shortcuts for switching between panels in Premiere Pro. These are based on the default layout and keymap (Windows and macOS).
Windows Shortcuts:
- Shift + 1 – Project Panel
- Shift + 2 – Source Monitor
- Shift + 3 – Timeline Panel
- Shift + 4 – Program Monitor
- Shift + 5 – Effects Panel
- Shift + 6 – Audio Meters
- Shift + 7 – Effect Controls
- Shift + 8 – Media Browser
- Shift + 9 – Info Panel
macOS Shortcuts:
- Shift + 1 through Shift + 9 – Same as above
Tip:
Pressing the shortcut again toggles between active panels of the same type.
Customizing Panel Shortcuts
Premiere Pro allows you to remap shortcuts to fit your editing style. Here’s how to do it:
- Go to Edit > Keyboard Shortcuts (Windows) or Premiere Pro > Keyboard Shortcuts (Mac).
- Use the search bar to locate a command (e.g., “Timeline Panel”).
- Click on the shortcut field and enter your desired key combination.
- Save your custom layout with a unique name for future use.
This is especially helpful if you use non-standard keyboard layouts or want to match shortcuts from other software.
Additional Time-Saving Navigation Shortcuts
Navigating Between Open Timelines
- Ctrl + Tab (Windows) / Cmd + ` (Mac): Cycle through open timelines.
Maximize/Restore Active Panel
- ` (Grave accent): Maximize the currently active panel. Hit again to restore. Very useful for detailed work.
Toggle Between Workspaces
- Alt + Shift + [Number] (Windows)
- Option + Shift + [Number] (Mac)
Use this to switch between custom workspaces like Color, Audio, Editing, etc.
Pro Tips from Omega Film Institute
- Practice muscle memory – Repetition makes shortcut use instinctive.
- Use a keyboard skin – Editing shortcut skins for Premiere Pro helps visualize shortcuts.
- Create your own layout – Customize panels and shortcuts to fit the way you work.
- Teach your team – In a collaborative environment, shared shortcut sets improve consistency.
At Omega Film Institute, students are encouraged to create and memorize their own shortcut systems to prepare for real-world freelance and studio projects.
Common Mistakes to Avoid
- Relying too much on the mouse – It slows down your editing.
- Not customizing the interface – Tailoring the workspace boosts comfort and productivity.
- Ignoring other panels – Learning only the Timeline and ignoring the Source Monitor or Effect Controls limits your creative control.
- Neglecting dual-monitor setups – Use multiple screens to display key panels simultaneously
Learn Premiere Pro Like a Pro in Nepal
At Omega Film Institute, located in the heart of Kathmandu, Nepal, we offer practical, intensive training in Adobe Premiere Pro. Our expert instructors guide students through every tool, shortcut, and workflow needed for professional-level editing.
Our students learn:
- Efficient editing workflows using keyboard shortcuts
- Customizing and saving workspaces for speed
- Audio and video effects manipulation
- Color grading, transitions, and exporting
Whether you’re aiming to become a freelance video editor, work in post-production studios, or build a creative YouTube career, our Premiere Pro classes set you up for success.
Conclusion
Mastering panel-switching shortcuts in Adobe Premiere Pro dramatically boosts your editing efficiency and comfort. By reducing your dependency on the mouse and navigating the interface like a pro, you’ll save hours on every project and focus more on creative storytelling.
If you’re serious about learning the full power of Adobe Premiere Pro and other industry-standard software, join Omega Film Institute—the best video editing school in Nepal. With hands-on projects, expert mentorship, and real-world training, you’ll be ready to thrive in Nepal’s fast-growing media and entertainment industry. Visit omegafilminstitute.com to enroll in our next batch and elevate your editing game today.
