Premiere Pro Shortcuts

Premiere Pro Shortcuts: How to Play Around and Loop Playback Easily
Efficient video editing isn’t just about creative vision—it’s about mastering the tools that bring that vision to life. For editors working in Adobe Premiere Pro, knowing the right Premiere Pro shortcut is essential for boosting productivity and maintaining a smooth workflow. Two common playback-related tasks—looping and navigating the timeline quickly—can become second nature once you master these shortcuts.
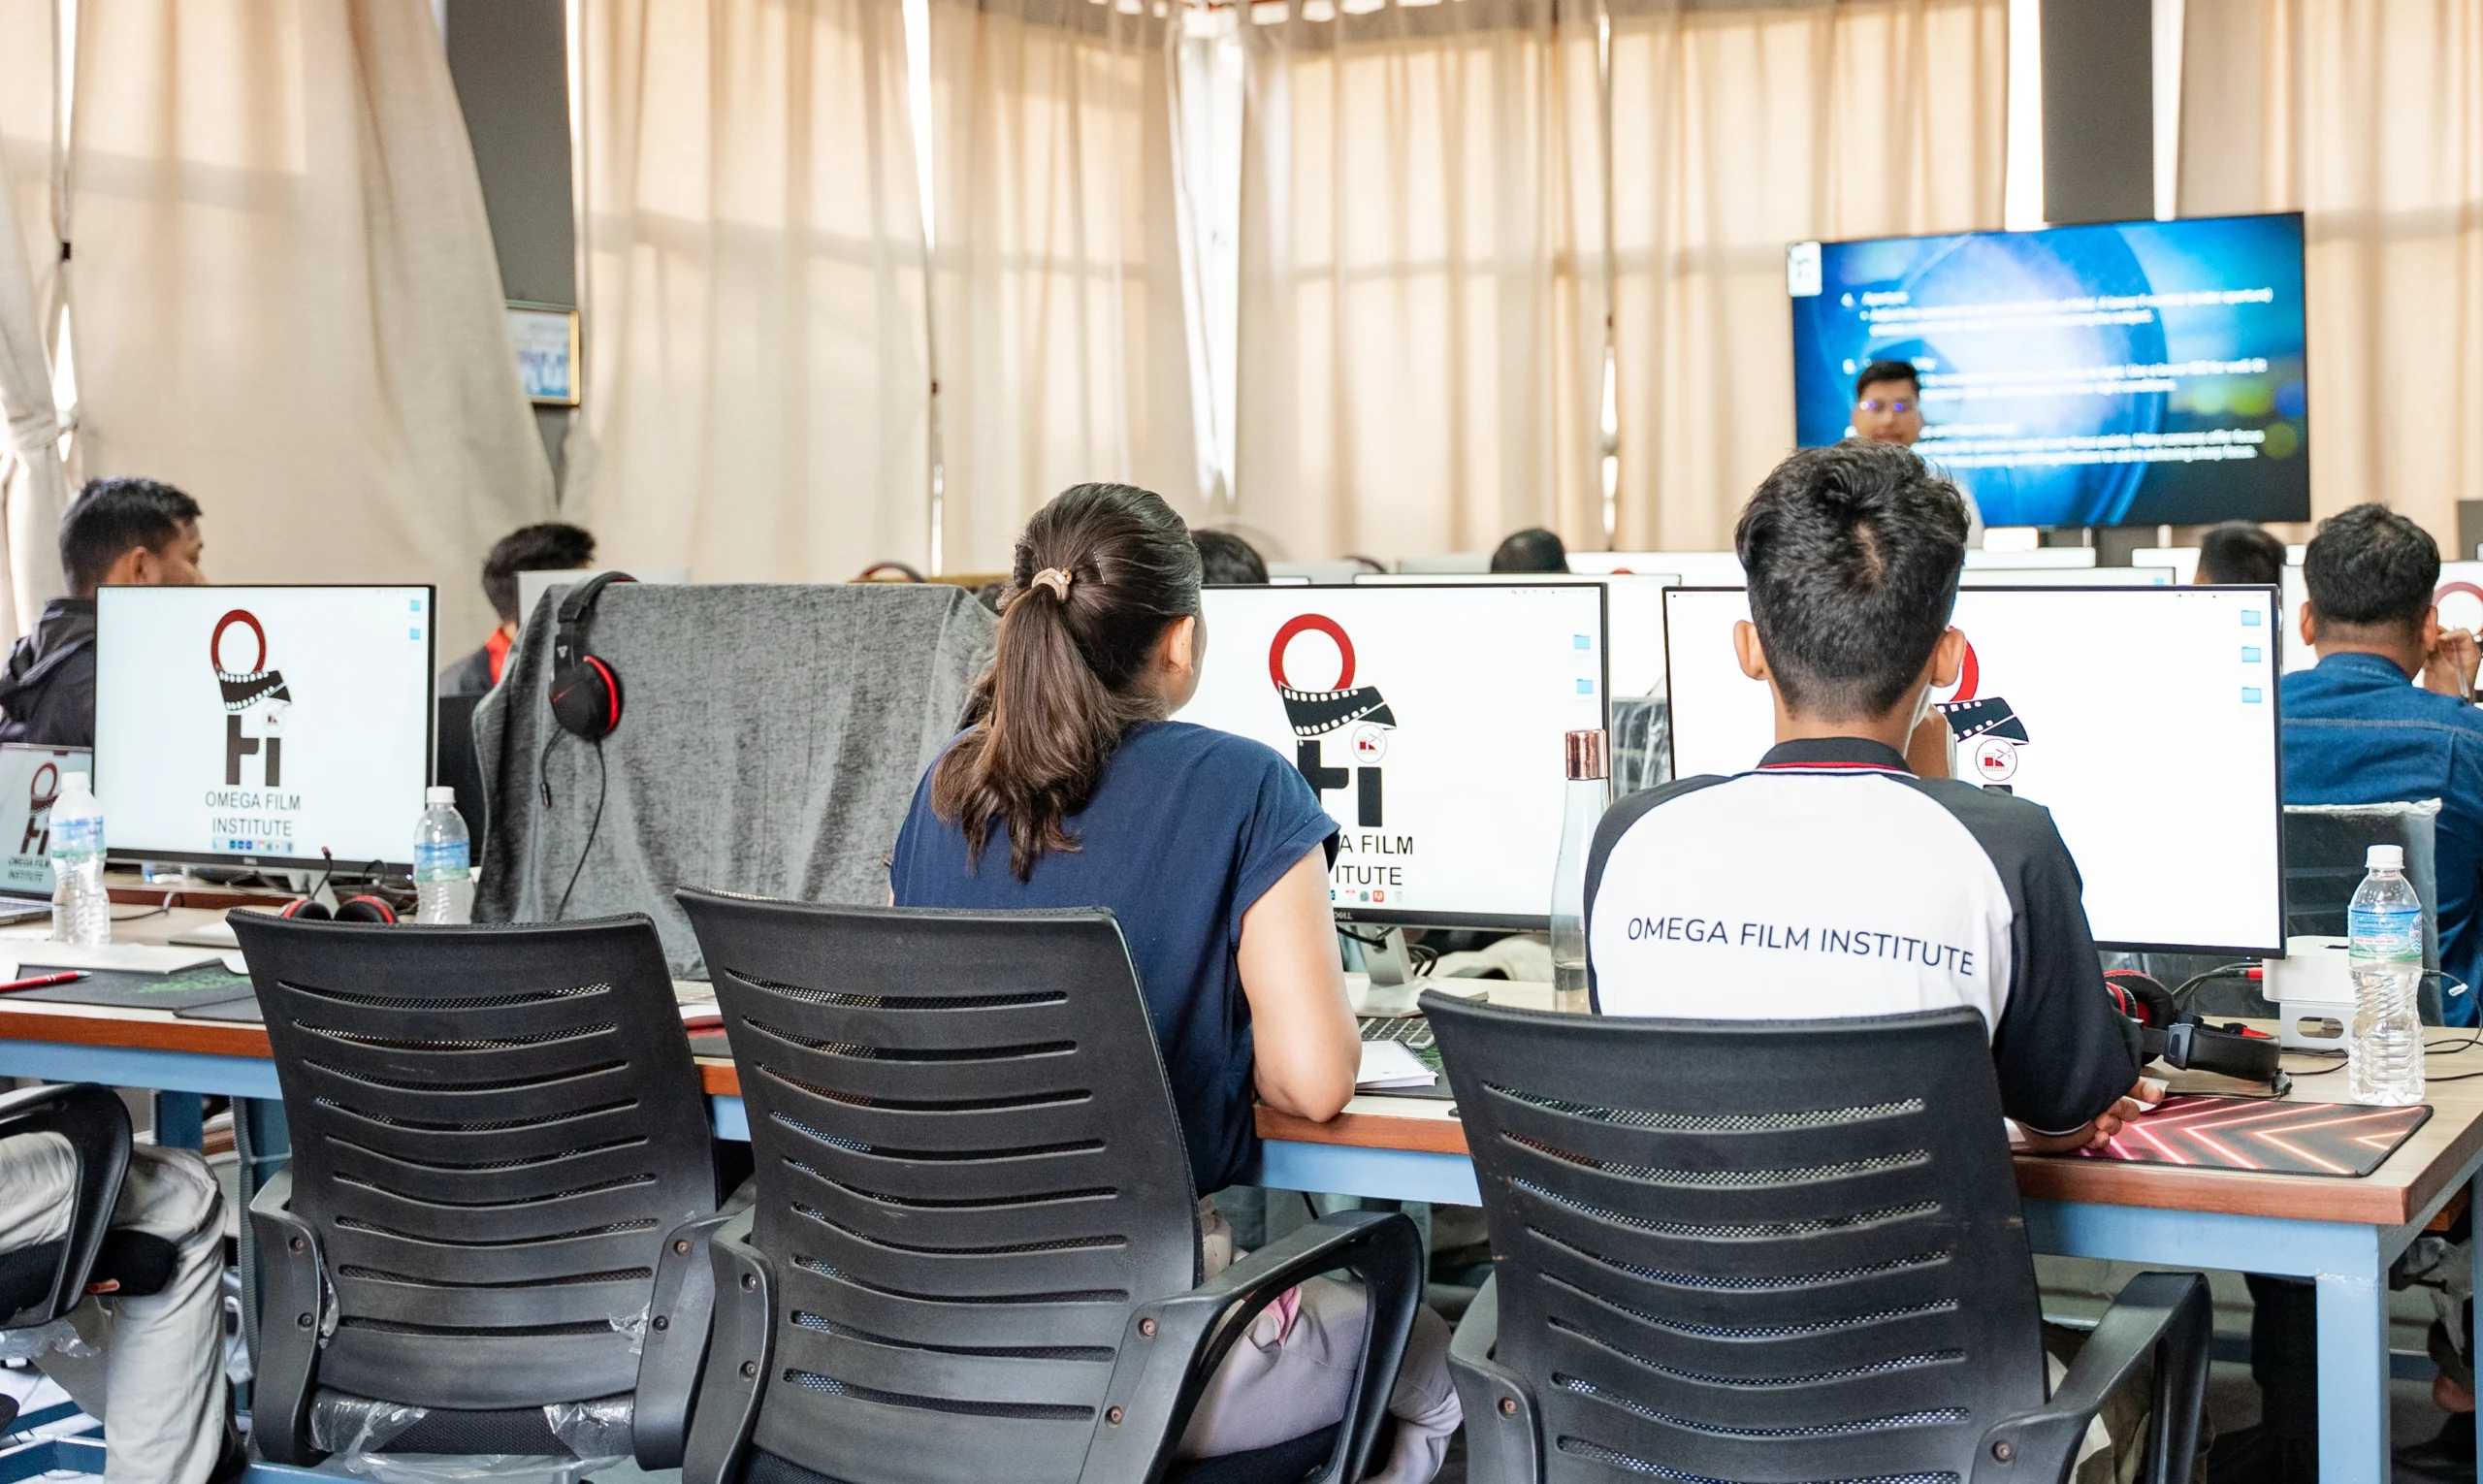
At Omega Film Institute, the top video editing school in Nepal, we emphasize the importance of Premiere Pro shortcut mastery to all our students. In this guide, you’ll learn how to use Premiere Pro shortcuts to loop playback, move the playhead quickly, and fine-tune your review process like a pro. Whether you’re editing interviews, music videos, or short films, these shortcuts will save you time and energy every day.
Why Looping and Navigation Are Essential for Video Editors
When editing a video, especially during sound design, color correction, or motion graphics, you’ll often need to review a specific segment multiple times. Instead of dragging the playhead manually or clicking the play button repeatedly, keyboard shortcuts allow you to:
- Preview scenes efficiently
- Isolate problem areas
- Test transitions, cuts, and effects in real time
Loop playback, in particular, helps with precision tasks—like syncing audio to video or checking for jitter in motion graphics.
How to Loop Playback in Adobe Premiere Pro
Step 1: Set In and Out Points
To define the range of playback you want to loop:
- I – Set In Point
- O – Set Out Point
Move your playhead to the start of your desired loop area and press I, then move it to the end and press O.
Step 2: Enable Looping in Premiere Pro
To activate looping:
- Go to the Program Monitor.
- Click on the wrench tool (spanner icon).
- Select Loop.
Alternatively, on newer versions:
- Go to Sequence > Loop Playback.
Once enabled, Premiere Pro will loop the playback within your set In and Out points.
Step 3: Use the Spacebar to Play
After setting In/Out and enabling looping, just press the Spacebar to play the selected segment. It will loop continuously.
Shortcut Summary for Looping
- I: Mark In
- O: Mark Out
- Spacebar: Play/Pause
- Option + K (Mac) / Alt + K (Windows): Play Around
Using the Play Around Function
The Play Around function is another underrated Premiere Pro feature that helps with seamless previews. Instead of manually setting In and Out points, Play Around allows you to preview a few seconds before and after the playhead location.
Default Shortcut:
- Option + K (Mac)
- Alt + K (Windows)
This plays 2 seconds before and after the current playhead position, making it great for checking edits or cuts.
Customize Play Around Duration
If you want to change how long Play Around plays:
- Go to Preferences > Playback.
- Adjust the “Play Around Pre-Roll” and “Post-Roll” values.
This is especially helpful when working on quick transitions or audio sync issues.
Bonus: Shuttle Playback Shortcuts for Quick Navigation
If you want to fast forward or rewind during playback:
- J: Rewind (press multiple times to increase speed)
- K: Pause
- L: Forward (press multiple times to increase speed)
These are called JKL shortcuts, and they’re industry-standard tools for editors looking to navigate timelines without a mouse.
Looping Playback in the Source Monitor
You can also loop clips in the Source Monitor before dropping them into your timeline:
- Open the clip in the Source Monitor.
- Set In (I) and Out (O) points.
- Enable Loop in the wrench menu.
This is a helpful trick for checking a particular section before final placement in your timeline.
Playback Lag? Try These Tips
Looping and playing around won’t help much if your system lags during playback. Try:
- Lowering Playback Resolution (in Program Monitor dropdown)
- Using Proxies for high-res footage
- Rendering In to Out (Sequence > Render In to Out)
At Omega Film Institute, we teach all these techniques and more as part of our Premiere Pro course. Our students learn to work smarter—not harder—so they can focus more on creativity and less on technical slowdowns.
Conclusion
Mastering playback controls in Premiere Pro—like looping and play around—may seem like a small thing, but it can transform your workflow. These shortcuts allow you to review, revise, and finalize edits faster and with more precision.
If you’re an aspiring editor in Nepal looking to upgrade your skills, there’s no better place than Omega Film Institute. With expert instructors, industry-grade labs, and hands-on Premiere Pro training, we prepare you for real-world editing challenges.
Join Omega Film Institute today and discover how the right shortcuts can lead to big creative breakthroughs.
