DaVinci Resolve Round-trip Workflow: Complete Step-by-Step Breakdown

In professional video editing, a round-trip workflow in DaVinci Resolve is an essential skill that ensures smooth collaboration between different post-production software. One of the most common and powerful round-trip setups is between Adobe Premiere Pro (or another editing software) and DaVinci Resolve for advanced color grading and finishing. This workflow allows editors to cut their projects in Premiere Pro and then send them to DaVinci Resolve for color correction before returning to Premiere for final delivery—making the round-trip workflow DaVinci Resolve a must-learn process for every professional editor.
Why Use a Roundtrip Workflow?
- Best of Both Worlds – Premiere Pro excels in editing, while DaVinci Resolve is the industry standard for color grading.
- Professional Color Correction – Resolve offers advanced tools for skin tones, HDR grading, and film looks.
- Consistency Across Platforms – Ensures accurate color reproduction in the final output.
- Efficiency – Editors can focus on storytelling in Premiere, while colorists handle grading in Resolve.
Step 1: Edit Your Project in Premiere Pro (or Another NLE)
- Import and organize your media in Premiere Pro.
- Perform your rough and fine cuts.
- Lock your edit before moving to Resolve (to avoid redoing steps later).
Pro Tip: Remove unused clips from the timeline to keep your project clean.
Step 2: Prepare for Export to Resolve
- Flatten Complex Effects – Remove or minimize effects like transitions, titles, and dynamic links. Add them back later after roundtrip.
- Rename Clips Clearly – Helps with relinking in Resolve.
- Consolidate Tracks – Keep audio and video organized.
Step 3: Export XML/AAF from Premiere Pro
- Go to File > Export > Final Cut Pro XML (Premiere Pro).
- Save the XML file in your project folder.
- Along with XML, keep all source footage organized.
Step 4: Import Project into DaVinci Resolve
- Open DaVinci Resolve.
- Create a new project.
- Go to File > Import Timeline > Import AAF, EDL, XML.
- Select the XML file exported from Premiere Pro.
- Resolve will prompt you to locate and relink media files.
Step 5: Relink Media
- Point Resolve to your media folder.
- Relink all clips to their original sources.
- Check that all clips are properly placed on the timeline.
Step 6: Color Grading in Resolve
- Move to the Color Page.
- Perform primary corrections (contrast, white balance, exposure).
- Apply secondary corrections (skin tones, selective color adjustments).
- Add LUTs for cinematic or branded looks.
- Ensure consistency across all shots.
Step 7: Export Graded Timeline Back to Premiere Pro
- Go to the Deliver Page in Resolve.
- Choose Render Individual Clips.
- Format: QuickTime (ProRes/DNxHD) or H.264 (for lighter projects).
- Check Use Source Filename to match with the Premiere Pro timeline.
- Render all clips.
Step 8: Import Back into Premiere Pro
- In Premiere Pro, relink the graded clips.
- Reapply titles, transitions, or effects removed earlier.
- Finalize audio mixing.
Step 9: Export the Final Project
- Go to File > Export > Media.
- Choose the correct format depending on delivery (H.264 for YouTube, ProRes for professional delivery).
- Render and review for quality.
Pro Tips for a Smooth Round-trip
- Match Frame Rates & Resolution – Keep project settings consistent between Premiere and Resolve.
- Avoid Heavy Effects Before Roundtrip – Add VFX, graphics, or transitions after color grading.
- Organize Media – Keep all footage in a dedicated folder to simplify relinking.
- Use High-Quality Exports – For grading, avoid compressed formats.
- Check for Errors – Always review after relinking.
Real-World Applications in Nepal
- Wedding Films – Edit in Premiere Pro, grade in Resolve for cinematic looks.
- Corporate Projects – Maintain brand color accuracy.
- YouTube Content – Apply stylish grades to stand out.
- Documentaries & Short Films – Ensure professional festival-ready color correction.
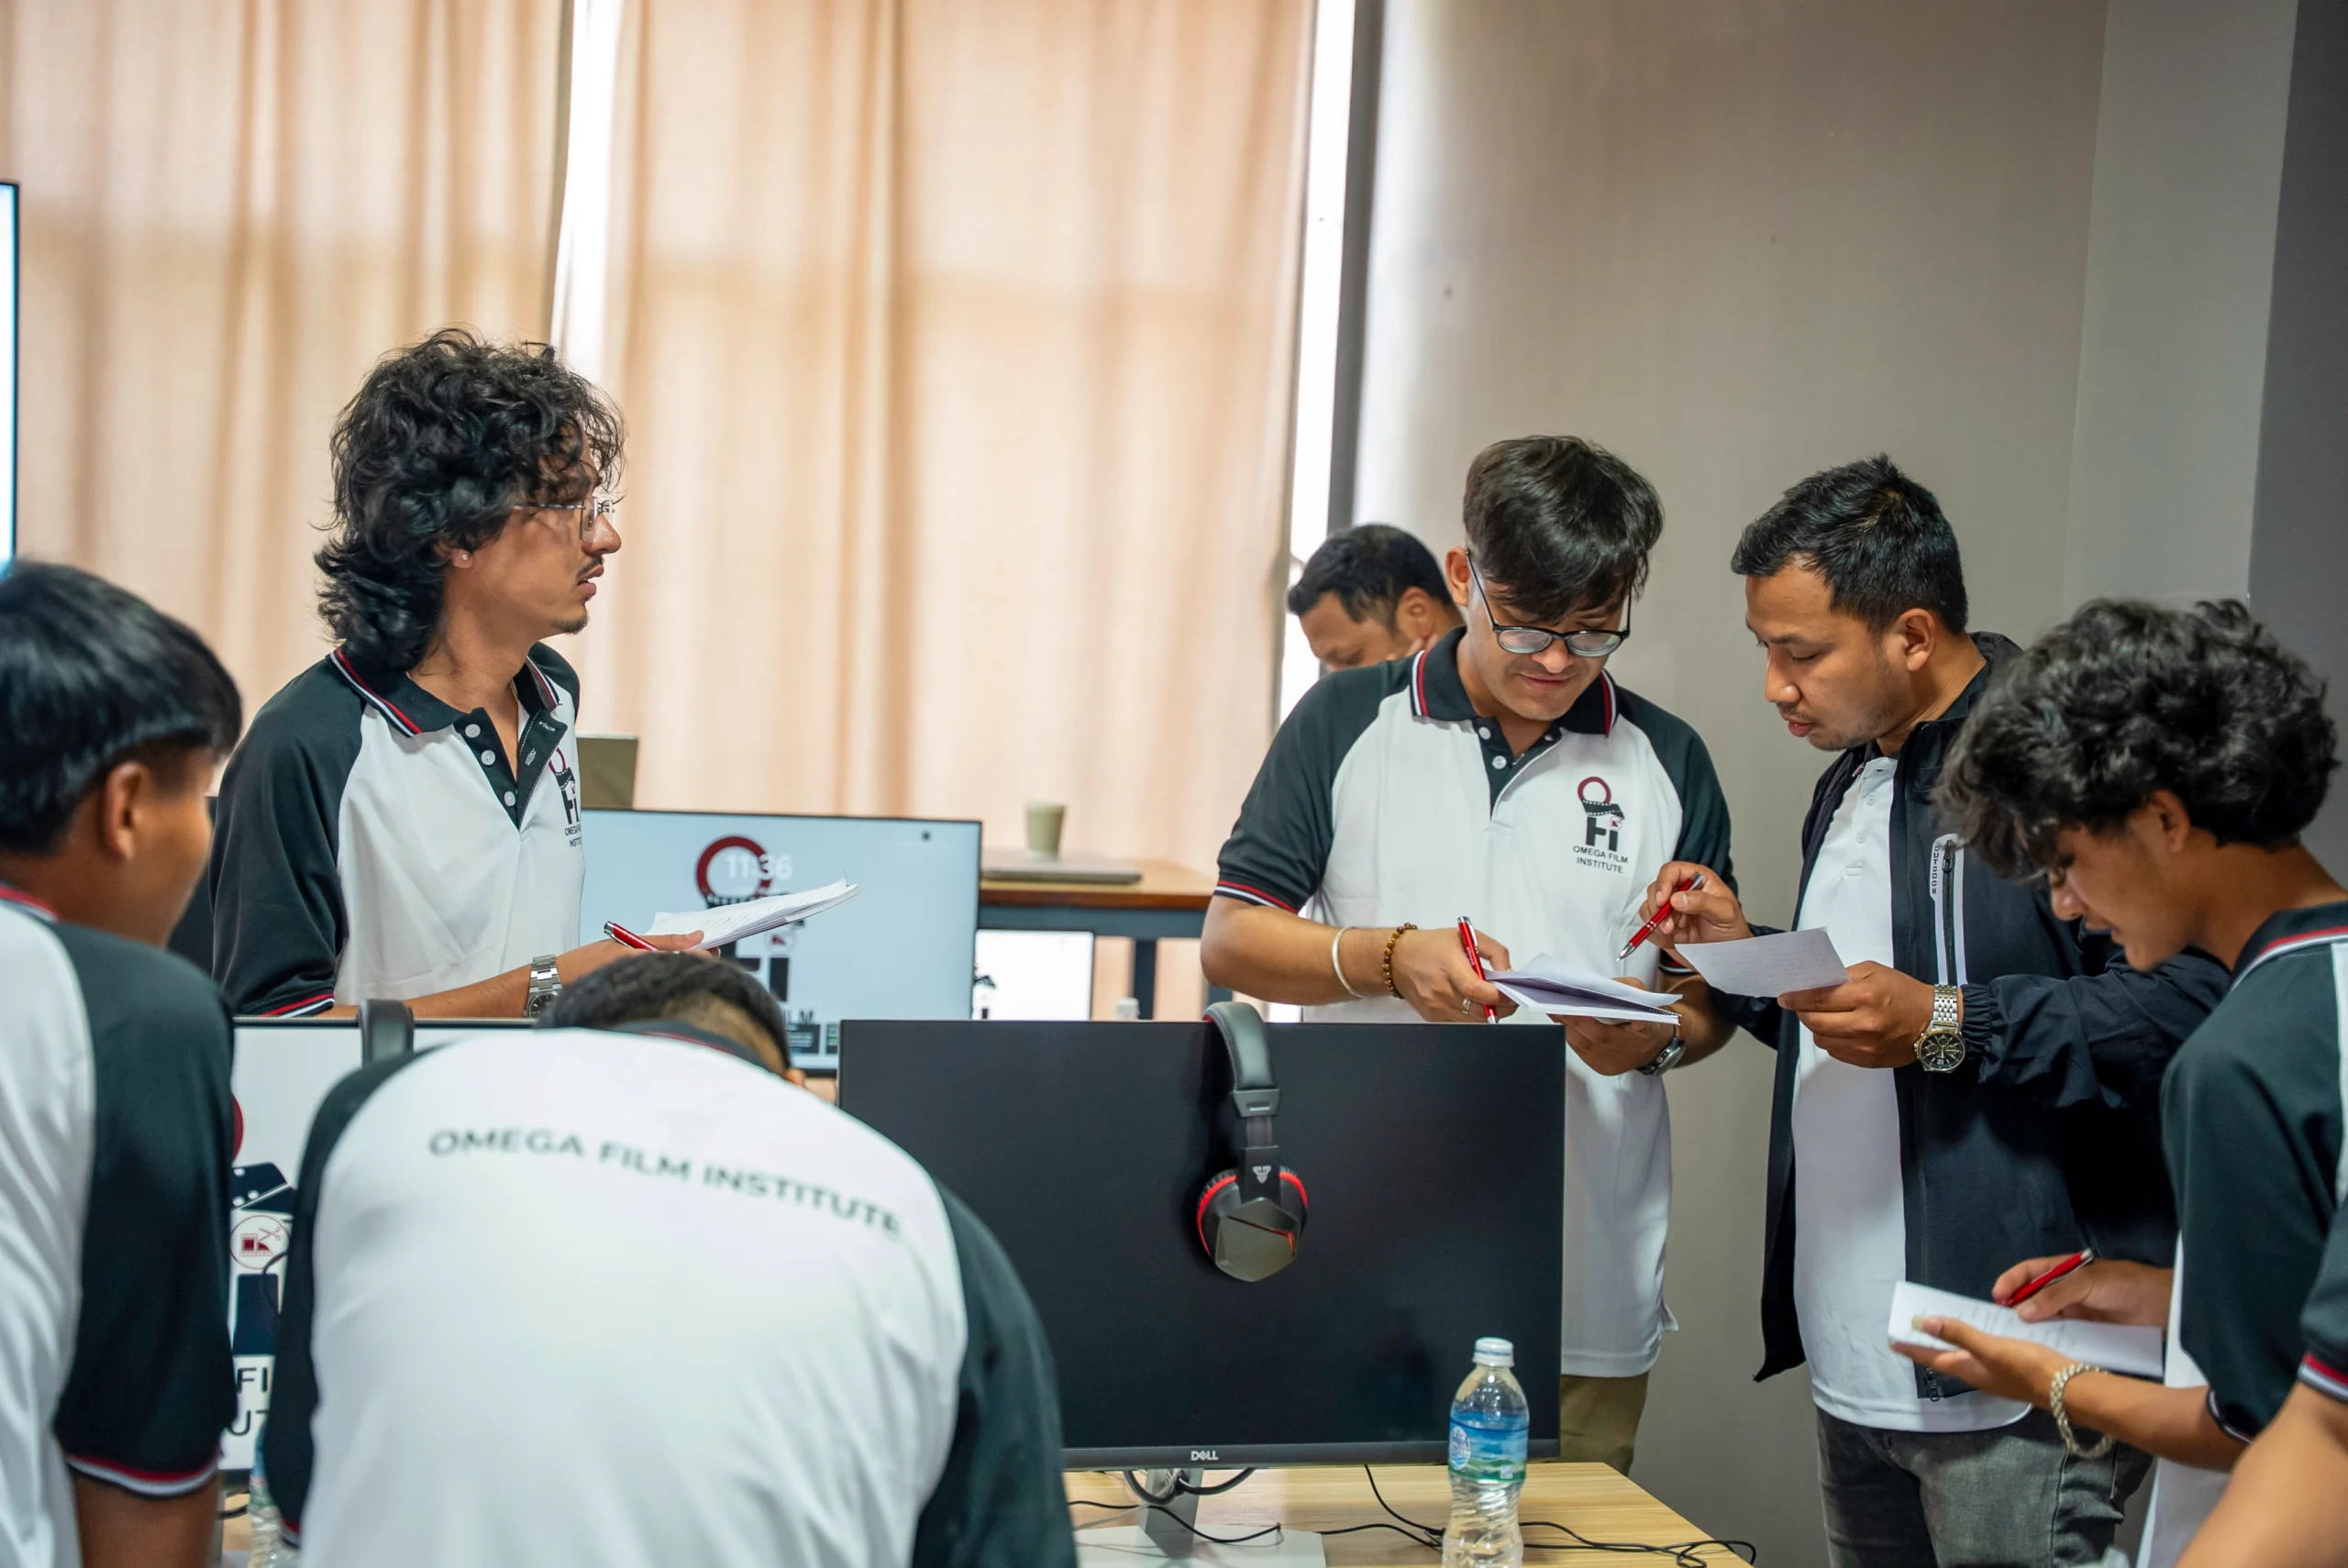
Why Learn at Omega Film Institute?
At Omega Film Institute, students learn:
- Premiere Pro editing techniques
- DaVinci Resolve color grading and round-trip workflows
- How to prepare projects for professional delivery
- Real projects in weddings, ads, and YouTube content in Nepal
By mastering this workflow, editors gain an edge in Nepal’s media industry, where speed, quality, and efficiency are critical.
Conclusion
The DaVinci Resolve round-trip workflow is the industry standard for combining efficient editing with world-class color grading. For editors in Nepal, mastering this process ensures projects meet international standards, whether for weddings, YouTube, or commercial clients.
If you want to learn professional workflows like this, join Omega Film Institute—Nepal’s best video editing school. With expert instructors and real-world training, we’ll help you become a professional editor ready for today’s fast-paced media industry.
Enroll today and master the DaVinci Resolve round-trip workflow at Omega Film Institute.
