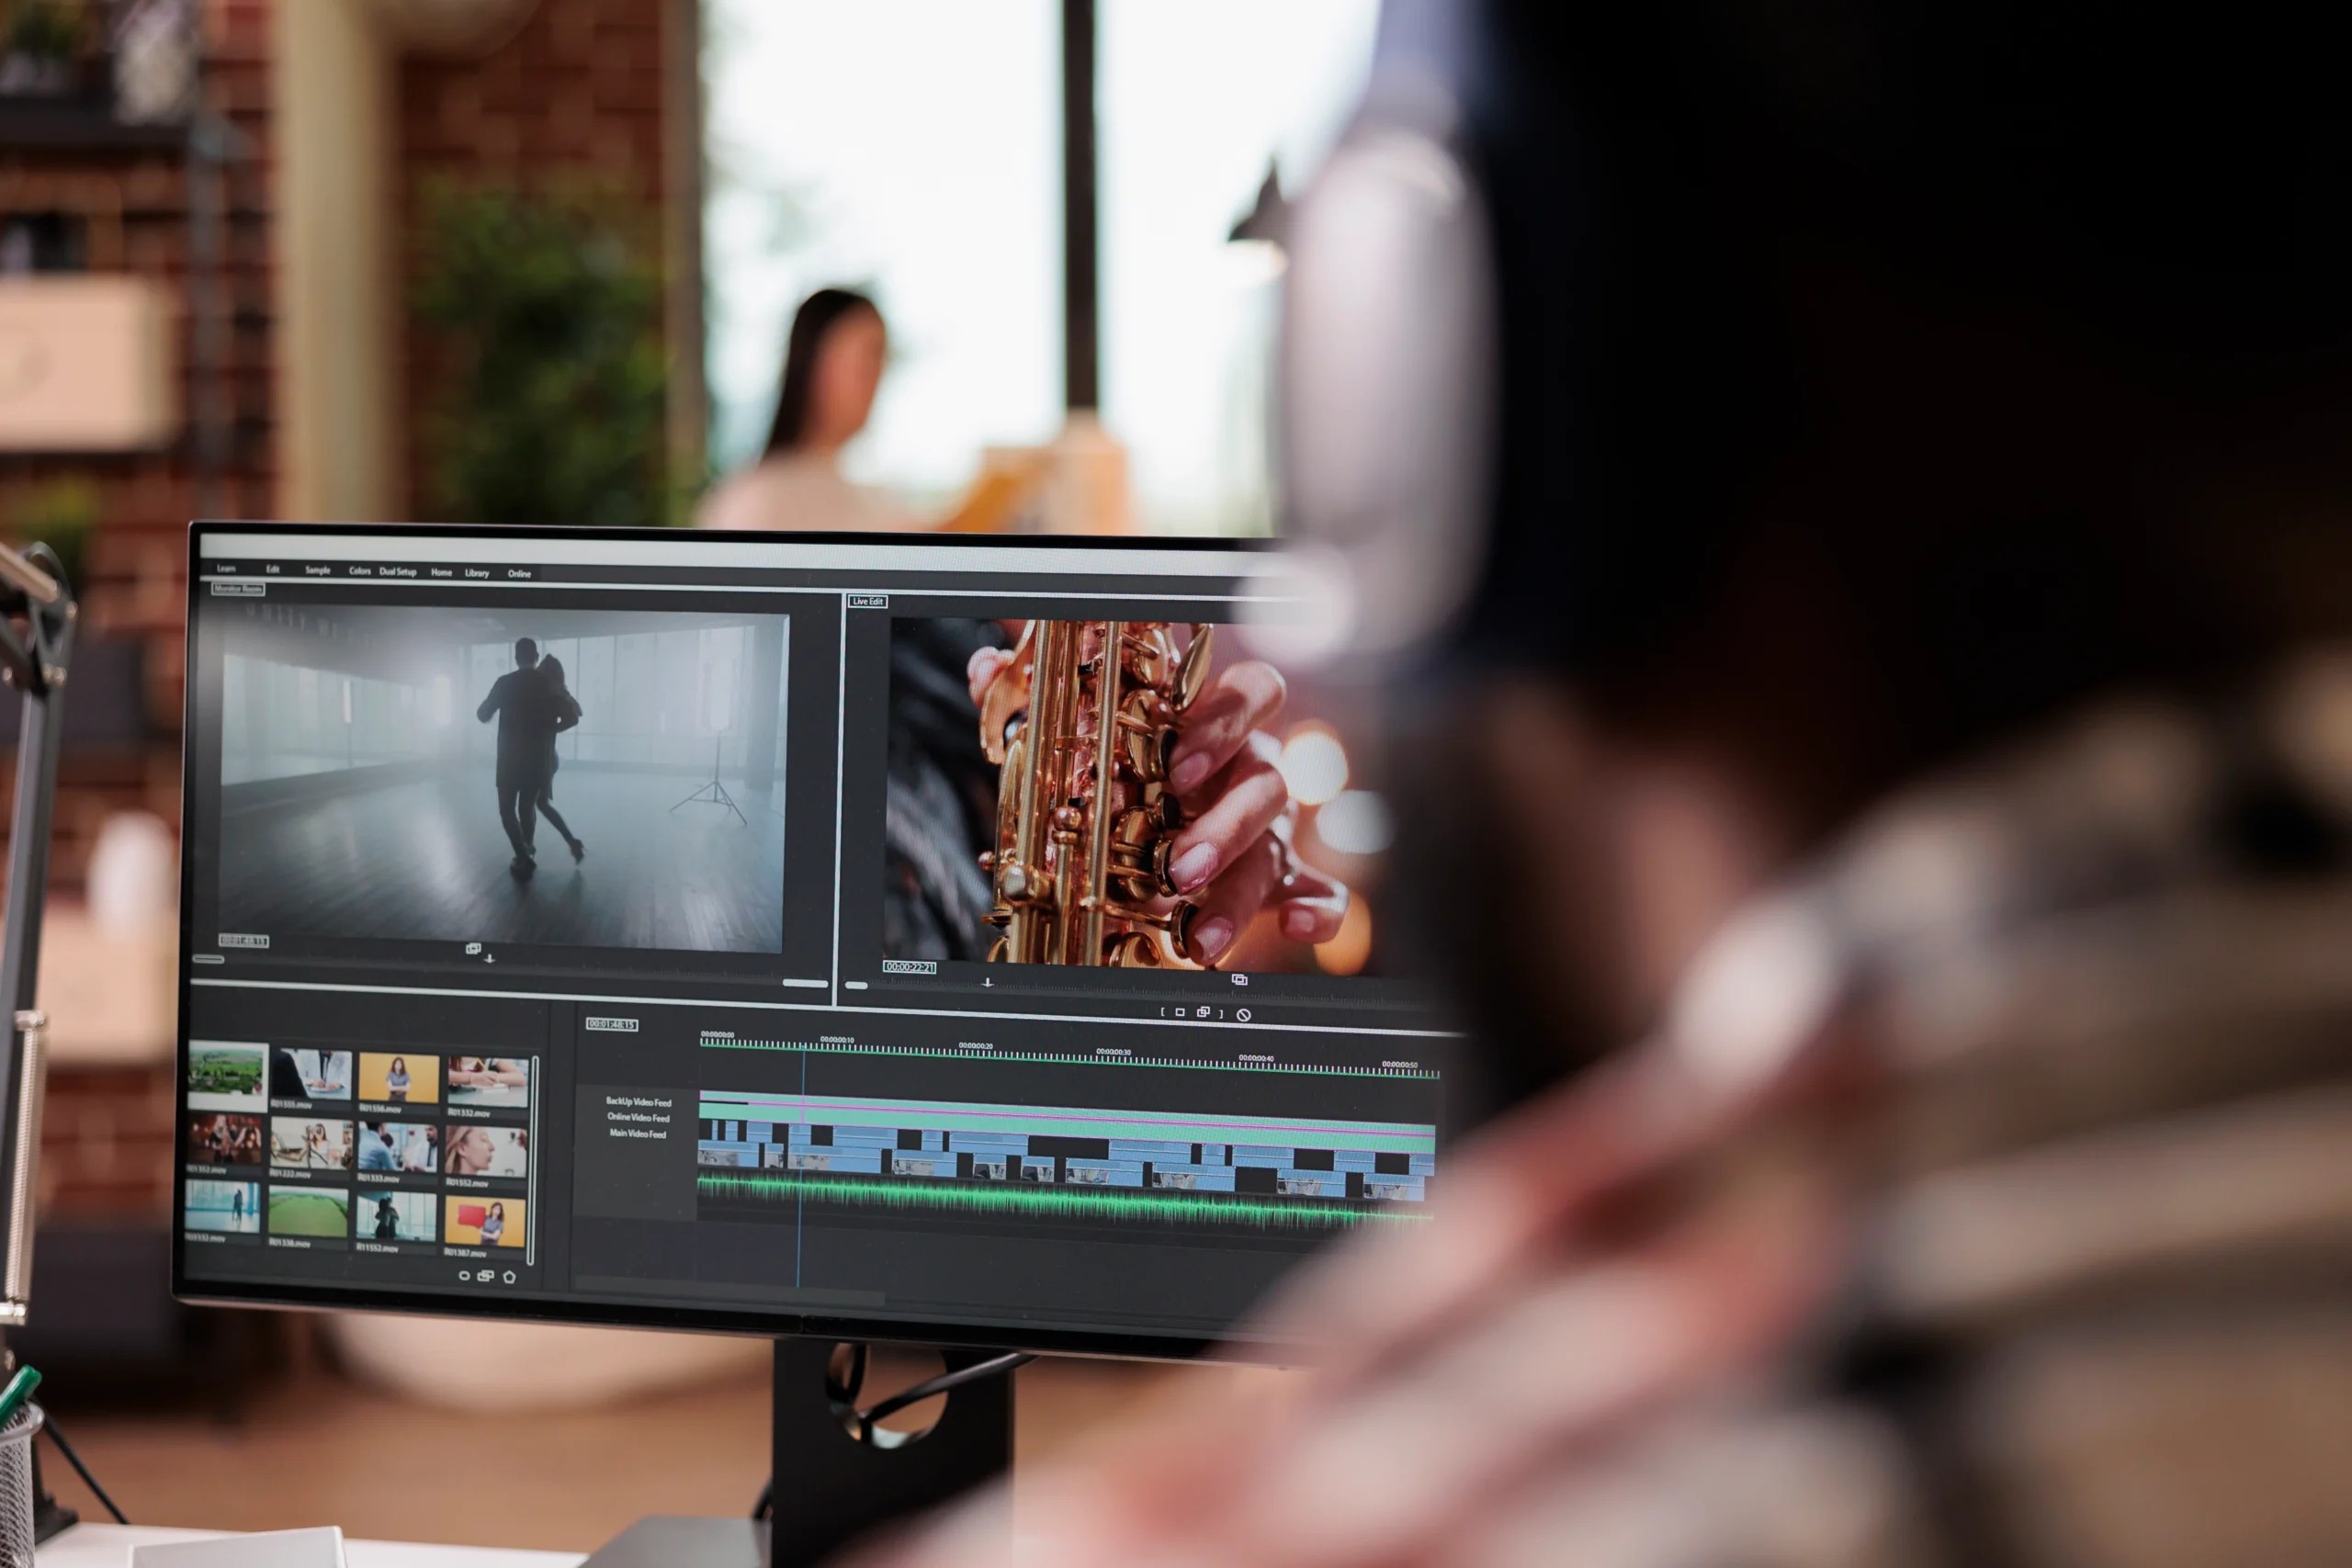
The Art of Split Screen: Enhancing Visual Storytelling in Video Editing

Split screen video editing is a powerful technique that allows editors to show multiple perspectives at once, enrich narratives, and add visual interest to video content. Often used in films, commercials, music videos, and social media edits, this approach creates dynamic compositions that elevate storytelling. At Omega Film Institute, Nepal’s leading video editing school, we teach students how to use split screen video editing both creatively and technically to produce professional, compelling content.
In this guide, we’ll explore what split screen video editing is, when and why to use it, and how to create stunning split screen sequences using tools like Adobe Premiere Pro and DaVinci Resolve.
What Is a Split Screen in Video Editing?
A split screen is a video editing technique where the screen is divided into two or more sections, each displaying a different clip simultaneously. It allows viewers to see multiple actions or viewpoints at once.
Common formats include:
- Two-Way Split: Often used for phone calls, interviews, or parallel actions.
- Three-Way or Four-Way Grids: Great for group scenes, multi-character introductions, or comparison shots.
- Asymmetrical Splits: Used for creative visual flow and dynamic pacing.
Why Use Split Screen?
Split screen isn’t just visually interesting—it can also serve important storytelling functions:
1. Show Simultaneous Action
Display two or more events happening at the same time, adding urgency or context.
2. Contrast Perspectives
Highlight differences between characters, locations, or emotional states.
3. Emphasize Reactions
Let viewers see an action and its reaction simultaneously for emotional depth.
4. Showcase Comparisons
Use it for before/after views, product comparisons, or stylistic choices in creative projects.
5. Increase Engagement
Split screen breaks the traditional frame, grabbing attention and making content more memorable.
How to Create a Split Screen in Adobe Premiere Pro
Step 1: Import and Arrange Your Clips
Place two or more video clips on separate video tracks in the timeline.
Step 2: Resize and Position
Use the “Effect Controls” panel:
- Select a clip
- Use the “Scale” property to reduce the size
- Use “Position” to move it to the left, right, top, or bottom
Repeat for each clip, arranging them into your desired layout.
Step 3: Add Borders (Optional)
To visually separate screens:
- Create a color matte
- Place it between clips or along edges
- Adjust opacity and size as needed
Step 4: Sync Audio and Timing
- Choose which audio track to feature (or mix multiple).
- Align video actions so they complement or contrast each other meaningfully.
Step 5: Add Finishing Touches
- Color grade clips individually or collectively
- Add motion (like slow zooms or pans) to keep the frame dynamic
How to Create a Split Screen in DaVinci Resolve
Step 1: Place Clips in Timeline
Stack multiple video clips on different tracks.
Step 2: Use the Inspector
Adjust “Zoom” and “Position” for each clip to place them side-by-side or in grid layouts.
Step 3: Use the Fusion Tab (For Advanced Layouts)
For complex or stylized splits, Fusion offers custom framing, animation, and effects.
Step 4: Color Correct Each Screen
Resolve’s node-based color grading lets you adjust each screen section separately for balance or contrast.
Best Practices for Using Split Screen
- Keep It Clear: Ensure that each screen section is easy to follow—avoid visual clutter.
- Maintain Story Flow: Use split screens when they enhance, not distract from, the narrative.
- Balance Color and Light: Match the look and tone of each clip so the composition feels cohesive.
- Use Motion Wisely: Add subtle zooms or pans to avoid a static feel.
- Consider Aspect Ratios: For social media, adapt split screens to vertical or square formats.
Creative Examples and Use Cases
Film and TV
- Show phone conversations
- Display multiple storylines
- Reveal different character locations
Music Videos
- Sync band performances with behind-the-scenes footage
- Interweave narrative and visual art
Documentaries
- Compare interview footage with archival visuals
- Show multiple perspectives in real time
Commercials
- Showcase product features side-by-side
- Highlight customer testimonials with live-action clips
Learn at Omega Film Institute
At Omega Film Institute, our professional video editing courses train students to use techniques like split screen not just technically, but creatively. You’ll learn:
- How to design engaging multi-screen layouts
- The storytelling impact of split composition
- How to use split screen for vertical, horizontal, and cinematic formats
- Real-world applications in films, ads, and online media
We combine hands-on practice with professional feedback so students can master split-screen editing and much more.
Conclusion
Split screen is more than just a flashy effect—it’s a storytelling tool that, when used well, can transform your content. Whether you’re showing action and reaction, comparing shots, or building visual tension, this technique helps you say more with every frame.
By learning and mastering split-screen editing, you add versatility to your toolkit and gain a creative edge. And with guidance from Omega Film Institute, you’ll learn not just how to use the tools, but when and why to use them. Explore our courses to take your storytelling to the next level with advanced video editing techniques like split screen. Visit Omega Film Institute to learn more and enroll today.
