How to Edit Videos for YouTube?

A Beginner’s Guide for YouTube Video Editors in Nepal with Omega Film Institute
YouTube has become one of the most popular platforms for sharing content, storytelling, and building a career. If you’re a budding YouTube Video Editors, understanding how to edit videos is key to creating professional content that captures attention and keeps viewers engaged.
If you’re new to video editing and want to create professional-quality YouTube videos, this guide is for you. With insights from Omega Film Institute, the best video editing school in Nepal, we’ll walk you through the essential steps and tips to edit videos like a pro.
Why YouTube Video Editors Matters?
Great editing can transform raw footage into a compelling video that resonates with your audience. For instance, it enhances visual appeal, in addition, it improves storytelling. Moreover, it boosts engagement and builds professionalism. Here’s why it’s crucial:
- Enhances Visual Appeal: Proper editing ensures your video is polished and visually pleasing.
- Improves Storytelling: Editing helps structure your narrative for maximum impact.
- Boosts Engagement: Dynamic edits, smooth transitions, and well-timed cuts keep viewers hooked.
- Professionalism: High-quality videos build credibility and attract subscribers.
Step 1: Essential Tools for YouTube Video Editors
To edit YouTube videos, you need the right tools. These include software such as DaVinci Resolve or Adobe Premiere Pro. You also need a powerful computer. Make sure it has at least 8GB of RAM and a dedicated graphics card., you need the right tools:
1. Video Editing Software
Choose software based on your skill level and requirements:
- Beginner-Friendly Options: iMovie, Shotcut, or DaVinci Resolve (free version).
- Professional Options: Adobe Premiere Pro or Final Cut Pro for advanced editing capabilities.
2. Hardware
Ensure your computer meets the requirements for smooth video editing. A laptop or desktop with:
- A fast processor (Intel i5 or better).
- At least 8GB of RAM.
- A dedicated graphics card for rendering high-quality videos.
Step 2: Plan Your Video
Before jumping into editing, create a clear plan:
- Define Your Purpose: Are you making a tutorial, vlog, or entertainment video?
- Script and Storyboard: Outline your video to ensure it flows logically.
- Organize Your Footage: Rename and sort clips into folders for easier access during editing.
Step 3: Import and Organize Footage
- Import Files: Open your editing software and import your video clips, audio tracks, and graphics.
- Create Bins/Folders: Use bins or folders within the software to organize raw footage, music, and assets.
- Review Clips: Watch all your footage to identify the best takes.
Step 4: Basic Editing Steps
1. Trim and Cut
- Remove unnecessary parts of your video.
- Use the razor tool or cut feature to isolate sections.
2. Arrange Clips
- Drag and drop your clips onto the timeline.
- Rearrange them to match your storyboard or script.
3. Add Transitions
- Use transitions like cuts, fades, or dissolves to move smoothly between scenes.
- Avoid overusing fancy transitions—simplicity often works best.
4. Sync Audio
- If you’re using external audio, align it with your video timeline.
- Adjust audio levels to ensure clear sound without distortion.
Step 5: Enhance Your Video
1. Add Text and Titles
- Include an engaging intro title and end screen.
- Use lower thirds to introduce speakers or provide context.
2. Apply Color Correction
- Adjust brightness, contrast, and saturation to make your video visually appealing.
- Use tools like Lumetri Color (Premiere Pro) or the Color Page (DaVinci Resolve).
3. Incorporate Music and Sound Effects
- Choose royalty-free music that matches your video’s tone.
- Add sound effects to emphasize actions or transitions.
4. Include Graphics and Animations
- Add engaging overlays, motion graphics, or logos to personalize your video.
- Tools like Adobe After Effects or Canva can help create these assets.
Step 6: Review and Export
- Preview Your Video: Watch your edited video from start to finish to catch any errors.
- Make Adjustments: Fix any rough transitions, audio issues, or visual inconsistencies.
- Export Settings:
- Format: MP4 (widely supported by YouTube).
- Resolution: 1080p or higher for high-quality output.
- Frame Rate: Match your original footage (typically 24, 30, or 60 FPS).
Tips for Beginner YouTube Video Editors
- Start Small: Focus on short, simple videos before tackling complex projects.
- Learn Keyboard Shortcuts: This speeds up your workflow significantly.
- Use Templates: Many editing programs offer pre-designed templates for intros, transitions, and effects.
- Stay Consistent: Use similar styles and branding across your videos to build recognition.
- Seek Feedback: Share drafts with friends or mentors to improve your work.
How Omega Film Institute Can Help?

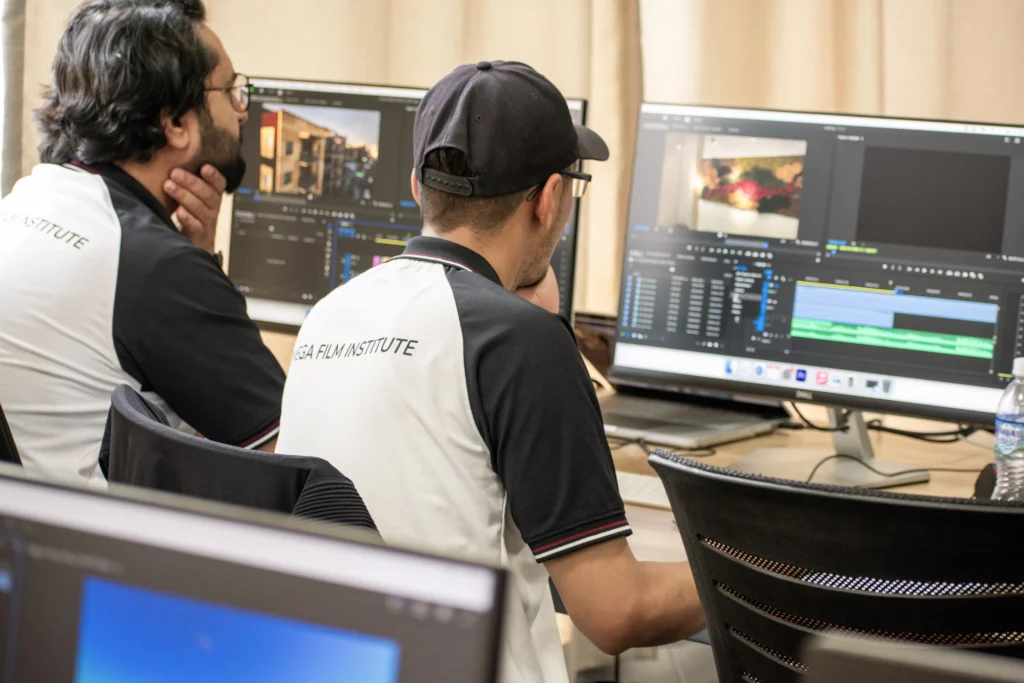
At Omega Film Institute, we help aspiring YouTube video editors in Nepal master the art of editing. Here’s what makes us the best choice:
1. Expert-Led Classes
Our instructors are experienced editors who provide hands-on training in Adobe Premiere Pro and DaVinci Resolve.
2. Industry-Relevant Curriculum
We teach essential editing techniques, from cutting and color grading to motion graphics and sound design.
3. Practical Projects
Students work on real-world projects to gain confidence and build a portfolio.
4. YouTube-Focused Training
Our courses cover specific skills like creating thumbnails, optimizing videos for YouTube, and crafting engaging content.
5. State-of-the-Art Labs
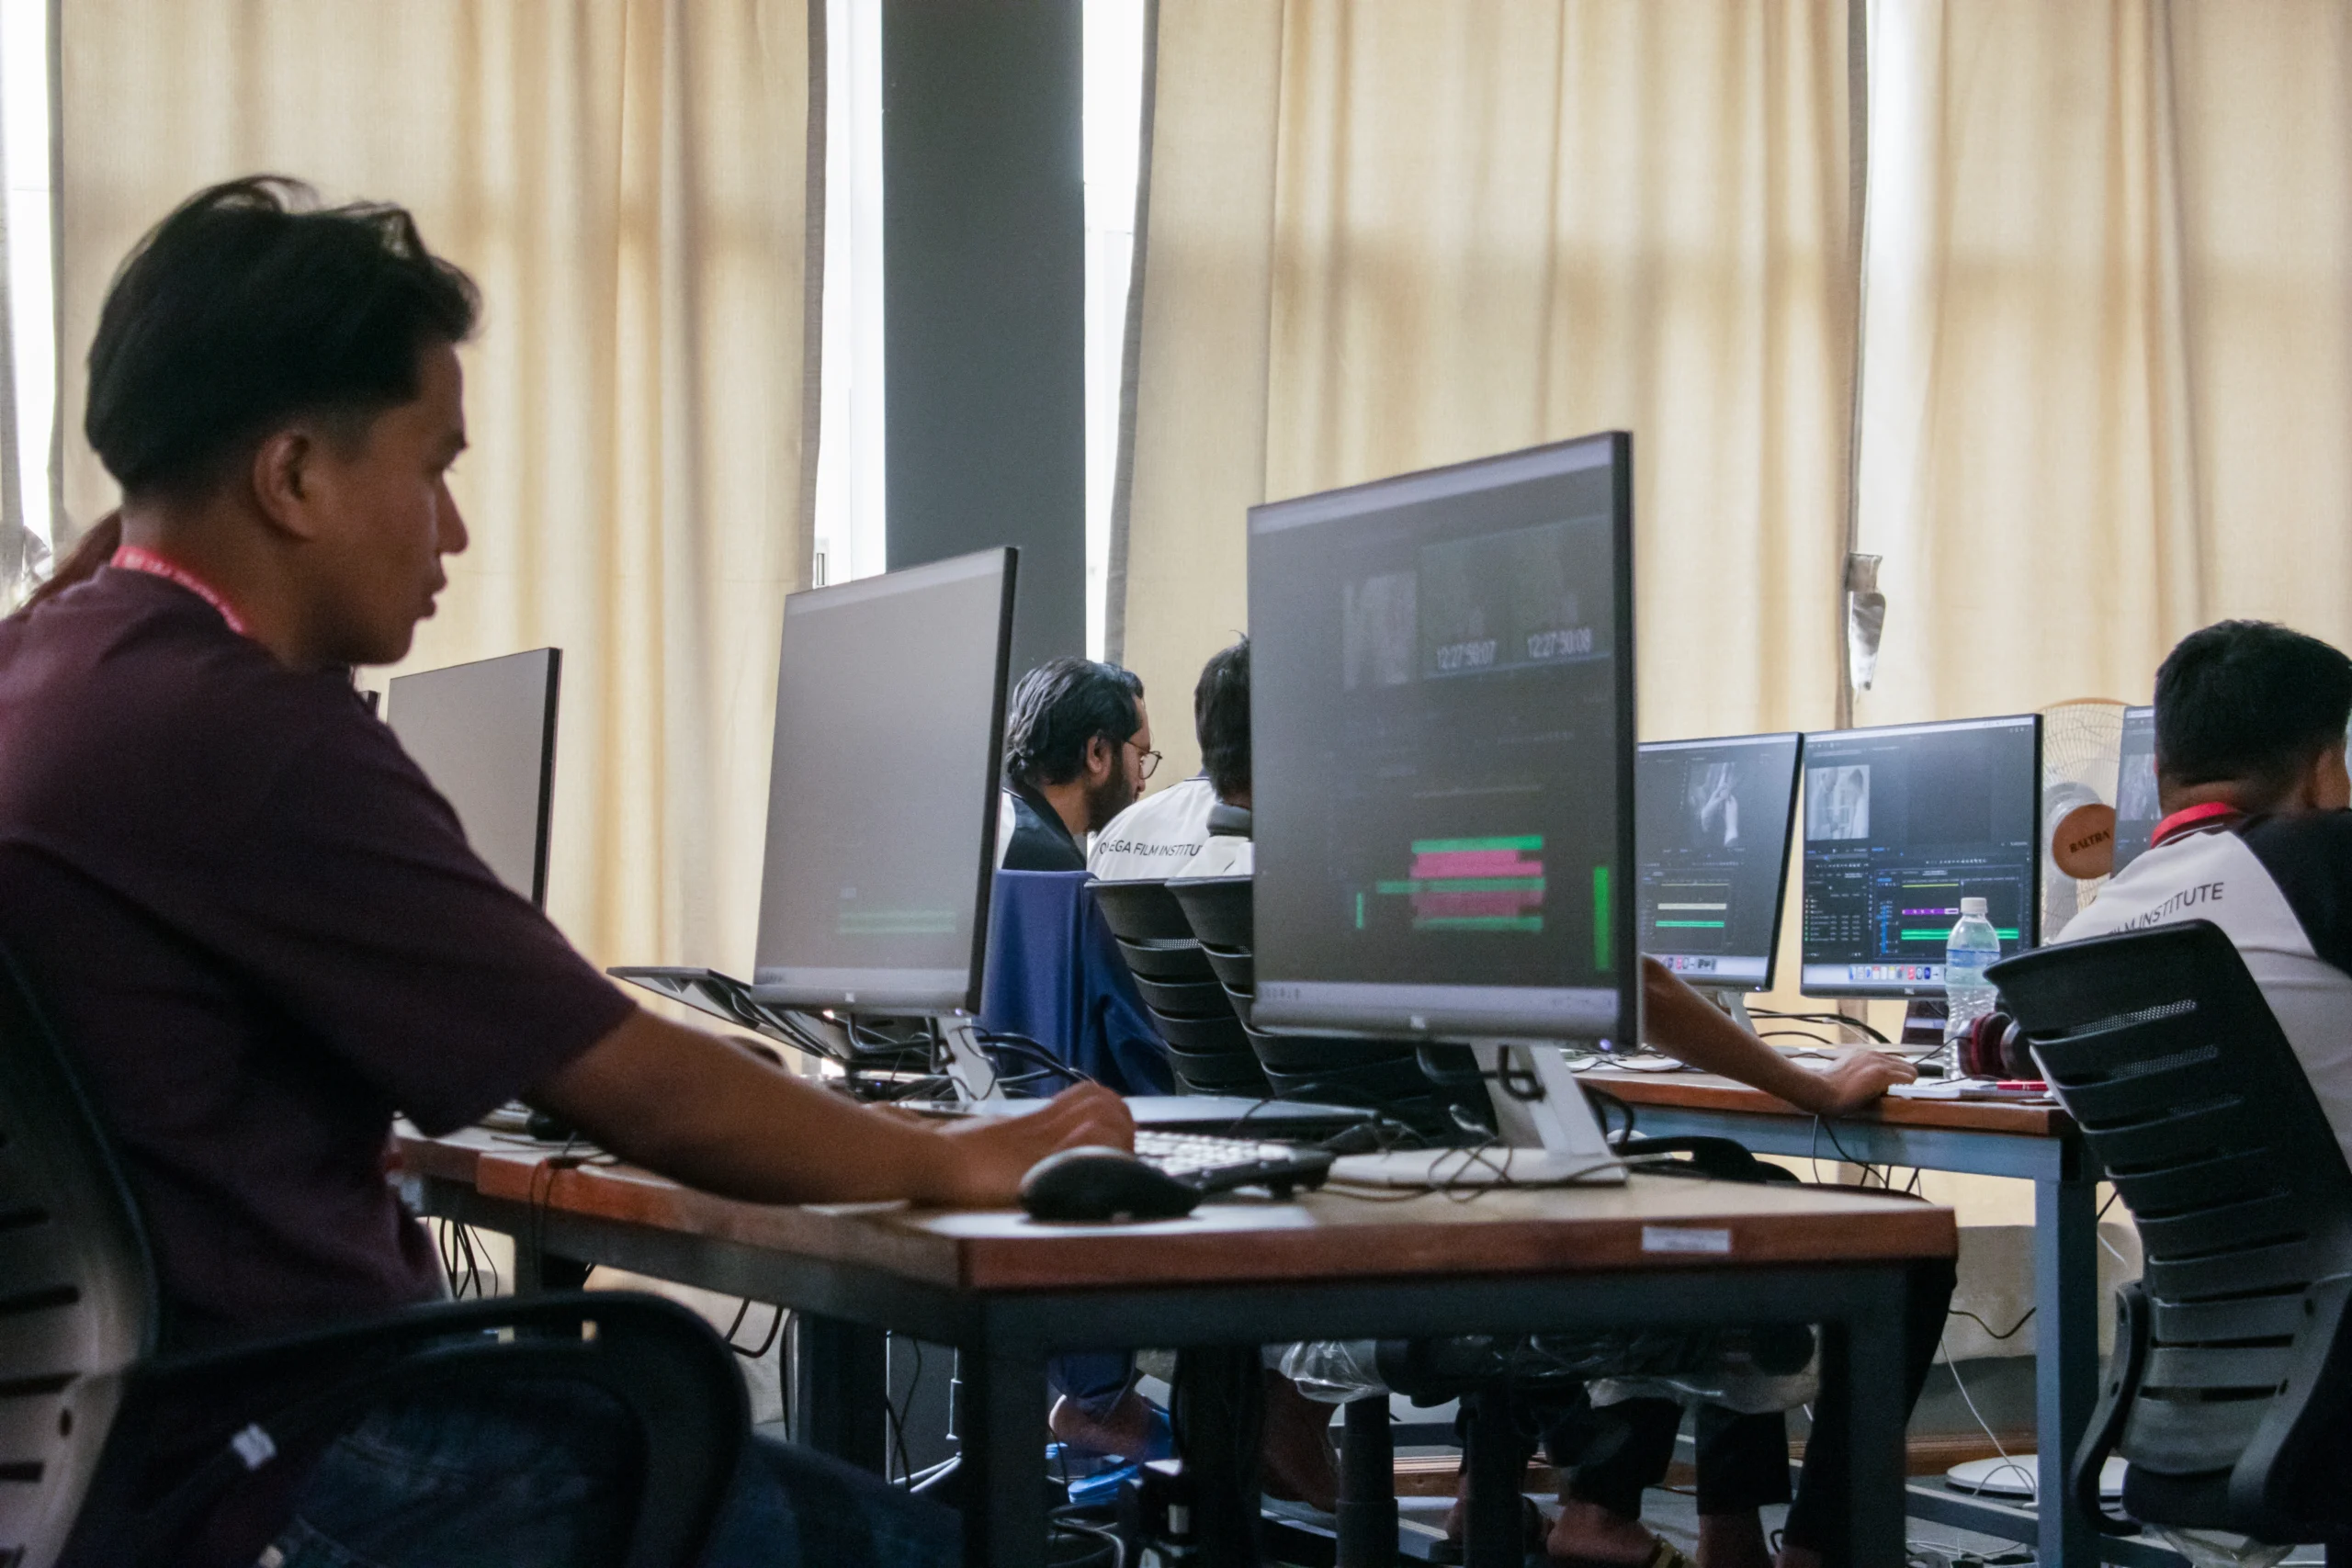
Practice editing on high-performance systems equipped with the latest software.
Conclusion
Editing YouTube videos might seem daunting at first, but with the right tools and training, you can create professional-quality content. By following this guide and enrolling at Omega Film Institute, you’ll gain the skills and confidence to excel as a video editor for YouTube.
Ready to start your YouTube journey? Join our next batch and master the art of video editing with personalized guidance from industry experts.
