Need to Blur a Face in Premiere Pro? Here’s a Simple Step-by-Step Guide
Why Blurring Faces is Essential in Video Editing
Before we dive into the technical details, it’s important to understand why you might need to blur a face in Premiere Pro:
- Privacy Protection: In many cases, you may need to protect the identity of individuals who have not given permission to be featured in your video.
- Compliance with Regulations: Privacy laws and regulations often require that identifiable individuals be obscured, especially in regions where privacy is strictly enforced.
- Creative and Editorial Decisions: Sometimes, the decision to blur a face is stylistic, helping to focus the viewer’s attention on the subject matter rather than peripheral details.
- Client Requests: Many clients in corporate and documentary projects require face blurring to comply with internal policies or legal requirements.
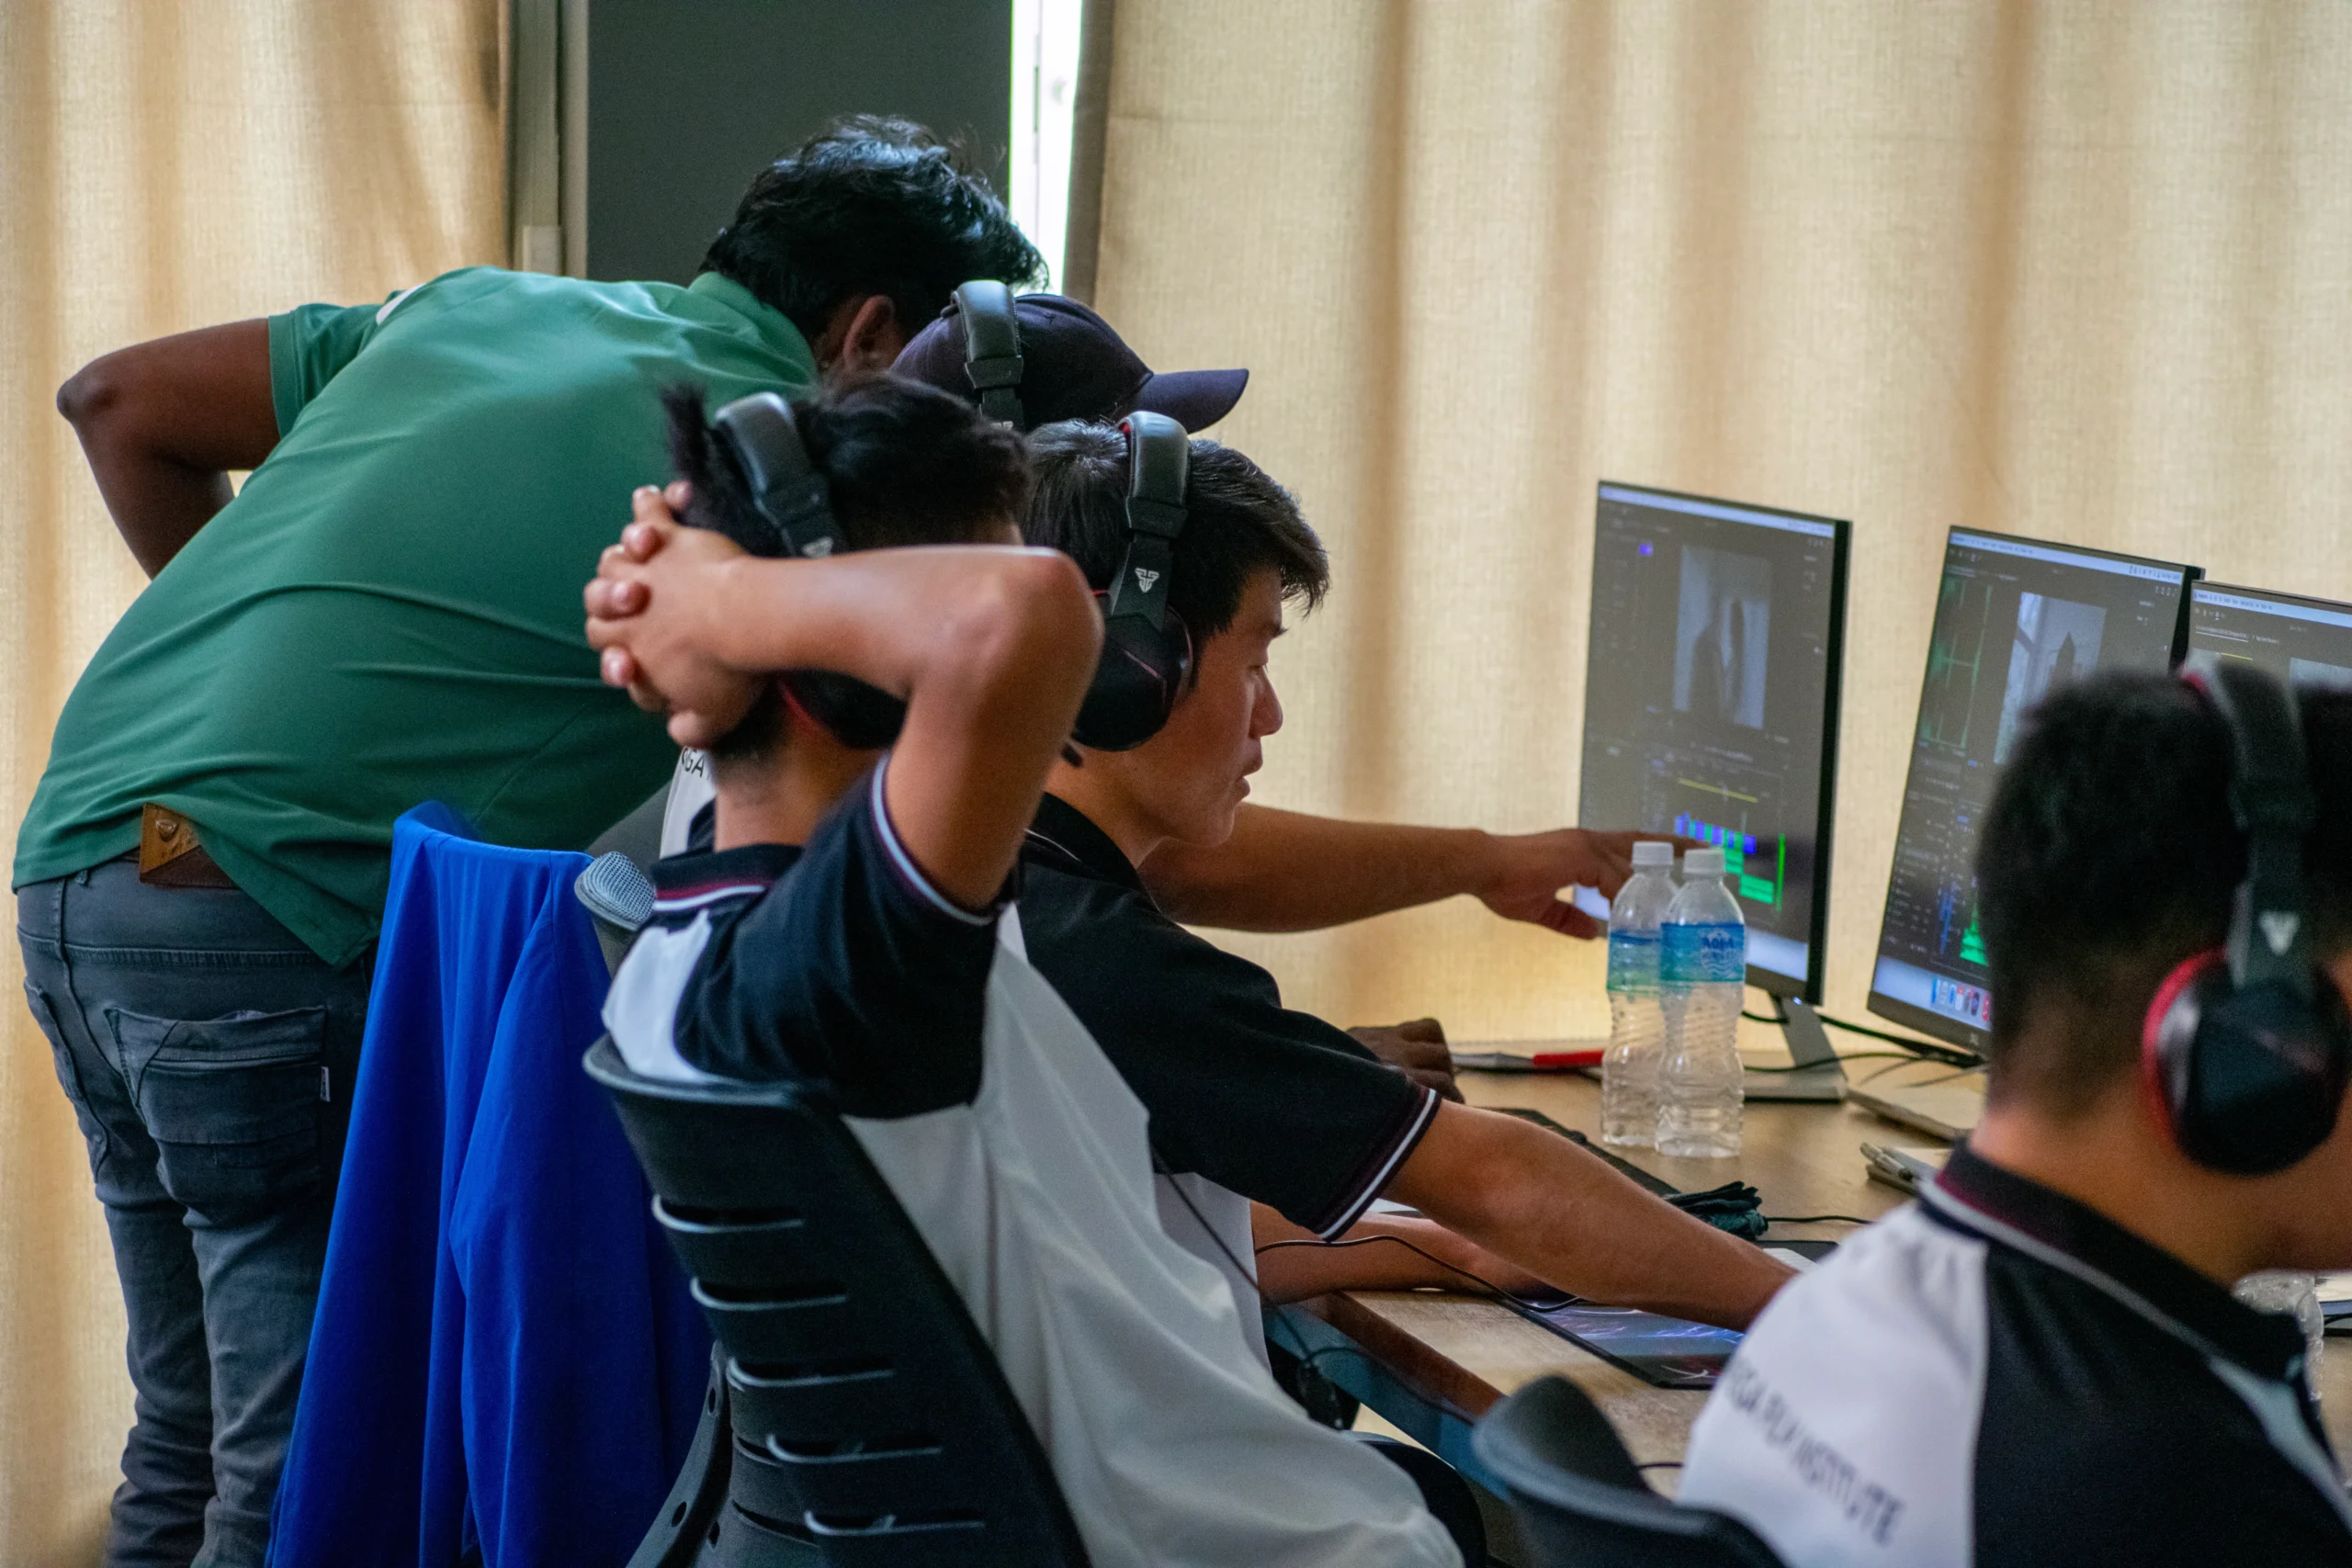
For videographers, content creators, and professional video editors in Nepal, mastering the art of face blurring is a valuable skill. Omega Film Institute, Nepal’s leading video editing school, equips aspiring editors with the necessary techniques to ensure privacy and compliance while maintaining high production quality.
Understanding Adobe Premiere Pro’s Tools for Face Blurring
Adobe Premiere Pro offers several tools and effects that make face blurring straightforward. The primary tools used in this process include:
- Gaussian Blur: A simple yet effective effect to blur selected areas of your footage.
- Mosaic Effect: Provides a pixelated blur that is often used for obscuring faces.
- Masking Tools: Essential for isolating the area (the face) that needs to be blurred.
- Tracking: Automatically tracks the face through the clip so that the blur stays in place even if the subject is moving.
Understanding these tools is crucial for efficient and effective editing, and mastering them will significantly enhance your overall video editing skills.
Step-by-Step Guide: How to Blur a Face in Premiere Pro
Below is a detailed, step-by-step guide to help you blur a face in Adobe Premiere Pro.
Step 1: Import Your Footage
- Open Adobe Premiere Pro: Start a new project or open an existing one.
- Import Your Video: Go to File > Import, or drag and drop your video file into the Project panel.
- Create a Sequence: Right-click on your imported footage and select “New Sequence from Clip” to ensure your sequence settings match your video.
Step 2: Locate the Section with the Face to Blur
- Scrub Through the Timeline: Use the timeline to find the segment where the face appears.
- Mark the In and Out Points: Set markers at the beginning and end of the segment you want to edit. This makes it easier to focus on the relevant section during editing.
Step 3: Apply a Gaussian Blur or Mosaic Effect
- Select the Effect: Navigate to the Effects panel. In the search bar, type “Gaussian Blur” or “Mosaic” depending on the style you prefer.
- Drag the Effect to the Clip: Apply the effect by dragging it onto the clip in the timeline.
- Gaussian Blur: Offers a soft, smooth blur that gradually obscures the face.
- Mosaic: Creates a pixelated effect, which can be more effective for hiding details.
Step 4: Create a Mask to Isolate the Face
- Open the Effect Controls Panel: With your clip selected, go to the Effect Controls panel.
- Locate the Applied Effect: Find the Gaussian Blur or Mosaic effect you just added.
- Use the Masking Tool: Click on the Pen tool (or the ellipse/rectangle tool, if appropriate) under the effect controls to create a mask around the face you want to blur.
- Adjust the Mask: Carefully draw a mask that closely follows the outline of the face. You can adjust the mask’s shape by clicking and dragging the points.
- Feather the Mask: Increase the feather value to soften the edges of the mask. This ensures the blur blends naturally with the surrounding footage.
Step 5: Track the Mask
If the subject moves during the clip, you’ll need to track the mask to ensure the blur stays on the face.
- Enable Tracking: In the Effect Controls panel, look for the tracking options next to the mask. Click “Track Forward” (or “Track Backward” if necessary).
- Automatic Tracking: Let Premiere Pro automatically track the movement of the face. Monitor the tracking progress to ensure accuracy.
- Manual Adjustments: If the automatic tracking is not perfect, make manual adjustments to the mask position and shape as needed throughout the clip.
Step 6: Fine-Tune the Effect
- Adjust the Blur Amount: Increase or decrease the blur amount in the effect settings until the face is adequately obscured.
- Check Consistency: Scrub through the clip to ensure that the mask remains accurately positioned on the face throughout the entire segment.
- Preview the Edit: Play back the segment multiple times to confirm that the blur effect is smooth and consistent.
Step 7: Export Your Edited Video
Once you are satisfied with the blur effect:
- Go to the Deliver Tab: Click on the Deliver tab in Adobe Premiere Pro.
- Choose Your Export Settings: Select the appropriate export settings for your project (e.g., resolution, format, and quality). For most purposes, exporting in MP4 format with H.264 encoding is recommended.
- Export the Video: Click “Add to Render Queue” and then “Start Render” to export your final video.
Additional Tips for Effective Face Blurring
To further enhance your face blurring technique, consider the following tips:
Use High-Quality Footage
- Start with the Best Quality: High-resolution footage (1080p or 4K) makes it easier to apply precise masks and ensures the final video maintains a professional look.
- Stabilized Footage: If your footage is shaky, consider using stabilization tools before applying the blur effect.
Experiment with Different Effects
- Combination Effects: In some cases, combining Gaussian Blur with the Mosaic effect can produce a more effective and visually pleasing result.
- Dynamic Masking: Use dynamic masks that adjust in real-time to changes in lighting or movement. This ensures the face remains blurred even in challenging conditions.
Consider Privacy Laws and Client Requirements
- Legal Compliance: When editing videos that involve sensitive content, ensure that the face blurring complies with privacy laws and client requirements.
- Client Communication: Clearly communicate with your client about the extent of the blur and make sure it meets their expectations.
Practice and Experiment
- Hands-On Experience: The more you practice, the better you’ll get at creating precise masks and tracking movement.
- Learning Resources: Utilize online tutorials, forums, and courses (such as those offered at Omega Film Institute) to learn new techniques and stay updated with the latest editing trends.
How Omega Film Institute Can Help You Master Video Editing Techniques
At Omega Film Institute, we are committed to training the next generation of video editors in Nepal. Our courses cover everything from basic editing to advanced post-production techniques, including face blurring and other visual effects. Here’s what you can expect when you enroll with us:
Comprehensive Courses
- Adobe Premiere Pro Training: Learn the ins and outs of Premiere Pro, including advanced features like masking, tracking, and effects.
- Hands-On Projects: Work on real-world projects that simulate professional editing scenarios, helping you build a strong portfolio.
- Expert Instructors: Our trainers are experienced professionals who provide personalized guidance and share industry best practices.
- Certification: Upon completion, receive a certification that validates your skills and enhances your professional profile.
Career Support
- Internship Opportunities: Gain practical experience through internships and collaborative projects.
- Job Placement Assistance: We offer robust career support and job placement services to help you launch your career in video editing.
- Networking: Connect with industry professionals and alumni to expand your professional network.
Final Thoughts
Blurring a face in Adobe Premiere Pro is an essential skill for video editors, especially when dealing with sensitive content or client privacy requirements. By following this step-by-step guide, you can transform your raw footage into a polished, professional video that meets both creative and legal standards.
Mastering techniques such as masking, tracking, and fine-tuning blur settings will not only improve the quality of your videos but also enhance your overall editing efficiency. For video editors in Nepal, these skills are invaluable in a competitive digital media landscape where high-quality content is key to success.
Omega Film Institute is dedicated to providing the best video editing education in Nepal. Our comprehensive courses in Adobe Premiere Pro and other industry-standard software equip you with the technical expertise and creative insights necessary to excel in your career. Whether you’re a seasoned professional or just starting out, learning advanced post-production techniques like face blurring will give you a competitive edge.
Enroll Today and Transform Your Video Editing Skills!
If you’re ready to master professional video editing techniques and learn how to handle complex projects with ease, consider enrolling at Omega Film Institute. Contact us today for detailed course information, success stories, and to begin your journey toward becoming a top video editor in Nepal. Visit our website for more details and take the first step toward a successful career in digital media.
